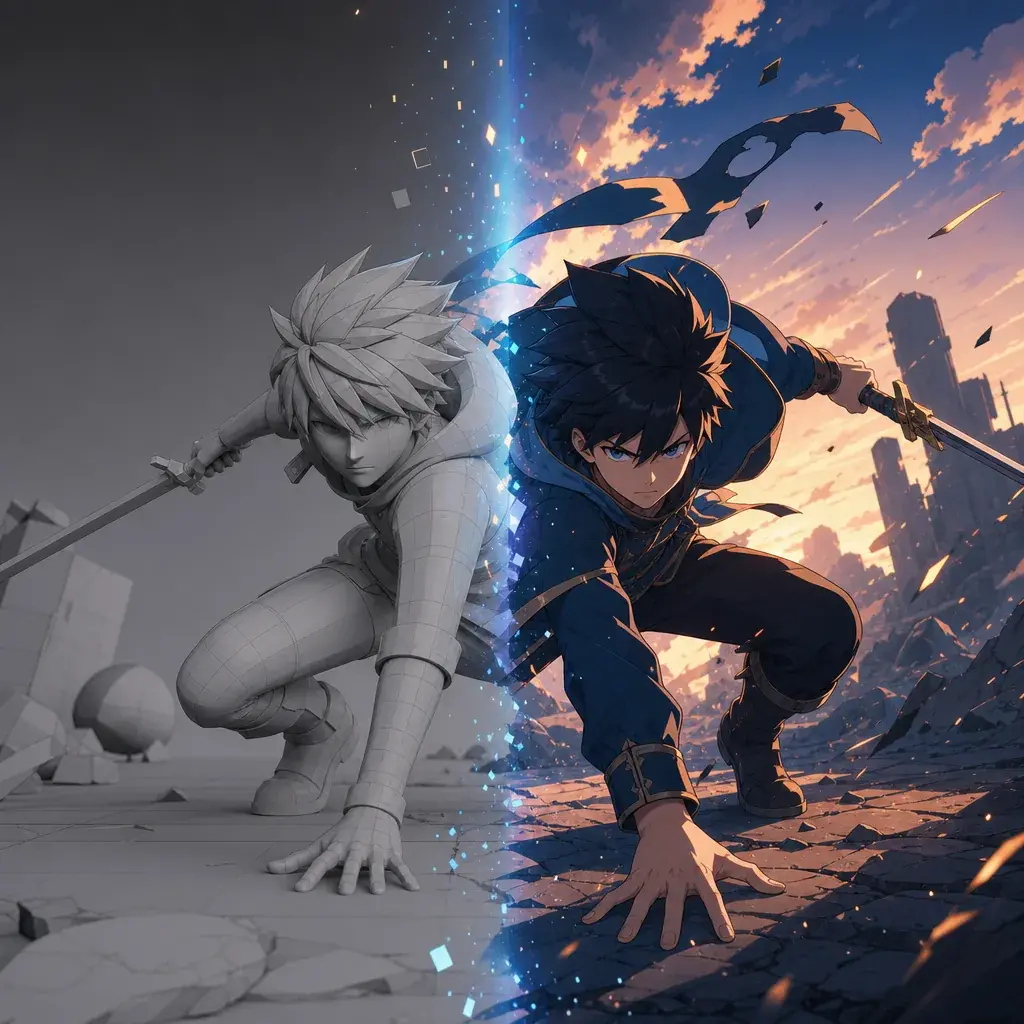
What 3D Training Actually Transfers
Traditional 3D artists, animators, layout artists, and motion designers already have many of the skills AI anime needs most. They understand silhouette, posing, staging, camera distance, timing, prop continuity, lighting direction, and how much cleanup a shot can survive. Those skills do not become obsolete when AI enters the workflow. They become control assets.
A text-only AI prompt asks the model to invent the pose, camera, anatomy, outfit, lighting, and style at the same time. That can work for exploration, but it is weak for a recurring character or a client-facing sequence. A 3D-to-AI anime pipeline starts from owned structure: a model, blockout, pose render, motion reference, camera angle, or environment layout. AI then translates that structure into the desired anime look.
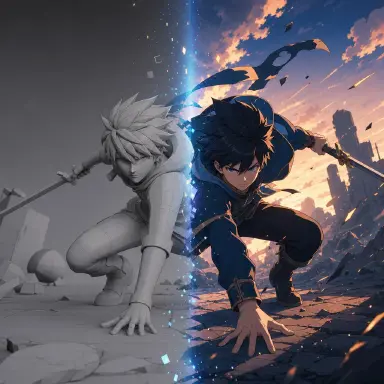
The mindset shift is important. You are not using 3D because AI cannot draw. You are using 3D because a shot with approved staging is easier to direct, review, and repair. A simple gray viewport render with the right pose can be more valuable than a beautiful but uncontrolled image. The 3D asset tells the system where the body, camera, object, and screen direction should be. The AI pass handles surface, style, texture, and final mood.
This guide is for creators with a traditional production background who want to move into AI anime without throwing away their craft. Use it with OC Character Asset Front Turnaround and Reference Type Per Shot when you need the same character to survive multiple shots.
Rules for Structuring a 3D-to-Anime Pass
The first principle is use assets you control. Your own 3D character, pose rig, set blockout, prop model, lighting pass, motion capture, or filmed movement reference is safer and more useful than copying another creator's style frame.
The second principle is pose before polish. If the body position fails, a prettier render does not save the shot. Approve silhouette, balance, eye line, gesture, and final pose before adding texture and effects.
The third principle is identity separate from style. A character asset or LoRA-like identity layer should protect face, hair, outfit silhouette, and signature accessory. A style recipe should control line, surface, palette, and lighting. Do not let the style layer redesign the character.
The fourth principle is camera as structure. A 3D blockout can preserve lens feeling, screen direction, foreground depth, and object placement. Those are hard to recover after a text-only generation picks the wrong staging.
The fifth principle is quality over volume. AI makes it easier to create many takes, but production value comes from choosing, repairing, and finishing the right takes. A strong 3D-guided shot is usually better than ten uncontrolled variations.
Before you run any generation, spend five minutes in My Assets. Open your IP Project, go to My Assets, and create a Character entry for each person who appears in more than one shot — give them a name, upload their clearest reference image from Library, and bind it as Main image. If you have alternate looks (a rain-coat version, a training version), bind those as Reference images on the same asset. Do the same for any Scene or Prop that recurs.
Once your assets exist, open the Episode you are working on and click Generate Shots. ArcLoop breaks the episode into shot cards. In each card's description field, type @ followed by the character or location name to pull that asset in — you do not need to re-describe the face, outfit, or environment from scratch. Add only what is new in this specific shot: the action, the camera angle, the lighting condition.
When the shot cards look right, click the image icon on each card to generate a still first. Check pose, screen direction, and identity before committing to video. Once a still passes, use the AI Chat Panel to generate video in batches: type "Generate videos for Shots 1, 2, and 3." rather than triggering each card individually. Bring the finished clips into Edit to arrange them on the timeline, trim handles, and swap any take that needs a second pass.
How to Build the Pipeline Step by Step
Start with an asset inventory. List the material you already own: character model, rig, outfit variants, props, background sets, pose library, animation clips, mocap, lighting references, camera tests, and past style explorations. Do not rebuild what already works.
Create the pose or blockout. For a still frame, render the character in a clean pose with readable silhouette. For a video shot, render a short motion reference or export key frames that define the start, middle, and end of the action. Keep the background simple unless environment layout is the main control need.
Generate or refine the character asset. The sheet should translate the 3D design into anime-readable identity: front, side, back, expression close-ups, outfit color zones, and signature object. The 3D model can guide proportion and costume logic, but the sheet becomes the visual contract for AI outputs.
Write the shot card. Include character identity, 3D reference role, action, camera, duration, setting, style recipe, and review criteria. Say what the 3D input controls: pose only, camera only, prop placement, room layout, lighting direction, or all of the above.
Run rough takes first. Use lower-cost settings or short previews to test whether the 3D structure survives translation. Check identity, body direction, contact points, hand-object interaction, and final pose. Reject takes that look good but break the approved staging.
Repair locally. If the face drifts, use a face correction or identity reference. If a prop changes, mask only the prop area. If clothing mutates, use an outfit lock. If the whole body turns the wrong way, go back to pose reference or depth guidance instead of polishing a broken take.
Move to final polish after the structure passes. Add line quality, richer background painting, secondary motion, cloth movement, glow, rain, dust, reflections, sound notes, and color correction. Final polish should not add a new action that the rough pass never proved.
Which 3D Inputs Give AI Anime Real Control
A pose render is the most obvious input. It gives the body a readable shape and prevents vague action prompts from becoming random anatomy. Use it for sitting, kneeling, reaching, sword draws, dance beats, jumps, and hand-to-prop contact.
A camera blockout is useful when the shot has depth. A narrow alley, train platform, classroom, rooftop, cockpit, or bridge can be blocked in 3D so foreground, midground, and background stay coherent. The AI pass can repaint the environment in anime style while keeping the spatial logic.
A prop model protects continuity. If a compass, sword, robot bird, message tube, lantern, or headset appears across several shots, create a reference image or simple 3D turntable. Repeat the prop rule in every shot card. Props are small, but viewers notice when they change shape.
Motion reference matters for performance. Filmed movement, mocap, or a simple animated rig can provide timing that text struggles to describe. Even rough footage can be useful if it clearly shows weight shift, hand timing, head turn, or screen direction.
A lighting pass can prevent style drift. If the story needs rim light from frame left, storm glow from behind, or a face lit by a screen, capture that in the reference. Then let the style recipe decide whether the surface becomes cel shading, watercolor, ink wash, or glossy anime realism.
Why Production Veterans Have an Edge
Creators with animation, VFX, game, or 3D backgrounds often underestimate how much judgment they bring. They know that a shot can fail because the contact point is wrong, not because the style is weak. They know that a camera move can look expensive while destroying continuity. They know that an appealing character can still be unusable if the back view, shoes, and hand scale are never defined.
That judgment is exactly what a creator-led AI pipeline needs. AI can generate options quickly, but it cannot decide which option best serves the scene unless the criteria are clear. A professional creator can define those criteria: readable silhouette, one action per shot, clean screen direction, emotional final frame, prop continuity, and enough negative space for editing.
This also gives the work a stronger creative position. The pipeline is not "press a button and replace a craft." It is "use your existing craft to control a faster production system." Your model, your pose, your timing, your character asset, your edit, your taste. The AI pass becomes a translation and iteration layer.
For public-facing ArcLoop work, this is the strongest story: a creator builds their world and characters as assets in My Assets, then pulls them into shots with @ references to explore more shots, styles, and iterations than a traditional schedule would allow.
Spend Less by Shooting Right the First Time
A 3D-guided pipeline does not mean every shot should be final quality. It means every expensive pass should have a reason. Use the 3D blockout to answer staging questions cheaply. Use a character asset to answer identity questions before motion. Use seed previews to choose between takes. Use local masks for repairs. Save high resolution and long duration for shots that already pass.
Short controlled clips are usually easier to finish than one overloaded long clip. A 6-to-12 second shot can carry one clear action, one camera idea, and one emotional result. Several controlled shots can then be edited into a sequence. This is closer to film production than asking a single generation to perform an entire scene.
Hardware also affects planning. A modest local GPU may be good enough for draft passes but too slow for constant final renders. A high-memory workstation can push resolution and longer windows, but still benefits from preselection because high-end generation is not free. The rule stays the same at both ends: prove the shot before polishing it.
Example 1: 3D Pose to Anime Shot
Medium-wide three-quarter shot of @Sera on a rain-slicked rooftop bridge at dusk. She kneels — one knee down, left hand braced on the wet surface, right arm fully extended — catching a falling bronze message tube. Use the @Sera asset for face, teal bob hair, copper hair rings, ivory cropped jacket, compass pendant, and navy trousers. Camera angle matches the uploaded 3D pose reference; do not copy its gray materials or lighting. Style: clean cel shading, warm rim light from frame right, rain shimmer on metal railings, light wind motion in jacket hem. One action only: the catch. No extra characters, no redesigned prop.
This prompt tells each reference what it controls, which reduces accidental style transfer from the 3D render.
Example 2: 3D Set Blockout to Story Shot
Eight-second cyberpunk shot of @Kaito moving through a narrow nighttime alley. He walks from foreground left toward midground stairs, pauses when his wrist device flashes amber, then looks up toward a train bridge in the background. Use the uploaded 3D alley blockout for spatial layout — foreground sign shapes, staircase position, camera height — but repaint everything in anime style. Use the @Kaito asset for white undercut hair, amber left eye, black eyebrow scar, matte black rain coat, and reflective ankle boots. Camera tracks slowly backward at the same height as the blockout. Style: wet asphalt reflections, cyan edge light, magenta window glow, crisp line art. No readable signs or brand logos.
The set blockout protects camera depth while the style block repaints the world.
Example 3: Motion Reference to Final Pass
Nine-second polished action beat of @Rei in the academy training courtyard. She steps back as sparks cross the stone floor, turns her shoulder, lifts the wooden practice sword with both hands, and holds a stable guard stance. Use the @Rei asset for straight black hair tied with a red cord, narrow gray eyes, short navy training jacket, white sleeve wraps, and dark hakama pants. Timing follows the approved rough take: step, turn, lift, hold — do not add a second strike. Camera: locked medium-wide with a slight push after the turn. Add sleeve flutter, hair-cord swing, floor dust, and warm side light. Preserve final pose exactly.
The final pass respects the motion reference instead of inventing a new choreography.
The Most Common Ways This Pipeline Breaks
The biggest mistake is treating the 3D input as a style reference. A gray viewport render should usually control pose, camera, or layout, not final surface.
Another mistake is skipping the character asset because a 3D model already exists. A model may define structure, but the anime version still needs face, hair, outfit, and expression anchors.
Creators also overfill the shot. A 3D tool makes it easy to stage complex action, but AI video still benefits from one clear action per clip.
A fourth mistake is using final quality to solve blocking problems. If the body turns the wrong way in draft, higher resolution will make the wrong turn sharper.
Finally, do not let AI erase the creator's role. The strongest pipeline keeps human-owned assets, human review, and human edit decisions visible throughout the process.
FAQ
Do I need a finished 3D model?
No. A rough rig, mannequin pose, camera blockout, prop model, or simple motion reference can be enough. The input only needs to communicate the structure that the shot depends on.
Should the 3D render look like the final anime style?
Not necessarily. In many workflows, the 3D render should stay plain so it controls pose and camera without fighting the style recipe. Use the character asset and style block for the anime look.
How do I keep the AI output from changing my character?
Use the 3D input for structure and a separate character asset for identity. Repeat a small set of anchors in the prompt, review rough takes before final polish, and repair local failures with masks instead of rerunning the whole scene.