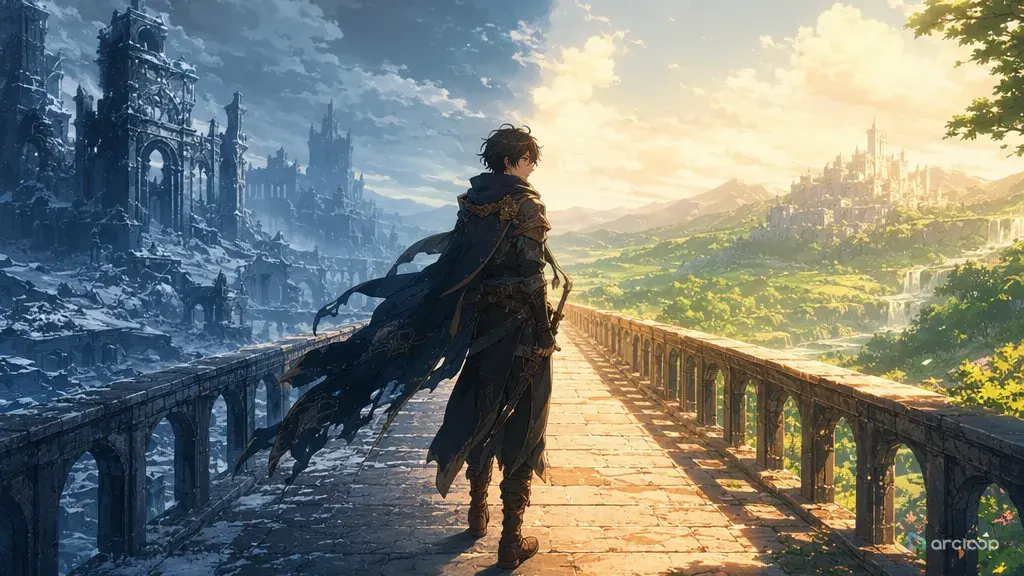
Why AI Anime Loses the Thread Between Episodes
The first episode looks promising: a character runs across a rooftop, the lighting is dramatic, and the last frame could be a poster. Then episode two arrives with no consequence from episode one. The character has a new goal, the prop has changed meaning, the rival appears from nowhere, and the ending feels like another isolated prompt test. Nothing is technically broken, but the series has no arc.
Story arc design fixes that before you generate too many pretty but unrelated clips. A useful arc gives each short video a job: reveal a want, apply pressure, force a choice, show the cost, or change a relationship. You do not need a long screenplay for every social post. Write that job as one Episode in the Story Outline — each episode is built around one key event or turning point, so the beat has somewhere concrete to live before you touch a shot.
This guide shows how to write story arc prompts for AI anime scenes, episode outlines, short drama sequences, and character-led campaigns. Start from 2D Animation AI Templates when you need a shot format, or open ArcLoop Worlds and build the character and location as assets in My Assets when they need to stay consistent across several posts.
Rules for a Working Story Arc
A story arc is not a summary of events. It is a visible change. If the viewer cannot tell what the character wants, what blocks them, and what becomes different after the scene, the arc is still hiding in your notes.
Begin with the want. Give the main character one practical desire for the beat: recover the notebook, avoid the exam, protect the shrine lantern, return a stolen mask, or hide a secret injury. Abstract goals such as "find herself" are fine later, but the shot needs something the camera can show.
Add pressure that belongs to the world. Weather, rules, rivals, deadlines, damaged props, audience attention, or a broken promise can all push the character. Pressure should affect staging. A closed gate changes where the character stands. A countdown changes pacing. A suspicious friend changes eye contact.
Use reversal carefully. A reversal is not a random twist. It is the moment when the character learns that the old plan will not work. The key opens the wrong door. The mentor refuses to help. The enemy saves someone. The prop the hero trusted becomes evidence against them.
Make the cost specific. A weak cost is "she feels sad." A stronger cost is "she burns the map that could have led her home." Costs make later episodes easier because the next prompt can inherit the consequence instead of inventing a new conflict.
Track relationship change. Even a silent scene can move a relationship if the character turns away, accepts help, hides the truth, or returns a borrowed object. Arc design works best when visual action and emotional consequence arrive together.
How to Build a Story Arc Prompt: From Beat to Shot
Write the episode job first. Use one sentence: "This beat turns Rhea from a careful archive assistant into someone willing to break the sky library rules." That sentence tells you what must be visible by the final frame.
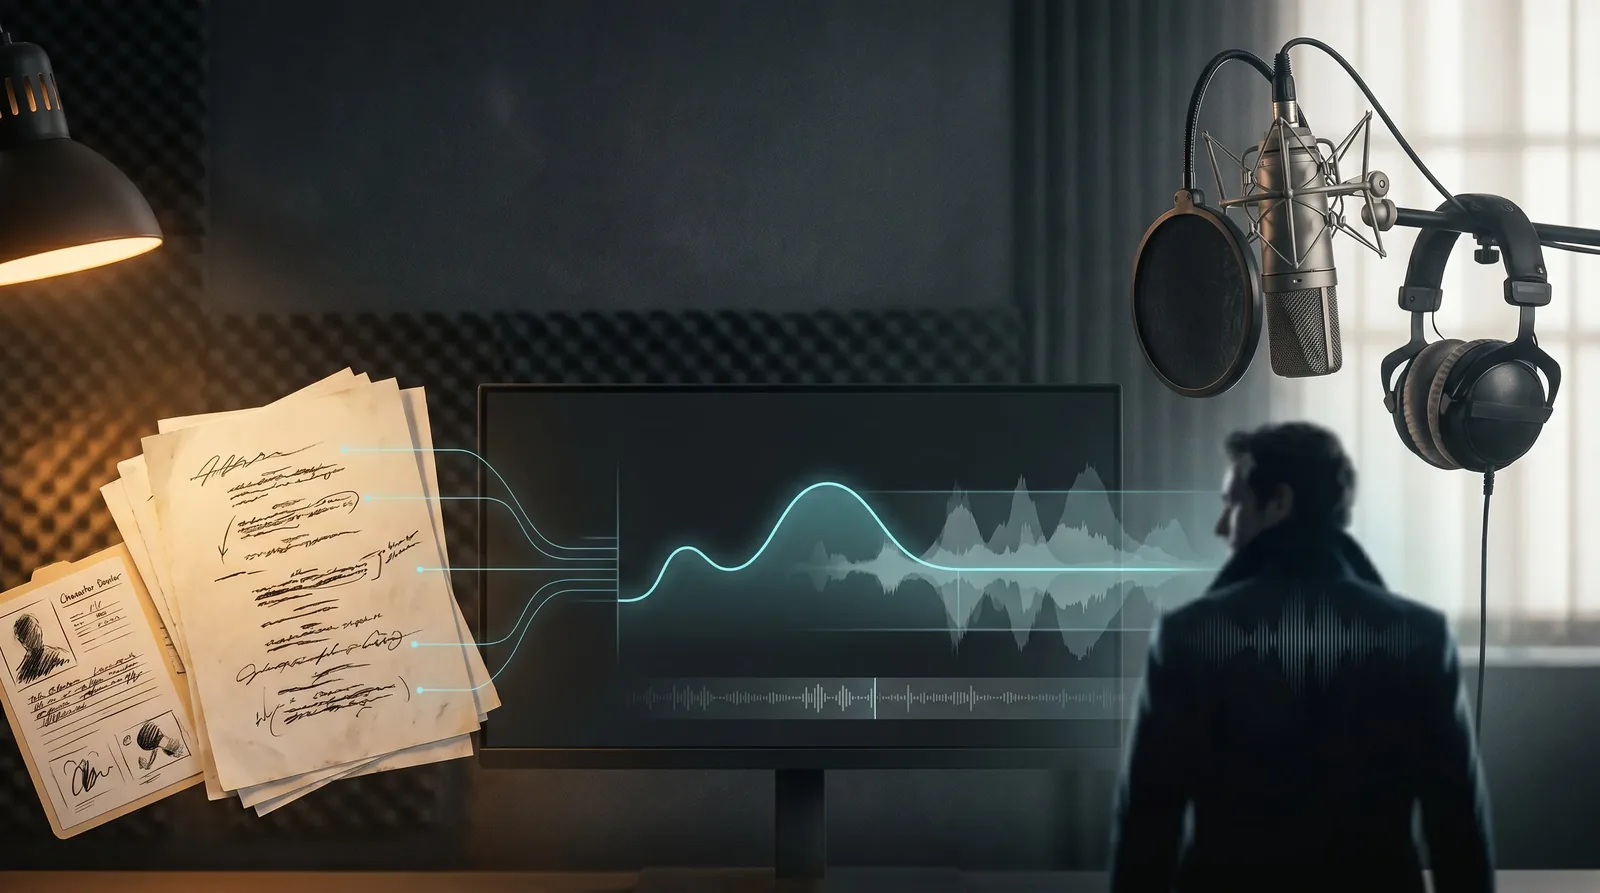
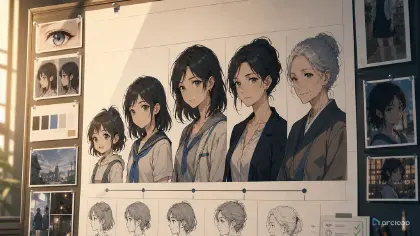
List the fixed anchors. Include character identity, costume, signature prop, location rule, and any continuity detail from earlier shots. Keep this short enough to reuse without burying the action.
Define the arc beat. Choose one: setup, pressure, reversal, cost, repair, reveal, or decision. Do not ask one six-second clip to handle an entire season. Short AI anime works better when each clip advances one clean beat.
Translate the beat into action. Instead of "Rhea accepts danger," write "Rhea folds the forbidden map into her coat as the archive bell begins to ring." That's a concrete action you can drop straight into a shot description — the model has something visible to stage, not a mood to interpret.
Set the camera and timing. A wide shot can show isolation, a close-up can show the decision, and an over-the-shoulder shot can show the object that changes the plan. Mention the final hold if the viewer needs to read the new status.
Add rejection rules. Reject the take if the prop changes shape, the cost disappears, the character looks happy during a loss, or the ending does not show the new relationship. Clear rejection rules save more time than extra adjectives.
Write the Arc Beat Into the Story Outline, Not Just Your Head
Write the beat directly into the Story Outline for that episode — double-click the paragraph and it saves automatically, so the arc stays attached to the story instead of living in a separate doc. Then bind the same reference images to the character's asset in My Assets, so every shot in that beat pulls the same face and outfit instead of drifting take to take.
For multi-clip planning, build a small beat sheet before final rendering: one card for the character want, one for pressure, one for reversal, one for cost, and one for the next hook. Then generate low-cost drafts for the fragile beats first. If the reversal is unreadable at rough quality, polish will only make the confusion sharper.
The lazy rule is simple: fix the shared Story Outline before rewriting every prompt. If three shots drift in different directions, the arc rule is probably unclear. Tighten the card, then regenerate from the approved layer. Use three-shot continuity template when the arc needs to move through a beginning, turn, and consequence.
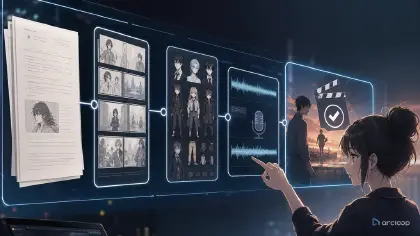
Here is how that workflow runs inside ArcLoop, step by step.
First, go to My Assets and create a character asset for your lead. Upload a clear reference image to your Library, then open the asset and bind it as the Main image. If the character has a second costume or emotional state that matters to this arc, bind that as a Reference image on the same asset — one character, multiple looks.
Next, open your Episode and write the arc job for this beat in the Story Outline. Double-click the paragraph, type the one-sentence job (what must be different by the final frame), and it saves automatically.
Then click Generate Shots. ArcLoop breaks the episode into shot cards. On each card, type @ followed by your character's name to pull in the asset — you do not need to re-describe the face, coat, or prop. Write only what is new in this shot: the action, camera angle, lighting, and emotional beat.
Generate the image for each shot first. Confirm the framing and character look before spending render time on video. Once the composition holds, use the AI Chat Panel to generate video: type Generate videos for Shots 1, 2, and 3. for a batch, or name a single shot to test the fragile reversal beat first.
Finally, bring the clips into Edit, arrange them on the timeline, and trim the hold on the final frame so the cost of the arc beat is readable before the cut.
Example 1: Story Arc Setup Brief
Open My Assets and create a new character asset named Rhea Vale.

Bind a main image showing her full look: cropped silver hair, moss-green eyes, charcoal library coat, brass page clips, cracked songglass key on a cord. Bind a second reference image as a close-up of the cracked key alone.

Then open a new Episode in the Story Outline and write the arc job for this beat: Rhea wants to prove her access level is high enough to open the restricted atlas wing. The rule blocking her — the archive only unlocks for the archivist who last checked out the atlas — is the pressure that will trap her later.

In the first shot description, write: Wide establishing shot of @Rhea Vale entering the Sky Archive atrium. Shelves above her are mid-rotation, paper dust catching pale morning light. She holds the cracked songglass key loosely — confident, not suspicious yet. Static camera, no cut.
This prompt does not try to finish the episode. It creates the arc ingredients that later shots must respect: a person, a place, a rule, and a fragile object.
Example 2: Story Arc Reversal Shot
Open the Episode containing the reversal beat. In the shot card, write:

@Rhea Vale reaches the suspended reading balcony just as the shelves rotate closed behind her. She raises the cracked songglass key toward the locked atlas case — expecting it to open. The key glows against her pulse. The case stays shut. Floor glyphs illuminate, spelling out a name: the rival she blamed for the missing atlas.

Camera: over-the-shoulder medium shot from Rhea's left, push into tight close-up on the key reflection in the case glass, hold on her hand tightening around the cord. Lighting: thin dawn beams through paper screens, dust motes drifting upward. Emotion: controlled shock, not panic. One continuous movement, no cuts.

Bind @Rhea Vale's approved reference image before generating. Reject if: key shape changes, Rhea smiles, a new character enters frame, or the glyph text is unreadable.
The reversal is visible because the prompt makes the old expectation and the new information share the same object. The key is not decoration; it changes the arc.
Example 3: Story Arc Consequence Pass
Open the consequence shot card in the same Episode. Keep all asset references: @Rhea Vale, @Sky Archive balcony, cracked songglass key. Do not rebuild the scene.

Change only the final two seconds. Rhea tears one page from her own route map and feeds it into the archive rail groove. The shelves stop rotating. She has preserved the rival's clue but destroyed her safest path home. Hold on: the torn map edge still in the rail, the glowing key at her chest, her expression resolved and shaken at the same time.

Camera path stays the same: over-the-shoulder to close-up. Dawn paper-light palette unchanged. Total clip length 7 seconds.

Reject if: the map page stays intact, the key design changes, Rhea's expression reads as triumph, or unrelated effects appear in the final hold.
This revision works because it changes one layer: the ending cost. Identity, location, prop, and camera remain stable, so the new story information is easy to judge.
The Most Common Arc Failures
The most common mistake is confusing lore with arc. Lore explains the world. Arc explains change. A paragraph about ancient library clans will not help if the current shot never shows what the character risks.
Another mistake is starting every episode from a blank prompt. That makes each clip compete for a new identity, new mood, and new rule. Reuse the approved character asset, Story Outline, and Story Outline, then change only the active beat.
Creators also make reversals too invisible. If the audience needs a wiki entry to understand the turn, the shot is not doing its job. Put the reversal in a prop, gesture, blocked path, changed light, or altered relationship.
A fourth mistake is treating the final frame as decoration. For short anime posts, the final frame often carries the memory of the episode. It should show the new state: the accepted cost, broken trust, opened route, or unspoken promise.
Finally, do not polish a disconnected beat. If the setup, reversal, and consequence could be shuffled without changing meaning, the arc is not strong enough yet. Repair the beat order before spending final-quality time.
FAQ
How many story arc beats should one AI anime clip contain?
Usually one. A short clip can set up a want, reveal pressure, deliver a reversal, or show a cost. Trying to force all of them into one render often produces a montage instead of a scene.
Do I need a full script before designing the story arc?
No. You need enough structure to protect continuity: character want, pressure, reversal, cost, and the next hook. Write that as a few lines in the Story Outline for the episode — double-click to edit, it autosaves — then pull the same character into each shot with an @ reference so the plan and the shots stay in sync.
How do I know whether an arc beat is readable?
Mute the clip and look at the final two seconds. If you can name what changed without reading the prompt, the beat is working. If not, simplify the action or make the cost more visible.
Should every episode end with a cliffhanger?
No. A cadence of only cliffhangers becomes noise. Some episodes should resolve a small question, deepen trust, or reveal a cost. The important part is that each post changes the viewer's understanding of the character or world.
Where should I start in ArcLoop?
For a single beat, start with 2D Animation AI Templates. For a recurring series, start in ArcLoop Worlds: build the character as an asset in My Assets, write the arc beat into the Story Outline, then generate the weakest beat as a draft before polishing.