La duración decide cuánta historia cabe
Ocho segundos parecen generosos hasta que le pides a un clip que presente a un héroe, revele un secreto, muestre una persecución, registre una reacción y remache un chiste. El resultado suele verse ajetreado pero sin terminar. El primer segundo aún busca la composición, el centro está lleno de medias acciones y el final corta antes de que el espectador entienda qué cambió.
Duration and Beat Design es la solución. En lugar de escribir un prompt como una larga lista de deseos, divides el clip en beats visibles: imagen de apertura, acción, reacción y plano final. Esto le da al flujo de trabajo de vídeo IA una línea de tiempo que seguir y te da una forma de juzgar si un borrador falló porque la idea era demasiado grande para el tiempo disponible.
Usa esta guía para clips anime cortos, reveals de personajes, ganchos para redes sociales, momentos de microdrama y pruebas de escena en ArcLoop. Empieza con Workflow Templates, esboza una secuencia con Three-Shot Continuity Board y mantén el plan de tiempos dentro de ArcLoop Worlds para que el siguiente Shot sepa dónde termina este.
Reglas para dar tiempo a cada beat
Asigna una sola tarea al clip. Un clip de cinco segundos puede mostrar una mirada, un giro, una esquiva, una puerta que se abre o un objeto que se activa. No puede contener la forma emocional completa de un capítulo. Si la historia necesita más de una decisión, divídela en shots.
Reserva tiempo para que el espectador entre en el plano. El opening beat no tiene que ser largo, pero debe establecer el sujeto, el ángulo de cámara y la situación. Sin esa presentación, la acción posterior parece movimiento sin contexto.
Escribe el movimiento en beats, no en estado de ánimo general. «Ella duda, coge el billete, lo esconde detrás de la espalda y mira hacia el tren» es utilizable. «Momento emocional dramático con ritmo de suspenso» no es suficiente.
Dale espacio real al plano final. Muchos clips de vídeo IA fallan al final porque el prompt nunca indica dónde aterrizar. Una pose, una mirada o un estado de objeto de medio segundo en el cierre facilita la edición del clip en una secuencia.
Adapta el movimiento de cámara al tiempo disponible. Una órbita lenta puede gastar todo el Shot girando antes de que empiece la acción. Para clips cortos, usa una cámara fija, un pequeño acercamiento o un travelling limpio, a menos que el movimiento de cámara sea el punto central.
Usa el recuento de beats como herramienta de revisión. Si el borrador omite el beat 2 o apresura el beat 4, revisa el plan de tiempos en lugar de añadir más adjetivos de estilo. Los fallos de ritmo suelen ser fallos de estructura.
Cómo construir un prompt de beats: del propósito al hold final
Empieza con la duración total. Escribe «Create a 6-second shot» o «Create an 8-second clip» antes de describir la escena. Esto mantiene el resto del prompt coherente.
Define el propósito del clip. ¿Es un gancho, una transición, una reacción, un reveal, un beat de acción o un cierre final? El propósito decide cuánto tiempo corresponde a la presentación frente al movimiento.
Divide la línea de tiempo en tres o cuatro beats. Una forma sencilla funciona bien: el primer segundo para la presentación, los segundos centrales para la acción, un segundo para la reacción y el último medio segundo para el plano final. Usa tiempos aproximados, no instrucciones perfectas al fotograma.
Define la acción principal como una cadena. Cada beat debe provocar el siguiente. El personaje nota algo, lo alcanza, reacciona y acaba en un nuevo estado. Las listas de acciones aleatorias se sienten más largas de lo que son.
Añade cámara y encuadre después del plan de beats. Si necesitas que el público lea la mecánica corporal, mantén el cuerpo entero visible. Si necesitas un cambio de expresión, usa un plano medio corto. No pidas ambas cosas a la vez en un clip diminuto, a menos que el movimiento de cámara sea sencillo.
Especifica qué no debe cambiar durante los beats. La identidad, la posición del objeto, la paleta, la dirección en pantalla y la iluminación deben permanecer estables, a menos que el beat trate precisamente de ese cambio.
Revisa el borrador según la lista de beats. En ArcLoop, mantén el shot card visible y marca el primer beat que falta. Si la presentación llega tarde, acorta la acción. Si el final se corta, elimina un gesto intermedio. La solución fácil suele ser eliminar, no añadir otra frase.
Para planificar secuencias de varios shots, usa Three-Shot Continuity Board. Para una única acción animada, compara con Single Action Dance Clip.
Usar ArcLoop para mantener los beats editables
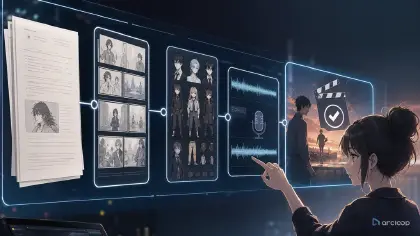
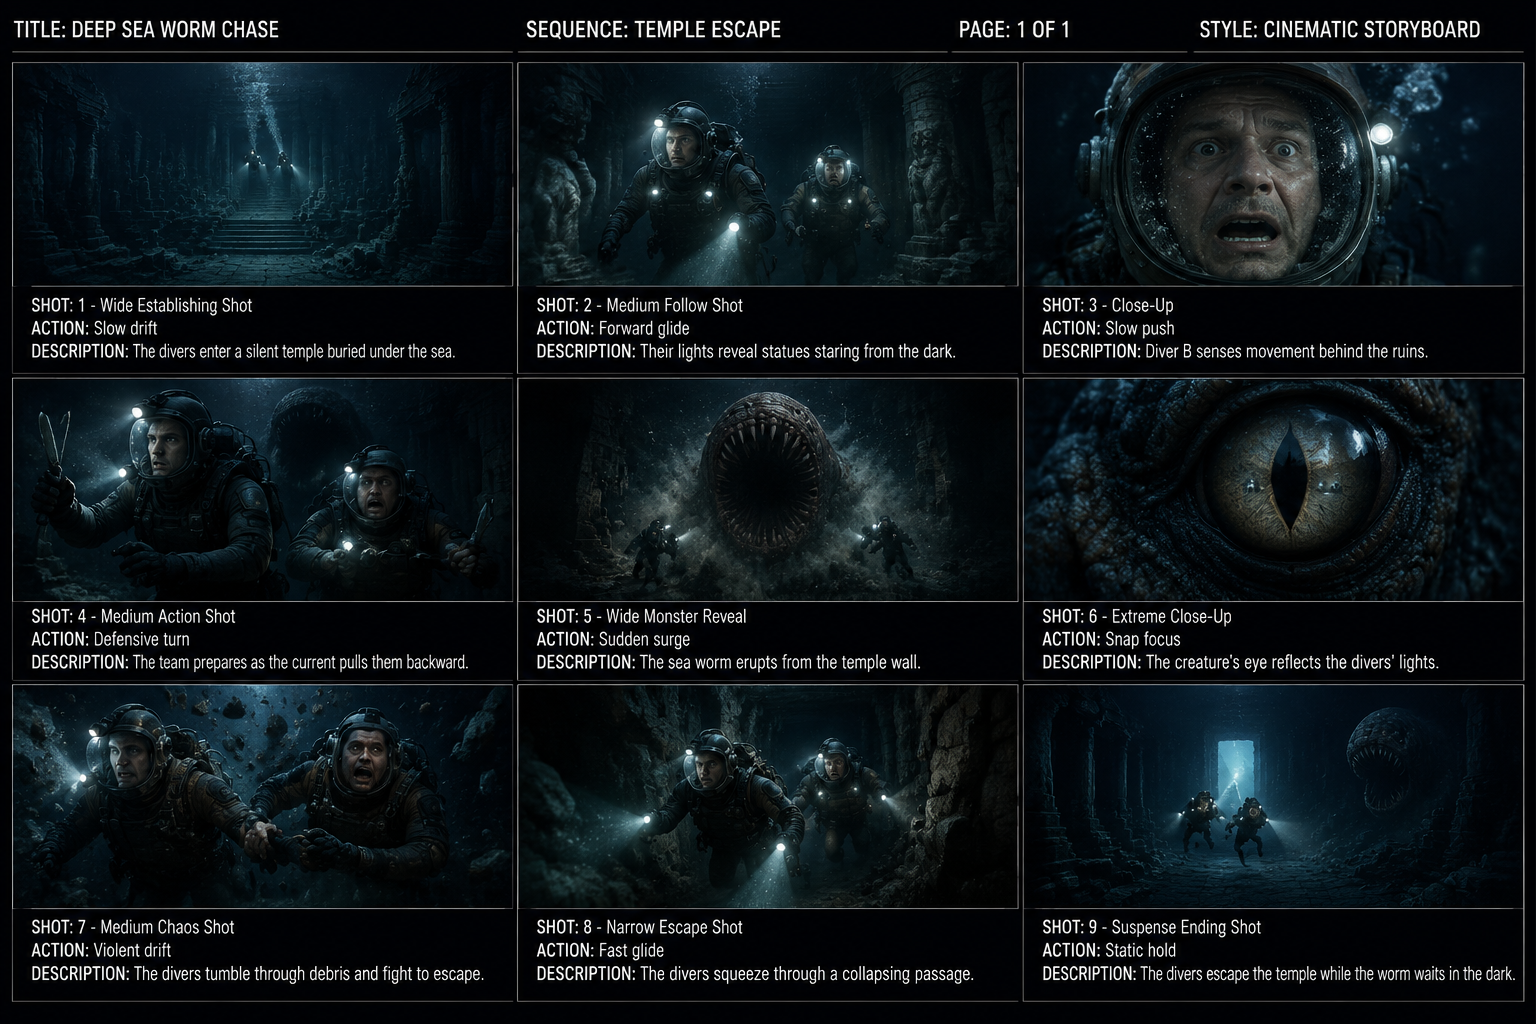
ArcLoop ayuda porque la planificación de la duración no es solo un truco de prompt. Cada beat vive como su propio Shot dentro del Storyboard, junto al character asset que referencia y al clip que generó; abre un shot card y podrás comprobar si está cumpliendo su función asignada.
Empieza con una versión aproximada. Pide a ArcLoop un borrador de bajo coste que demuestre el ritmo: apertura, acción, reacción, plano final. No inviertas en pulido de iluminación detallada o efectos hasta que el orden de beats sea legible.
Cuando una secuencia tiene varios clips, escribe el out-point de un Shot y el in-point del siguiente. Por ejemplo, «ends with Jun facing the elevator doors» y «next shot begins from inside the elevator». Esto evita presentaciones repetidas y hace que los vídeos cortos parezcan planificados.
El flujo de Storyboard y shot card de ArcLoop es también donde pertenece la continuidad. Si un personaje sale por la derecha de la pantalla, el siguiente beat debe respetar esa dirección. Si un objeto se ilumina al final, el siguiente Shot debe llevar ese estado hacia adelante. Mantén estas notas dentro del proyecto en lugar de reconstruir el plan en otro lugar.
Ejemplo 1: Library Elevator Reveal
Create a 7-second 2D anime video shot for an original mystery scene. Character: Ivo Ren, a tired junior archivist with ash-brown hair, square glasses, a moss cardigan, dark slacks, and a canvas document tube. Setting: a silent underground library elevator with brass buttons and shelves sliding past behind glass.

Beat plan: seconds 0-1, Ivo stands still in a medium shot as the elevator hums and one brass button glows by itself. Seconds 1-3, he slowly turns his head toward the button, keeping the document tube tucked under his arm. Seconds 3-5, he presses the glowing button with one cautious finger, and the shelf reflections move downward. Seconds 5-7, he steps back, eyes widening, ending on a clear final hold as the elevator doors open to blue archive light.

Camera: locked medium shot, no cuts, small push-in only during the final hold. Preserve his glasses, cardigan, document tube, and cautious posture. Clean 2D anime style, soft brass lighting, readable hand motion. No text, no extra characters, no cropped face, no sudden outfit change, no frantic camera shake.
Este prompt funciona porque cada beat cambia el estado de la escena. La imagen final no es solo un cierre; es el gancho para el siguiente Shot.
Ejemplo 2: Rooftop Bento Hook
Generate a 6-second 2D anime social clip with a bright lunchtime comedy tone. Character: Maki Sol, an original rooftop gardening club captain with short peach hair, a green apron over a school uniform, red sneakers, and a yellow bento cloth tied around one wrist. Setting: school rooftop vegetable beds on a windy spring day.

Timing: second 0-1, full-body view as Maki kneels beside a tomato planter and proudly lifts a tiny bento box. Seconds 1-2.5, a sudden gust flips the bento lid open; her hair and apron snap sideways. Seconds 2.5-4.5, she lunges forward and catches three floating rice balls with both hands visible. Seconds 4.5-6, she freezes in a triumphant kneeling pose, cheeks puffed with relief, final hold long enough to read the joke.

Camera: full-body three-quarter view, locked position, feet and hands visible. Keep the rooftop layout simple and the bento cloth yellow throughout. Use clean cel shading, light comic timing, and soft spring colors. No extra students, no cropped hands, no random food explosion, no style change, no text or watermark.
El clip no intenta contar toda la historia del club. Usa un problema físico y un remate visual claro.
Ejemplo 3: Canal Chase Edit Point
Create an 8-second 2D anime action transition in a floating canal city at dawn. Character: Orin Hale, an original map runner with dark blue braids, amber scarf, sleeveless navy coat, tan gloves, and a rolled paper map strapped across his back. He is crossing a narrow bridge while a small courier drone passes overhead.

Beat structure: seconds 0-1.5, wide side view establishes Orin running left to right across the bridge. Seconds 1.5-3.5, he hears the drone, plants one foot, and twists his shoulders back without changing direction. Seconds 3.5-5.5, he grabs the rolled map strap as wind lifts the scarf. Seconds 5.5-8, he leaps from the bridge toward a passing boat, landing with one knee bent and looking offscreen right for the next cut.

Camera: side tracking shot that stays parallel to the bridge, no spin, no sudden close-up. Preserve screen direction, scarf color, map position, and bridge layout. Style: crisp 2D anime action with clear key poses, dawn mist, moving water reflections. No motion blur hiding the landing, no extra limbs, no costume redesign, no text.
Este ejemplo termina en un punto de edición deliberado. El siguiente Shot puede comenzar con Orin ya en el barco, en lugar de repetir la presentación de la persecución.
Errores frecuentes en prompts de duración
El error más frecuente es usar todo el tiempo disponible en movimiento y no dejar tiempo para la comprensión. Los espectadores necesitan una presentación y una pose final, incluso en un clip rápido.
Otro error es escribir cinco acciones que no se causan entre sí. El diseño de beats no es una lista de verificación. El siguiente movimiento debe responder al movimiento anterior.
Los creadores a menudo ignoran el plano final. Si el clip termina durante un smear, un parpadeo o un movimiento de cámara, resulta difícil cortarlo de forma limpia. Pide un estado final legible.
Muchos prompts mezclan tamaños de plano dentro de un clip corto. Una persecución en plano general, una reacción en primer plano, un salto en cuerpo entero y un reveal ambiental pueden necesitar shots separados. Usa el flujo de Storyboard de ArcLoop en lugar de forzarlos en un solo render.
Por último, no uses la duración como decoración. «Eight seconds» por sí solo no crea ritmo. Aún necesitas gastar esos segundos en beats con nombre.
Preguntas frecuentes
¿Cuántos beats debe incluir un prompt de vídeo IA corto?
Usa tres o cuatro beats para la mayoría de los clips: presentación, acción, reacción, plano final. Más de eso suele saturar el clip, a menos que sea más largo o la acción sea muy sencilla.
¿Debo describir los segundos exactos?
Los segundos aproximados son útiles. Guían el ritmo sin pretender controlar cada fotograma. Usa rangos amplios como «seconds 1-3» o «final half-second hold».
¿Qué hago si mi clip se siente demasiado lento?
Primero comprueba si el opening beat está haciendo un trabajo real. Si el espectador ya entiende el lugar y el personaje del Shot anterior, acorta la presentación y dedica ese tiempo a la acción o la reacción.
¿Qué hago si mi clip se siente demasiado apresurado?
Elimina un beat. Una mirada limpia, un alcanzar y un plano final suelen funcionar mejor que una mirada, una carrera, un salto, un grito, un giro, un reveal y una sonrisa comprimidos en los mismos seis segundos.
¿Cómo planifico una escena completa a partir de beats cortos?
Divide la idea en shots dentro del Storyboard —un shot card por beat—, escribe qué es nuevo en ese beat en la descripción del Shot, incorpora personajes con una referencia @ para que la identidad no derive y genera un Shot cronometrado a la vez dentro del mismo proyecto.