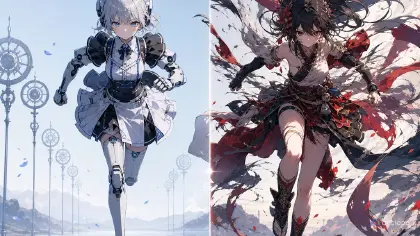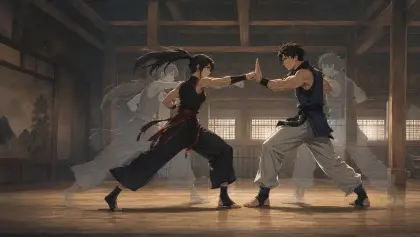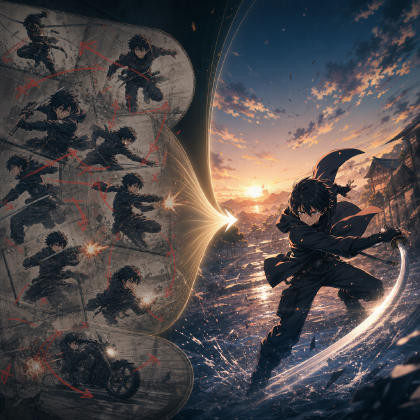
Showing a Design Is Not the Same as Introducing a Character
The first appearance looks attractive, but it says nothing. The OC steps into frame, hair moves, coat flutters, particles glow, and the clip ends like a profile card. Viewers can describe the outfit, but they cannot tell whether this person is dangerous, kind, funny, secretive, late, guilty, or about to change the scene.
That is the usual first appearance failure. A character introduction is not just the first time the design appears. It is the first time the audience learns how the character changes the room. A strong entrance gives the viewer three things: a silhouette they remember, an action that reveals behavior, and a reaction from the world or another person.
This guide shows how to write AI anime prompts for first appearances that feel like story moments. It covers silhouette entrances, reveal objects, reaction beats, identity anchors, camera choices, and three copy-ready examples. Start from character profile fields when the identity is not locked yet, then build the entrance shot inside ArcLoop Worlds.
Principles for First Appearance Prompts
The first principle is silhouette before detail. The viewer should understand the character shape before noticing the buttons. A cape, umbrella, toolbox, blade case, instrument bag, or oversized sleeves can make the entrance readable from a distance.
The second principle is behavior on arrival. Do they apologize, ignore everyone, fix a broken machine, steal the best seat, avoid eye contact, save a falling cup, or close the door before speaking? Behavior introduces character faster than biography.
The third principle is a reveal object. A first appearance often works when one object carries meaning: a cracked badge, sealed envelope, repaired toy, missing glove, forbidden key, broken sword, or stage microphone. The object gives the camera something to reveal.
The fourth principle is world reaction. The room should respond. Conversation stops, lanterns flicker, a robot bows, dust lifts, classmates whisper, rain blows inward, or an old sign turns on. If nothing changes, the entrance may feel decorative.
The fifth principle is final hold. End the shot on a pose or expression that says who the character is. A first appearance needs a clean final frame because that frame becomes the audience's mental thumbnail.
The sixth principle is restraint. Do not combine entrance, transformation, fight, confession, flashback, and costume reveal in one short clip. Pick one character-defining beat and let it land.
How to Build a First Appearance Prompt Step by Step
Start with what the audience should learn. Write one sentence: "The viewer should understand that Jun hides fear behind perfect manners" or "The viewer should understand that Kelda treats danger like a repair problem."
Define the entrance location. A classroom doorway, train roof, backstage hallway, flooded shrine step, repair elevator, or tournament gate all create different social pressure. The location should make the entrance harder or more revealing.
Describe the silhouette and anchors. Name hairstyle, outfit shape, color block, prop, and posture. Do not overload the first shot with every design detail from the character asset.
Write the action in beats. Good first appearances often use three beats: silhouette appears, object or face is revealed, the character does one behavior-defining action.
Set the camera. Use wide shot for entrances through space, low angle for imposing reveals, medium shot for social arrival, close-up for object reveals, or over-the-shoulder when another character's reaction matters.
Add world or cast reaction. Even one small reaction can sell the entrance: a side character grips a cup, a bell stops ringing, a catwalk light turns, or a crowd falls quiet.
End with constraints. Useful constraints include preserve identity anchors, no random extra cast, no text, no copied symbols, no sudden costume change, no camera cutting before the reveal, no hidden hands, and no photorealism.
What the Entrance Shot Needs From the Character Asset
A first appearance depends on a few things agreeing with each other. The character asset's description explains the behavior; its main and reference images protect the identity. The shot card in the episode's storyboard decides the reveal beat and, inside its shot description, when the viewer sees the face or object. Later scenes stay consistent simply because they @ the same asset instead of re-describing the character from scratch.
Start with the character asset if the design is still soft. Use OC character asset front turnaround to lock the silhouette, outfit, prop, and face as reference images. Then write the first-appearance shot in ArcLoop Worlds: location, entrance path, reveal object, camera move, and the final frame the next shot needs to match.
Review drafts in a practical order. First, ask whether the viewer can recognize the character. Second, ask whether the entrance reveals behavior. Third, ask whether the final frame is clean enough to connect to the next shot. If the design works but the behavior is bland, do not redesign the outfit. Change the action. If the action works but identity drifts, update the character asset's reference images. For general shot writing, pair this with How to Write 2D Anime Animation Prompts.
Here is how to set this up in ArcLoop before you write a single shot description.
Open your IP Project and go to My Assets. Create a new character asset for the character making their first appearance. Write a short description covering their role and behavioral traits — not their outfit list. Then go to Library, upload your reference images (front view, costume detail, face close-up), and Bind each one to the character asset: set the clearest image as the Main image and add the others as Reference images.
Now open the Episode where the entrance happens and click Generate Shots. Find the shot card for the first appearance. In the shot description, type @ followed by the character's name to pull in the asset — you do not need to re-describe their hair, face, or outfit here. Write only what is new in this shot: the entrance path, the camera angle, the reveal object, and the final hold frame. Generate the image first to confirm the silhouette and identity read correctly, then generate the video once the composition is locked.
If something looks off — wrong face, costume drift — do not rewrite the shot description from scratch. Go back to the character asset, check which image is set as Main image, and swap or add a clearer Reference image. Then regenerate only that shot. Use the AI Chat Panel to regenerate a specific card without touching the rest: type "Regenerate Shot 2 image" and confirm before moving on.
Example 1: First Appearance in a Clock Tower Classroom
Wide shot of the clock tower classroom at golden hour. @Elian enters through the classroom door — his tall silhouette appears against warm hallway light. He steps in and closes the door softly with one gloved hand; the ticking clocks on the walls fall out of sync. Camera pushes in slowly to a medium shot as he bows to the room, the cracked pocket watch visible near his chest. Two students stop whispering. Chalk dust hangs still in the light. Final hold: @Elian standing upright after the bow, expression calm and unreadable. Cel-shaded anime style, warm brass tones. No camera cut before the bow. No text, no random symbols, no costume change.
This entrance teaches the viewer how Elian affects the room. The pocket watch and clock reaction carry the mystery without a lore dump.
Example 2: First Appearance on a Repair Elevator
Low-angle shot from the elevator floor looking up inside a vertical mecha repair shaft. @Nira drops into frame on the repair elevator from above. Sparks rain from a broken cable. She lands in a crouch on the railing, oversized orange wrench balanced across her shoulders. Without pausing, she reaches up and tightens one bolt; the alarm light shifts from red to steady green. Visor reflection flashes once. Tool belt swings. Steam vents sideways. Final hold: @Nira crouched on the railing, wrench in hand, alarm green behind her. Crisp industrial anime line art, cool metal shadows. Hands visible throughout. No extra workers, no text labels, no camera spin.
The action introduces competence. Nira does not need to announce that she is capable; the entrance proves it.
Example 3: First Appearance at a Festival Backstage Curtain
Medium over-the-shoulder shot from behind a nervous child performer looking toward the closed backstage curtain at a seaside summer puppet festival. The curtain edge moves. @Saye's wooden bird puppet appears first, tilting its head. @Saye steps out of shadow into lantern light, one hand raised with thin puppet strings visible. She smiles at the child; the noisy backstage crew falls quiet. Final hold: @Saye framed beside the curtain, bird puppet perched near her shoulder, ankle bells still. Warm lantern light, painted cloth texture, delicate hand poses, elegant 2D anime style. No text, no extra fingers, no random audience crowd.
This prompt reveals the character through an object and another person's reaction. The first appearance becomes a scene, not a costume showcase.
Ways a First Appearance Goes Wrong
The most common mistake is making the entrance a fashion turntable. Full-body art is useful, but an introduction needs behavior. Add an action that shows temperament.
Another mistake is revealing everything at once. If the face, weapon, power, backstory, ally, enemy, and transformation all arrive in the same shot, none of them lands. Save later reveals for later scenes.
Creators also forget the room's reaction. A first appearance feels flat when nobody or nothing changes. Even a small environmental response can make the character feel important.
A fourth mistake is choosing the wrong camera size. A dramatic doorway entrance often needs a wide or medium shot. A secret object reveal may need an insert or medium close-up. Do not crop away the thing that proves the character's role.
Finally, do not rewrite a finished character design to fix a weak entrance. If the sheet is good, change the staging: entrance path, prop reveal, reaction, camera, or final hold.
FAQ
What should a first appearance prompt include?
Include the audience lesson, location, silhouette, identity anchors, entrance beats, reveal object, camera, world reaction, final frame, and constraints. Keep the focus on one character-defining moment.
Should I introduce a character with dialogue?
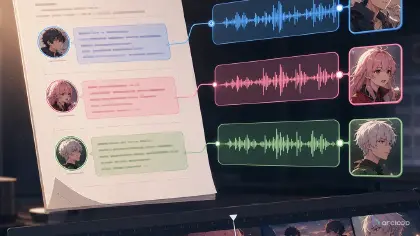
Dialogue can work, but it is not required. A behavior, prop, or reaction often introduces the character more cleanly. If dialogue is needed, the character asset's voice carries into the line, and you generate the voiceover from the Edit timeline once the shot itself is locked.
How do I make the first appearance memorable?
Give the character one visual anchor and one behavior that changes the scene. A cracked watch that stops clocks, a wrench that fixes danger, or a puppet that quiets a room is easier to remember than a list of outfit details.
How do I plan a character introduction step by step?
Build the character as a character asset first — description, main image, reference images, voice — then write the entrance as a shot in the episode's storyboard that references that asset with @. Because later scenes @ the same asset, the introduction and everything that follows stay visibly connected.
When should I use a character asset before the first appearance?
Use a sheet first when the design needs to stay consistent across multiple shots. The first appearance prompt should then focus on staging and behavior instead of trying to invent the whole design again.