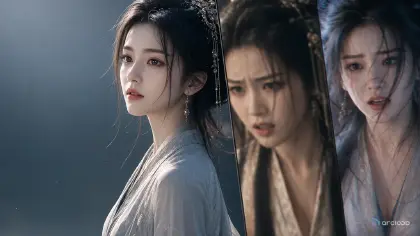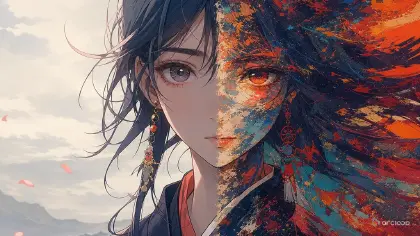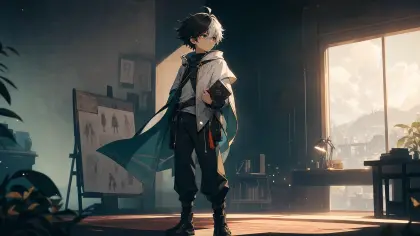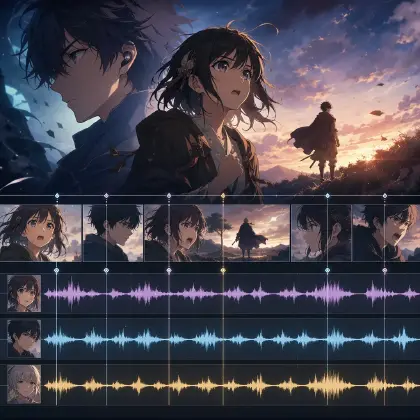
Colors look great but the scene still feels flat
You write a promising anime scene: a lighthouse intern finds a forbidden map in a storage room, wind pushes the curtains, and the camera moves toward her hand. The draft has all the objects, but nothing has weight. Her face, the map, the shelves, and the window glow with the same brightness. It looks decorated, not directed.
Light and shadow prompts fix that by giving the scene a visible rule. Instead of piling on "cinematic, dramatic, beautiful lighting," you decide where the key light comes from, what falls into shadow, where the rim light separates the silhouette, what color bounces from the environment, and which object should catch the viewer's eye first. In anime production, lighting is not only polish. It controls mood, depth, character focus, and the continuity between shots.
Use this guide when a shot feels flat, muddy, overexposed, randomly neon, or hard to read at mobile size. It shows how to describe light direction, cast shadows, reflected color, silhouette edges, and final-frame focus inside ArcLoop. Start with regional art style guide for a visual starting point, or test depth logic with Cyberpunk Walk Depth Layers.
The goal is not to write a physics textbook. The goal is to make the light useful enough that the draft can be reviewed: where does it come from, what does it reveal, what does it hide, and what should remain stable in the next shot?
Rules for describing light direction
Choose one dominant light source. A desk lamp, vending machine, sunset window, emergency flare, moon through blinds, phone screen, or furnace door gives the shot a reason for brightness. If every object emits a different glow, the scene loses hierarchy.
Separate mood from mechanics. "Lonely" is a mood. "Cool blue window light crossing half her face" is a lighting instruction.
Use shadows to stage the action. A cast shadow can point toward a clue, hide a character's expression, stretch across a floor, or divide two characters in a confrontation. Shadows are not just absence. They are composition tools.
Protect the silhouette edge with rim light, backlight, or clean value contrast so hair, shoulders, hands, and props do not dissolve into the background.
Let reflected color belong to the environment. Wet asphalt throws blue and red light upward. Tatami reflects warm green-brown softness. Snow bounces pale light into the face. A monitor paints cool light on glasses. These details make a world feel coherent.
Keep continuity across a sequence. If the previous shot placed the sunset on screen left, the next shot should not suddenly light the same character from screen right unless the camera has moved. Light direction is shot-level information, the same as blocking — write it straight into each shot's description, in ArcLoop's shot card, not into the character asset.
How to build a light-and-shadow prompt: from story beat to draft
Start with the story beat: the hidden map, the character's hesitation, the rival in the doorway, the hand reaching for the switch, or the final expression. Lighting should support that priority.
Name the key light in plain words: single warm desk lamp from lower left, hard white skylight, cool moonlight through blinds, or red alarm light from the corridor. Add shadow behavior: soft, hard, long, broken by window frames, cast by leaves, or pooled under furniture.
Define fill or bounce only when the shadow side needs detail. Snow, water, floor tiles, city signs, and paper walls all reflect different colors. If the shot should feel harsh, say the shadow side stays mostly unfilled.
Set the silhouette edge with rim light, backlight, doorway glow, reflected hair edge, or pale shoulder outline. Then name the brightest object and what must not bloom out. Record light direction, time of day, and color rule in the ArcLoop shot card.
Put lighting in the shot card, not in character assets
Treat lighting as one layer of the shot cards, not a late adjective. The lighting note answers four things: primary source, shadow pattern, reflected color, and focal point.
Generate a rough draft first. If composition, character, and action work but the shot is flat, use a narrow light pass: "keep everything, change only key light, cast shadow, rim edge, and reflected color." For reusable worlds, store recurring light rules so later shots feel like the same IP.
When you need a starting point, open regional art style guide, choose the nearest light family, then write your own scene-specific rule inside ArcLoop Worlds. Keep that rule about light behavior only — it shouldn't rewrite the story beat.
Here's the click path. In your world, open My Assets and check whether the character already has a bound Main image — that carries identity into every shot, so you don't need to redescribe hair or costume when you set up lighting. If a location or mood recurs across an episode, save it as a Visual reference so the same light family is one click away instead of retyped every time.
Inside the episode, click Generate Shots to get your shot cards, then open the one you're lighting. Write the light source, shadow behavior, and reflected color straight into that shot's description, and reference the character with @ instead of re-listing their appearance. Generate an image first and check the key light, shadow shape, and rim edge before spending a generation on video.
Once the lighting reads right, note the exact wording — source, direction, shadow type — so you can paste it into the next shot in the sequence with only the character or action swapped. When two or three shots in a row are ready, open the AI Chat Panel and type something like "Generate videos for Shots 2, 3, and 4" instead of clicking through each one. Drop the results into Edit to check them back to back on the timeline — that catches a light direction that jumped between cuts.
Example 1: Lantern Archive Discovery
Medium shot of @Senri kneeling in the underground archive, camera at shelf height, slow push-in, framing her slightly right of center. She opens a low wooden drawer and lifts out a folded map catching the lantern light. The only light source is one brass lantern on the floor, warm and low from screen left, lighting her hands, the map's edge, and her lower face, while her hair and shoulders fall into soft shadow. Drawer-handle shadows stretch diagonally toward camera, and a faint green bounce from the old cabinet paint touches her cardigan's shadow side. Add a thin rim edge along her glasses from the lantern. Keep the room quiet, just paper rustling as the map unfolds.
This prompt gives the shot one light source and a clear focal hierarchy.
Example 2: Greenhouse Storm Backlight
Wide, locked-camera shot of @Halka standing among the greenhouse planters, full body visible, glass wall behind her during the storm. She notices a cracked seed pod glowing under a bench, steps closer, and shields it from dripping water with one hand. Cool gray storm daylight backlights her through the glass, outlining her hood and braid; the seed pod is a small warm fill light from below, touching only her hand and chin. Leaf shadows drift slowly across the floor, wet glass catches pale highlights, and puddles reflect a muted yellow from her raincoat. Rain taps steadily on the glass; one drop falls into a bucket. Keep the seed pod glow small and contained.
The scene uses backlight and reflected color without making everything glow.
Example 3: Ferry Deck Shadow Revision
Update this shot of @Dalen on the ferry deck: keep the same waist-up side camera, the rope-tying action, and the foggy morning setting. Change only the light. A pale sunrise key comes from screen right through the fog, tracing a soft bright edge along his hair, cheek, jacket sleeve, and rope bracelet, while the left side of his face stays in gentle cool shadow. Rail shadows fall across his jacket in thin horizontal bands, and the wet deck reflects a dim peach tone under his hands. A distant foghorn sounds once as he pauses and looks off screen. The bracelet needs to read clearly against the jacket.
This revision prompt does not restart the whole idea. It repairs light direction, shadow shape, and focal contrast.
Ways light prompts go wrong
The first mistake is stacking lighting adjectives that contradict each other. Pick the visible source and let the mood follow.
The second mistake is forgetting the brightest object. If the eye has nowhere to land, the scene feels flat even when the colors are attractive. Name the focal object and keep secondary lights weaker.
The third mistake is using rim light everywhere. Rim light is useful when the silhouette needs separation, but a glowing outline around every object can make the frame look synthetic. Choose the character edge or key prop.
The fourth mistake is changing light direction between shots without a story reason. Track screen direction, window position, and time of day.
The fifth mistake is asking polish to fix staging. Better shadows cannot save an unreadable action. Confirm pose, camera, and focal point first, then refine light.
Finally, do not treat darkness as detail loss. A shadow area can keep shape through value contrast, reflected color, and clean silhouettes. Black mud is not atmosphere.
FAQ
How specific should an anime lighting prompt be?
Specific enough to review. Name the key light source, direction, shadow type, reflected color, and focal object. You usually do not need technical lighting jargon if the visible behavior is clear.
Should I use "cinematic lighting" in prompts?
It can be a supporting style phrase, but it should not be the whole instruction. Replace it with concrete choices such as low lantern light, window-frame cast shadows, cool backlight, warm bounce, or a rim edge on the hair.
How do I make night scenes readable?
Give the character a silhouette edge, a motivated small light source, and controlled shadow detail. Use signs, windows, moonlight, streetlamps, or reflected water as sources instead of raising the whole scene brightness.
How does ArcLoop help with lighting continuity?
ArcLoop keeps light direction, color rule, and shadow behavior written into the shot card itself, right alongside the shot description. You reuse the approved version by copying it into the next shot instead of re-planning the scene elsewhere and importing guesses later.
When should I run a lighting revision pass?
Run it after identity, camera, and action already work. The revision should keep approved layers still and change only key light, cast shadow, rim edge, reflected color, exposure, or focal hierarchy.