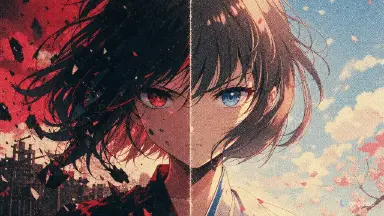
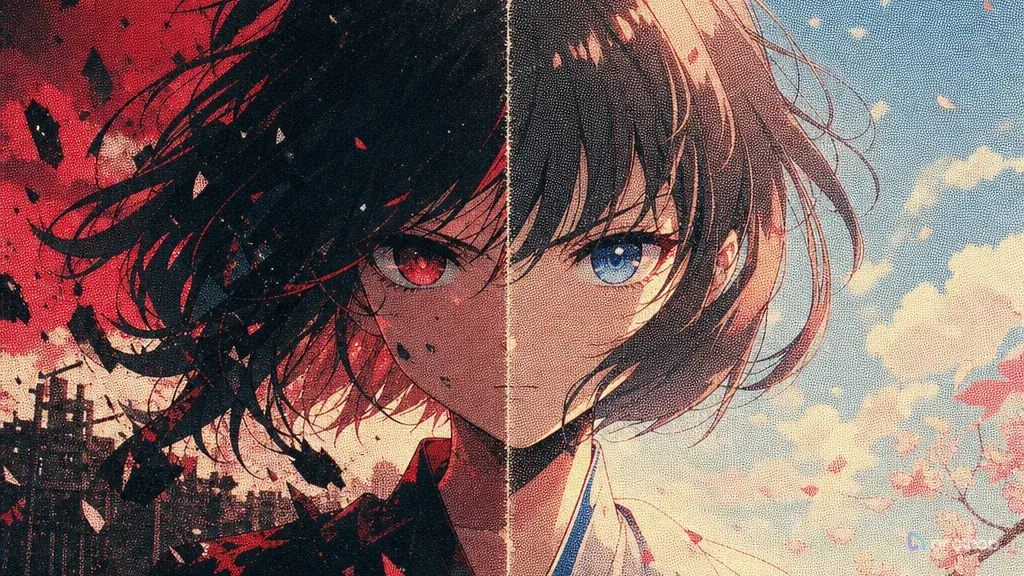
When Texture Turns Into Mud
The first draft looks promising: an anime herbalist stamps labels in a tiny apothecary, and the frame has paper grain, uneven ink, and a charming handmade finish. Then you generate the close-up. The grain crawls across her eyes, the halftone dots eat the mouth shape, the label area becomes fake unreadable text, and the supposedly tactile style now looks like a dirty filter.
That is the real texture problem in AI art prompts. "Add watercolor paper," "make it risograph," or "use vintage print texture" can create surface interest, but it can also bury the character and break continuity. Media texture includes base surface, mark behavior, edge softness, color absorption, print artifacts, ink limits, and clean zones.
This merged guide covers both media texture simulation and print process texture: brush grain, ink bloom, pencil tooth, cel paint, paper fibers, pixel grit, lens softness, halftone screens, risograph offset, screen print edges, misregistration, and limited-ink palettes. In ArcLoop, those choices can live as a visual reference asset in My Assets, right alongside the character asset and the shots that use it, then tested through Style Templates or Ink Watercolor Travel Journal.
The point is to decide which material effect supports the story, how strong it should be, and which parts of the frame stay clean. Once that rule is visible, texture-rich anime art can still read on mobile and keep the same character from shot to shot.
Rules for Picking the Right Media Behavior
Start with the base surface. Smooth cel, cold-press paper, newsprint, coated poster stock, rough sketchbook, recycled fiber paper, and pixel canvas all behave differently. The surface determines how edges break, how color sits, and how much detail should survive.
Separate mark texture from output texture. Brush streaks, pencil pressure, ink bleed, and dry pastel are mark behaviors. Halftone, risograph offset, screen print trapping, paper grain, and ink limits are reproduction behaviors.
Protect faces, hands, and story text zones. Texture can be strong in skies, clothing, walls, posters, or shadows, but eyes, mouths, fingertips, and important props need cleaner edges. A good prompt says where texture is allowed to be bold and where it must be subtle.
Use print artifacts as controlled imperfections. Misregistration should be a tiny offset on color plates, not a full character double image. Halftone should support values, not replace facial features.
Avoid "texture everywhere." Leave flat cel color, clean negative space, or unprinted paper so the material feels intentional.
Review texture at final size. A beautiful paper grain in a large preview can become compression dirt in a vertical short thumbnail. Before you lock a texture rule, check it against the actual output format — poster, story frame, short-video still, thumbnail, or cover card — not just the preview size.
How to Build a Texture Prompt That Holds Across Shots
Write the texture job in one sentence. For example: "make the apothecary short feel like two-color risograph on warm paper, while keeping character faces clean." This is better than a long pile of style words because it includes both the effect and the boundary.
Choose the fixed identity anchors before texture. List the character's face shape, eye color, hairstyle, outfit silhouette, signature prop, and any color that must survive the print treatment. Texture should sit on top of identity, not rewrite it.
Pick one dominant media behavior and one optional print behavior. A watercolor base with gentle paper grain, flat cel base with halftone shadow, or risograph finish with slight color offset can each work. Do not ask for every material in one shot.
Define clean zones and textured zones. Clean zones might be eyes, mouth, hands, product labels, subtitle space, or a magical sigil. Textured zones might be background paper, large shadow shapes, clothing folds, sky gradients, or border areas.
Set strength. Use words like faint, moderate, restrained, heavy only in background, or strong on shadow shapes. For print process, set dot or offset behavior qualitatively: fine halftone, slight risograph misregistration, hand-pulled screen print edge.
Build the recipe as a visual reference asset in ArcLoop's My Assets, alongside the character asset it will style. For print-heavy looks, compare with Newspaper Halftone Retro Comic. For handmade scenes, start from Style Formula.
Generate a three-shot batch: close-up, prop detail, and wide scene. If the texture only works wide, make it a background rule. If it damages the close-up, lower strength or create a face-clean exception.
Turn Texture Choices into Reusable Assets
ArcLoop helps because texture decisions can be built as assets instead of one-off prompt flourishes: the character asset keeps identity stable, a visual reference asset stores surface and print behavior, and the shot description handles camera, action, and output format.
Use separate reference roles. A paper sample controls grain, a print sample controls dot behavior, a character asset controls the face, and a color card controls palette.
Keep the review order strict: identity first, readability second, texture third, polish fourth. If the face is wrong or the label area is unreadable, the texture recipe failed.
The smallest reusable artifact is a texture recipe with five fields: base surface, mark behavior, print artifact, clean zones, and reject rules.
Here is a practical run-through for applying a texture recipe inside ArcLoop.
Open your IP Project and go to My Assets. Create a Visual reference asset — name it something like "Kiri Riso Texture Recipe" — and paste your five-field recipe (base surface, mark behavior, print artifact, clean zones, reject rules) into its description. Upload a paper or print sample image from Library and Bind it as the Main image so the recipe has a visual anchor.
With your character asset already set up (Main image bound, Reference images attached for any alternate looks), open the Episode and click Generate Shots. The shot cards appear in Storyboard. In each shot card's description, type @ to reference both the character asset and the texture reference asset — for example, @Kiri and @Kiri Riso Texture Recipe — then add only the new information for that shot: camera angle, single action, lighting condition.
Generate the image first to confirm the texture lands correctly before committing to video. If grain or dots damage the face, update the Visual reference asset description to tighten the clean-zone rule, then regenerate that one shot card. Once the image reads cleanly at mobile size, use the AI Chat Panel to batch the video step: "Generate videos for Shots 1, 2, and 3." Arrange the results in Edit and replace any single problem shot without rebuilding the episode.
Example 1: Herbalist Riso Texture Recipe
Visual reference asset for @Kiri's Sunday Tonics — media and print texture recipe.
Base surface: warm off-white recycled paper, fine visible fiber grain.
Mark behavior: flat cel shapes on @Kiri; slightly dry ink edges on apron folds and shelf shadows only.
Print behavior: two-color risograph feel, sage green plus muted rust; slight plate offset restricted to background shelves and border shadows; no offset on @Kiri's face or hands.
Clean zones: @Kiri's eyes, mouth, hands, @brass spoon, bottle silhouettes, and all label areas — crisp, no fake text.
Reject if: grain or dots obscure facial features; extra color plates appear; photorealism bleeds in.
This recipe absorbs both media texture and print process rules. It tells ArcLoop what the surface is, how marks behave, how reproduction artifacts appear, and where they must not appear.
Example 2: Kiri Stamps the Morning Labels
Medium close-up of @Kiri sitting at the wooden counter before opening. She stamps three blank bottle tags, notices one crooked, and smiles before fixing it.
Camera: locked front-left angle; @Kiri's face in upper-left third, hands and stamp centered, @apothecary shelves softly behind.
Texture: low-strength recycled paper grain across full frame; flat cel on @Kiri; dry ink edges on apron folds; slight risograph plate offset on shelf shadows, herb bundles, and frame border only — not on @Kiri's face, fingers, or @brass spoon.
Motion: stamp presses once, tag slides slightly, ribbon tip shifts as she leans, dust motes drift in morning light.
Reject if: halftone touches @Kiri's face; hands smear; fake readable text appears on labels.
The prompt makes texture part of the shot direction. It is not simply "riso style"; it assigns print artifacts to safe zones.
Example 3: Revise a Muddy Halftone Cover
Revise selected apothecary cover: @Kiri stands outside the shop holding a bottle tray. Composition, outfit, and palette are approved — fix only the print process layer.
Preserve: @Kiri's walnut-brown hair, cream ribbon, moss-green eyes, sage apron, @brass spoon cord, shop doorway, bottle tray, vertical cover framing.
Change: reduce halftone on @Kiri's face and hands to nearly invisible; keep fine dots in the doorway shadow; restrict risograph offset to the background sign border only; add subtle paper grain to the empty sky zone.
Output goal: tactile print-inspired cover where @Kiri's identity and bottle silhouettes stay clean at mobile card size.
Reject if: facial features double, labels become fake text, or image resolves into generic digital polish.
This is the common print-process rescue: reduce artifacts where viewers read identity, keep them where they add flavor, and avoid rebuilding the whole cover.
Ways Print Texture Prompts Fall Apart
The biggest mistake is treating texture as a filter applied equally to the whole frame. A real production look has exclusions. Faces, hands, symbols, and key props often need cleaner rendering than walls or skies.
Another mistake is stacking too many materials. Pick one base and one finish.
Creators often overdo print imperfections. Slight misregistration can feel handmade. Large misregistration can make the character look duplicated. Halftone can organize value. Oversized dots can erase eyes and mouth shapes.
A fourth mistake is forgetting ink limits. If you ask for a two-color print finish but keep adding accents, the result loses graphic clarity.
Finally, do not let texture references import someone else's authorship. Use references for material behavior, not for copying characters, logos, poster layouts, or protected title designs.
FAQ
What is the difference between media texture and print process texture?
Media texture describes how the art appears to be made: paper tooth, brush marks, ink bloom, pencil grain, cel paint, or pixel grit. Print process texture describes how the image appears reproduced: halftone, risograph offset, screen print edges, paper grain, ink trapping, and limited color plates.
How strong should texture be in AI anime art?
Strong enough to be visible in the intended format, but not so strong that it damages faces, hands, or key props. For video frames and mobile cards, moderate background texture with clean character zones is usually safer than heavy texture everywhere.
How do I prompt risograph or halftone without muddy faces?
Assign artifacts to zones. Write "slight risograph offset only on background shadows and border shapes" or "fine halftone in large shadow areas, no halftone across eyes and mouth." Keep that instruction in the visual reference asset's description in My Assets, so it stays attached to the asset instead of being retyped in every shot.
How do I reuse the same texture across multiple shots?
Yes. Save the texture recipe with base surface, mark behavior, print artifact, clean zones, and reject rules. Then attach it to each storyboard or shot card so the recipe travels with the production instead of being rewritten from memory.