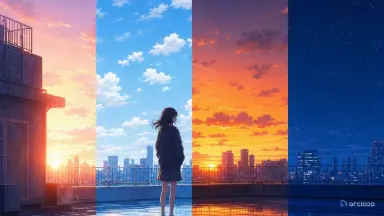
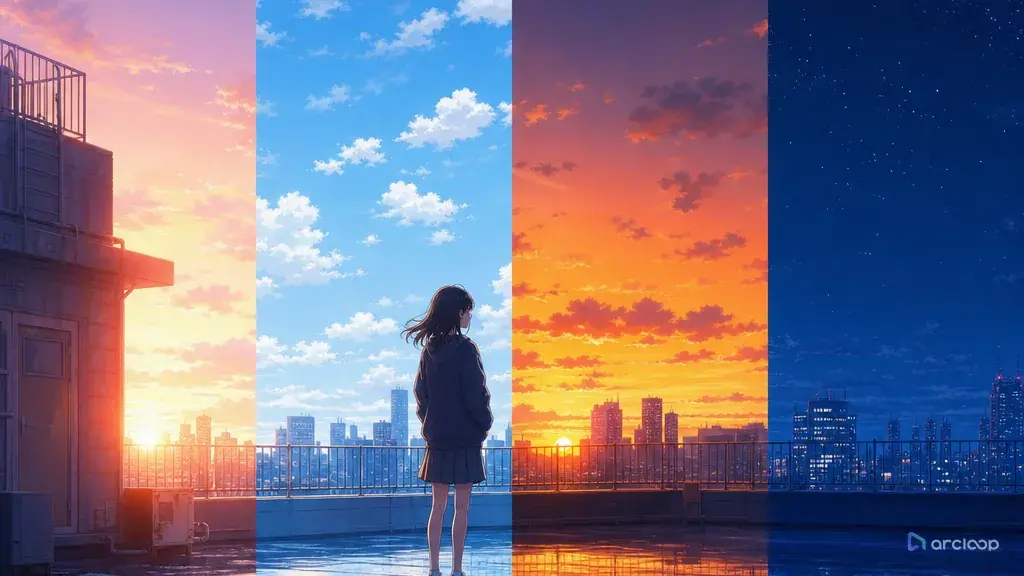
When every time of day looks the same
You build a morning training scene, a noon chase, a sunset confession, and a night lookout shot. The prompts all mention different times, but the clips come back with the same soft blue-orange glow. The character is readable, yet the story time has no weight. Viewers cannot tell whether the scene is early, late, urgent, tired, or dangerous. This guide walks you through how to prompt each time of day with its own light color so the story time actually reads on screen.
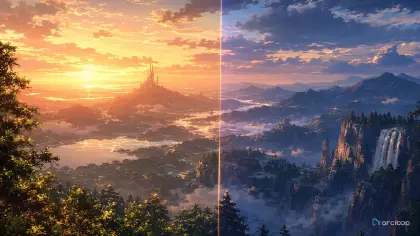
Time of day is not just a color filter. It changes shadow direction, contrast, skin tones, background visibility, practical lights, and the emotional logic of the scene. Dawn can make a character look unprepared. Noon can expose every mistake. Dusk can soften a goodbye. Night can hide information while signs, lamps, and screens become the main light sources.
This guide shows how to prompt time-of-day light color for AI anime shots without turning every scene into the same vague mood. Use regional art style guide when you need a visual baseline, and build the location as a Scene asset inside ArcLoop Worlds when it needs to appear at multiple times of day, so each version still reads as the same place.
Name the light source, then the palette
Name the light source before the palette. "Golden" is a color. "Low sun behind the greenhouse glass, creating warm rim light and long floor shadows" is a lighting plan — naming the source pins down where the highlights and shadows fall, instead of leaving the model to guess.
Separate time from weather. A rainy dawn, clear dawn, and foggy dawn should not look identical. Time controls sun angle and color temperature; weather controls diffusion, visibility, reflections, and atmosphere. Prompt both only when both matter.
Use shadows as evidence. Morning and late afternoon usually create longer shadows. Noon creates shorter, harder shadows. Overcast days soften shadow edges. Night scenes depend on practical lights such as vending machines, lanterns, desk lamps, train windows, or monitor glow.
Protect character identity under color shifts. Strong sunset rim light or neon night color can alter hair, eyes, and outfit values. Repeat the character anchors and specify that the color grade should not redesign the costume.
Match time of day to story pressure. A sunrise promise, noon public failure, dusk departure, and midnight secret all ask for different emotional contrast. The lighting should clarify the beat, not just decorate it.
Keep the palette simple. For short anime clips, one dominant light color, one shadow color, and one accent light are often enough. Too many color instructions can flatten into a generic fantasy gradient.
How to structure a time-of-day prompt, step by step
Start with the scene's clock. Use a precise phrase: blue dawn before shops open, hard summer noon, late afternoon after club practice, last orange light before rain, deep night lit by vending machines, or pre-sunrise gray.
Define the light source and direction. Say whether the light comes from behind the character, through blinds, from overhead, across wet pavement, from a desk lamp, or from signs outside a window.
Describe shadow behavior. Long shadows, hard-edged noon shadows, soft overcast shadows, broken leaf shadows, window-frame stripes, or no visible cast shadows under heavy fog all help the model understand the time.
Add color relationships. Pair warm highlights with cool shadows, blue dawn with pale skin tones, green fluorescent interiors with neutral outdoor dusk, or amber lamp light against violet night.
Connect light to action. A character may step from shadow into sun, shield their eyes, hide a face in backlight, turn off a lamp, or watch sunset color leave the room. This makes the light part of the scene.
Set camera and constraints. Mention whether the shot is close-up, wide, locked, or tracking. Add no random time shift, no changing outfit colors, no washed-out face, no unreadable silhouette, no text, and no watermark.
Store lighting rules on the scene asset
Write each time slot's light rule into the Scene asset's description in My Assets — dawn's rim light angle, noon's shadow length, dusk's palette, night's practical lights — and bind a reference image for each if you have one. If the same bakery, rooftop court, or shrine path appears across episodes, every shot that uses that time slot references the same asset entry instead of a fresh guess.
Create a small shot cards before rendering important scenes. Put dawn, noon, dusk, and night versions of the location on separate cards, with notes for shadow length, practical lights, palette, and what the character should still look like. Then generate drafts from the card that matches the episode beat.
Review time-of-day passes before polish. Ask three questions: can I tell the time without reading the prompt, does the character remain on model, and does the lighting support the action? If one fails, refine that layer only. For a stylized baseline, 90s Cel Animation Snapshot can help set line work and color handling before you create the shot.
Set this up once so every time-of-day version pulls from one place instead of a fresh guess. In My Assets, open the location as a Scene asset — the bakery courtyard, the rooftop, the shrine path — and bind a reference image to it for each time slot where you have one: dawn as the Main image, noon, dusk, and night as Reference images. Write the light rule for that slot right next to the image you just bound.
From there, go to the Episode and click Generate Shots. In each shot card, reference the location with @ and add only what changes for that shot — the time slot, the action, the camera move — instead of retyping the whole light rule. Generate the still first and check it against the rule you wrote: does the shadow length match noon, does the rim light match dusk? Once a couple of shots read correctly, open the AI Chat Panel and generate the rest together — "Generate videos for Shots 2, 3, and 4." — then pull all four into Edit, line them up in story order, and swap out any clip whose lighting drifts from its slot.
Example 1: Blue dawn delivery courtyard
Dawn shot at the @Bakery Delivery Courtyard, before the sun reaches the walls. @Niko Ashen stands at the locked alley gate, breath visible in the cold air. Light: cool blue skylight from above, very soft shadows under the crates, one bakery window leaking a faint warm glow. Action: Niko checks the gate, exhales, then notices the warm window light flicker as if someone inside just woke up. Camera: medium wide, locked frame, wide enough to hold the gate, the crates, and Niko's silhouette together. No orange sunset tones, no hard noon shadows, no rain.
This prompt makes dawn visible through soft shadow, cool ambient light, and one warm practical window instead of only saying "morning mood."
Example 2: Hard noon rooftop argument
Hard noon shot at the @Rooftop Water Tank on the school roof. @Niko Ashen stands beside the tank, just accused of losing an important letter. Light: sun directly overhead, short dark shadows under the railing and tank, bright bounce light off the concrete under Niko's chin, saturated blue sky. Action: Niko opens the satchel, finds the brass clasp scratched, and looks up toward an unseen classmate, jaw tight with controlled frustration. Camera: medium close-up, angled slightly down so the noon light flattens the space. No golden rim light, no long shadows, no extra characters entering frame.
Noon works because the prompt asks for short shadows, overhead exposure, and concrete bounce light. The scene feels public and unforgiving.
Example 3: Dusk lantern revision
Dusk revision of the @Bakery Delivery Courtyard shot, same alley gate and camera layout as the dawn version. Light: low orange sun behind the roofline casts a narrow rim on @Niko Ashen's cape edge, alley shadows run violet and longer than at dawn, two paper lanterns by the bakery door pool warm light on the ground, and the brass clasp catches one last flash of sun. Action: Niko ties the scratched clasp shut with string, looks toward the now-open gate, and steps forward, tired but resolved. Camera: same medium wide, locked frame as the dawn version, so the only change is the light.
This revision keeps location and character stable while changing the lighting layer. That makes time continuity easy to review.
The most common time-of-day mistakes
The most common mistake is naming the time but not the light behavior. "At sunset" can still produce a flat scene. Add sun direction, shadow length, rim light, and how the environment catches color.
Another mistake is using the same palette for every emotional beat. A confession at dusk, a chase at dusk, and a funeral at dusk need different contrast, camera, and practical lights even if the clock is similar.
Creators also let strong color grades redesign the character. If a red jacket becomes black under night light or blue hair becomes white under sun, the continuity is failing. Repeat identity colors and ask for lighting influence without costume replacement.
A fourth mistake is overloading night scenes with generic neon. Night needs a source: sign glow, bedroom lamp, vending machine, moon through curtains, dashboard light, or festival lanterns. Without a source, color becomes decoration.
Finally, do not fix time-of-day drift by adding more adjectives everywhere. Fix the shared Visual reference or scene reference, then regenerate the affected shot from that clearer rule.
FAQ
How specific should I be about time of day?
Specific enough that the light can be staged. "Late afternoon sun through classroom blinds" is stronger than "warm afternoon" because it controls direction, shadow shape, and composition.
Should I use a separate reference for each time of day?
Use separate cards when the same location returns often. A dawn, noon, dusk, and night card for one location is cleaner than rewriting the full prompt every time.
How do I keep a character consistent under strong lighting?
Repeat the identity anchors and state that the light affects the surface without changing the design. For example: "warm rim light on the teal cape, but the cape remains teal."
How do I keep the same location's lighting consistent across episodes?
Keep one Scene asset per location with a reference image and a written light rule for each time slot. Every shot that needs that location at that time references the same asset with @, so morning, noon, dusk, and night stay variations of one place instead of drifting into separate-looking sets.
Where should I begin?
Start with regional art style guide if the color language is still open. Once the location and character matter across multiple posts, build them as assets inside ArcLoop Worlds and draft the weakest time-of-day shot first.