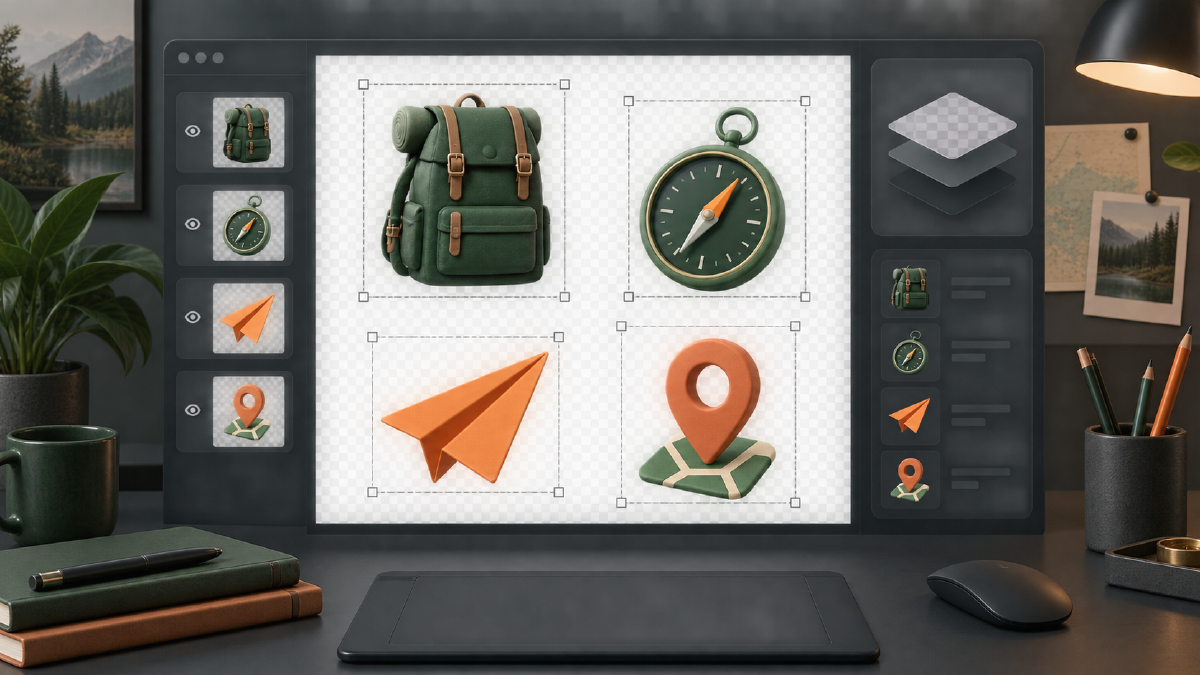
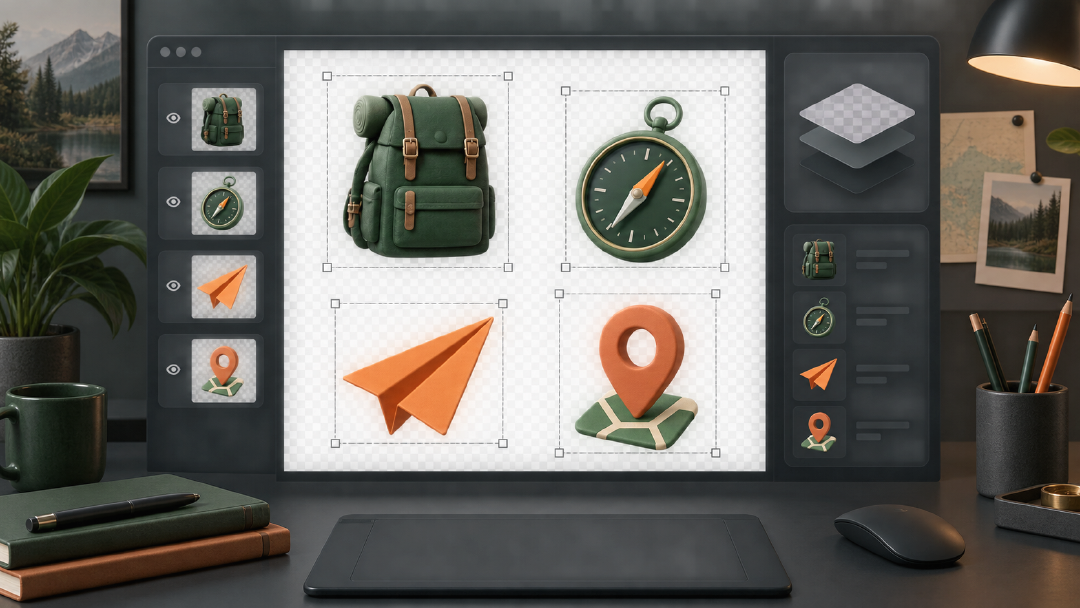
Core idea: move from a scene to reusable graphics. A generated image can be a source for icons, stickers, illustrations and product elements. Leave complete edges around each subject, remove the background in Arcloop, inspect the result and archive it as an asset.
1. Make an asset list first
A UI concept may contain an empty-state illustration, a paper-plane icon and campaign stickers. Rebuild the items that can travel across pages. Dates, prices, names and paragraphs should remain real interface text.
| Asset | Recommended treatment | Delivery |
|---|---|---|
| Standalone icon | Rebuild to the visual spec, then remove background | PNG bitmap |
| Decorative illustration | Keep the subject and remove page copy | PNG bitmap |
| Card background | Preserve size and negative space | Full rectangle |
| Button or input | Recreate from the product system | Component or code |
2. Generate one isolated object
Add a reference in Arcloop image creation and identify the single object for this round. A uniform background makes extraction predictable. If you request native transparency, still verify that the downloaded file contains a real alpha channel.
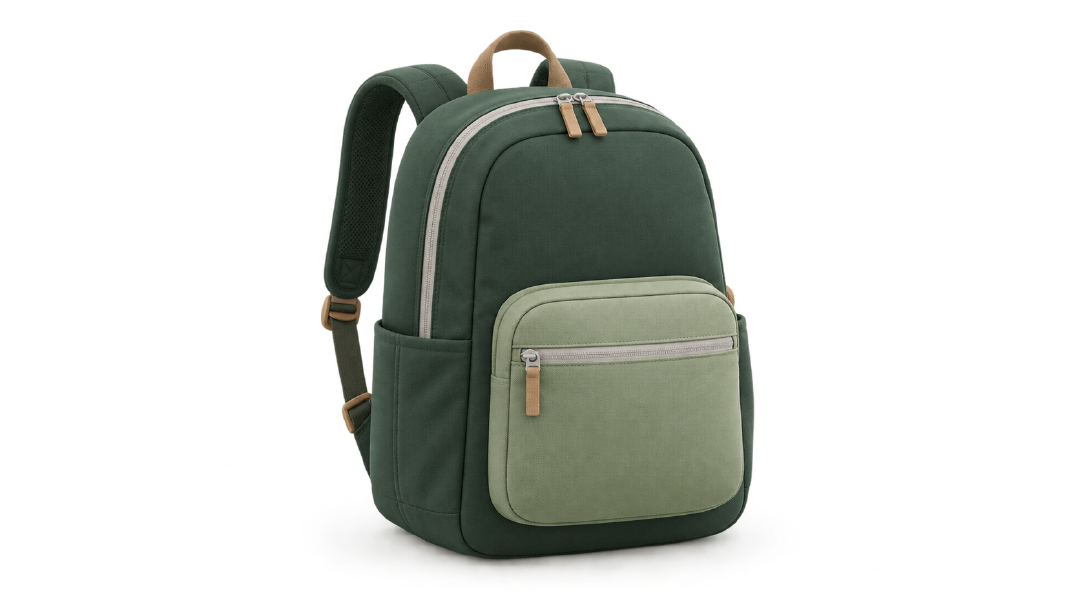
Use the green travel backpack in the reference as the visual basis for a standalone asset.
Keep only the backpack. Remove the page frame, buttons, copy, floor and every decoration.
Preserve the rounded 3D style, dark green body, light green front pocket and light gray zipper.
Center the backpack at about 70% of the image height with even space on every side.
Show the complete subject with no crop, brand mark or new charm.
Use a uniform pale background that is easy to remove.
3. Inspect the edge on several colors
After Smart Cutout in Arcloop, check the holes between straps, zipper gaps and the outer contour. A checkerboard can be painted into the image, so place the asset on black, white and saturated backgrounds and inspect the downloaded PNG. JPEG cannot deliver transparency.
If a fine line disappears, return to the source image. Background removal cannot recover a structure that the model did not draw; regenerate a clearer source before extracting it.
4. Build a consistent family
Define viewing angle, material, edge radius, lighting and subject scale instead of asking only for “the same style.”
Create a travel compass in the same family as the approved backpack.
Use the same rounded 3D illustration, soft upper-left light, matte material and dark/light green palette.
Match the camera angle, subject scale and surrounding space.
Show only the compass, with no copy, base, cast shadow or environment.
Use a uniform pale background that is easy to remove later.
Save the purpose with the file
Deliver the transparent assets, preview images and a manifest with name, dimensions, transparency status, original reference file and approved background colors. Validate each asset inside a real page or video frame rather than only against white.
Define the target size before extraction
Filter candidate elements with three questions: will the object appear on more than one page, is it still recognizable when reduced, and does it retain meaning outside the original scene? A complex background used once rarely deserves extraction. A status icon or recurring decoration should become an independent asset early.
Write the intended display size in the manifest. A 24-pixel toolbar icon needs a simpler silhouette and less texture than a 320-pixel empty-state illustration. Inspect the first generation before background removal: handles, straps, pockets and zipper gaps must be visibly separated. If two parts merge, change only their local contrast while preserving shape, color and camera angle.
Keep one approved master view per object. Derive 64, 128 and 256-pixel versions from that master instead of regenerating each size. New generations can change pocket proportions, hardware count and perspective, making the exported set feel inconsistent.
Use a fixed edge checklist
- Contour: no white, dark or translucent halo around the object.
- Openings: strap holes and hollow regions reveal the background below.
- Fine detail: zippers, cords and narrow parts stay connected.
- Shadow: decide whether a contact shadow belongs in the deliverable.
- Canvas: the object has safe transparent padding and never touches an edge.
- Format: the file is PNG and contains an alpha channel.
A bright rim visible only on a dark background usually means the source background contaminated the edge pixels. Clean the edge color or return to the uniform-background source. Aggressively shrinking a mask can solve the halo but may destroy thin parts, so compare at 100% and at the final display size.
Diagnose common failures with one change
| Failure | Likely cause | Change for the next round |
|---|---|---|
| Subject is cropped | Scale is too large or no safe margin was requested | Reduce subject scale and require a complete silhouette |
| Checkerboard remains | The pattern was rendered into the pixels | Regenerate on a solid background or remove it explicitly |
| Family members use different angles | Style was specified but camera angle was not | Add camera height and rotation direction |
| Bright edge appears on dark UI | Source color remains in the matte | Repair edge color or extract again from a uniform background |
| Icon fails at small size | Too much texture or interior detail | Simplify material and inner shapes |
Package the set for handoff
Choose one object as the family baseline and record camera height, rotation, key-light direction, subject scale and safe margin. Approve the second object before producing the rest. File names should identify object, view, size and version, such as travel-backpack-front-256-v1.png.
Keep the master, transparent output and preview as separate files. Show every transparent object on both a light and dark preview tile. Before sign-off, test a 24-pixel icon for silhouette, a card illustration for visual balance, and a moving sticker for edge flicker. An asset passes only when it remains clear, stable and consistent in its real destination.