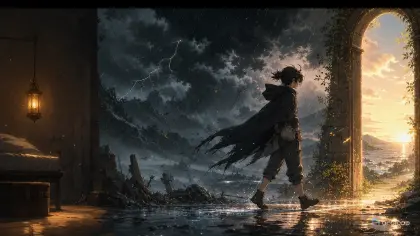
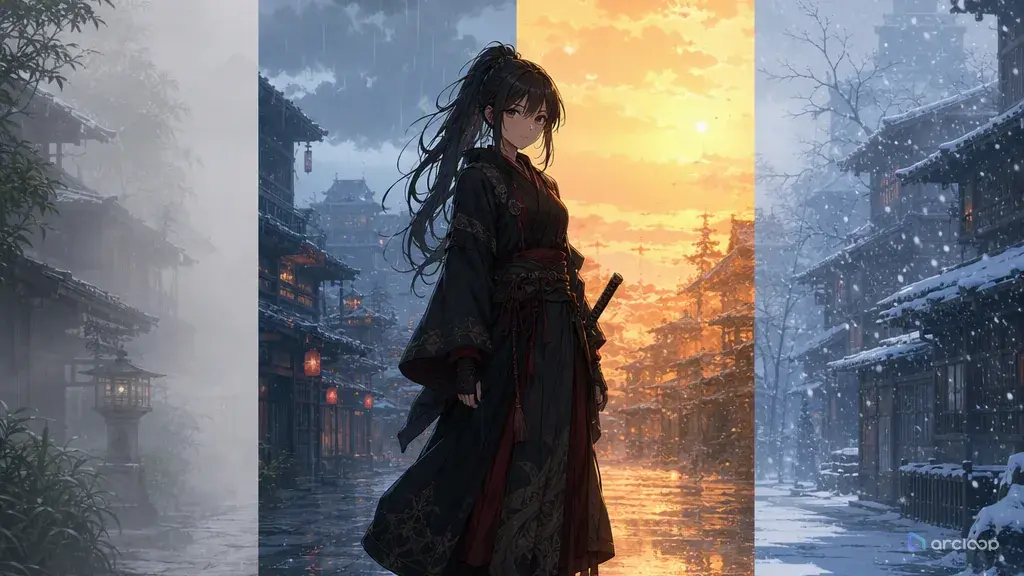
Weather should change the scene, not sit on top
You add "foggy, cinematic, rainy atmosphere" to a clean anime shot and the result looks pretty for one frame. Then the character walks as if the ground is dry, the hair ignores the wind, the light does not scatter through the fog, and the story action would be identical if the weather disappeared. That is decoration, not atmosphere. This guide walks you through how to build weather into your prompts step by step, so the air actually changes how the shot reads.
Weather works when it affects behavior. Rain makes characters shield paper, avoid puddles, slip on steps, or lean into sound. Fog hides distance and compresses the frame. Dry wind pushes dust into eyes and makes fabric snap. Snow slows movement and gathers on shoulders. Heat haze softens far objects and makes metal shimmer.
This guide shows how to prompt AI anime weather and atmosphere so the scene stays readable and the weather carries story pressure. Use regional art style guide to establish the visual treatment, or Cyberpunk Walk Depth Layers when you need foreground, midground, and background atmosphere to move differently.
Rules for prompting weather
Give weather a physical direction. "Windy" is vague. "Crosswind from screen left pushing coat tails and paper charms to screen right" gives the model something concrete to act on when it's written into the shot description. Direction helps hair, cloth, rain, smoke, dust, and camera composition agree.
Tie atmosphere to depth. Fog, rain, snow, smoke, dust, and heat haze should not affect every layer equally. Foreground rain streaks can move fast, background fog can stay slow, and distant buildings can lose contrast. Depth makes atmosphere feel built into the scene.
Let weather alter the character's choices. A careful character may tuck a letter inside a sleeve during rain. A proud rival may refuse a coat in snow. A desert runner may squint against dust instead of charging straight ahead. The scene becomes stronger when weather changes what someone does.
Control visibility. Atmosphere can hide weak animation, but too much of it hides the story. Decide what must remain readable: face, hands, prop, route, final pose, or silhouette. Then set the weather intensity around that priority.
Match weather to lighting. Rain catches street lamps, fog blooms around lanterns, snow reflects sky color, dust turns sunset light copper, and humid air softens highlights. Weather and light should share the same world.
Protect continuity. If a scene begins with dry clothing and ends soaked, that change is a story event. If you do not want that, say light mist, no soaked redesign, or rain on background only. Weather should not accidentally rewrite the character asset.
How to build a weather prompt: from goal to review
Start with the weather type and intensity. Use practical terms: light rain, heavy side rain, low fog, sea mist, dry dust gusts, first snow, wet snow, ash fall, humid heat haze, or storm wind before rain.
Define direction and layer. Say whether the weather moves toward camera, across screen, from behind the character, only in the background, or in three depth layers. This keeps the scene from becoming a flat overlay.
Name the affected surfaces. Wet stone, umbrella fabric, glass, hair tips, metal railings, paper lanterns, dry cloth, snow-covered steps, puddles, or cracked soil all show atmosphere better than abstract mood words.
Attach weather to the action. The character might cover a sketchbook, wipe fog from goggles, step around a puddle, brace against wind, or pause as thunder changes the timing. Prompt the behavior.
Set lighting and camera. A locked camera may help heavy weather stay readable. A slow push-in may work for mist. A side tracking shot may show dust movement. Mention the light source so rain, fog, or snow knows what to catch.
End with review constraints. Use no weather hiding face, no random season change, no soaked costume if not intended, no unreadable storm blur, no extra props, no text, no watermark, and no photorealism if you need clean 2D anime.
Where to write weather: scene assets and shot cards
In ArcLoop, weather details for a recurring location belong on the location's scene asset in My Assets, not scattered across separate notes. The storyboard beat and shot description carry the rest — how the weather behaves in this specific shot. That matters because weather often creates continuity debt: if episode one drenches a cloak, episode two shouldn't show it perfectly dry unless time passed, and keeping the wet-cloak detail on the character asset makes that easy to check before generating the next shot.
Create a scene asset for recurring locations. List direction, intensity, affected surfaces, visibility range, light behavior, and continuity consequence. Then generate low-cost drafts for shots where weather touches the character's hands, face, or prop. If the weather is wrong at draft quality, final polish will not fix the physics.
Review atmosphere in layers: does the character remain readable, does the weather move in a believable direction, does the background depth improve, and does the story action depend on the condition? If the answer is no, remove or reduce the weather. A clean dry scene beats a noisy storm that does nothing.
Set this up once, in My Assets. Open the location as a scene asset (or create one if it doesn't exist yet) and write the weather rule straight into its description — direction, intensity, which surfaces react, and any continuity note like a soaked cloak that shouldn't dry out early. If a prop carries the weather too, such as a whistle or umbrella, bind its reference image the same way.
Then, inside the episode, click Generate Shots to get shot cards for the beat. Open each card and reference the location with @ instead of retyping the fog or rain description — the shot only needs what's new here: the character's action, the camera move, and the light. Generate a still first to confirm the fog layers, the wind direction on the cloth, and whether the face stays readable, before spending a video generation on it. Once the framing holds, ask the AI Chat Panel to generate video for that shot, or batch a few at once with something like "Generate videos for Shots 2 through 4." Drop the results into the Edit timeline and swap in whichever take keeps the weather readable against the surrounding shots.
Example 1: Sea fog warning shot
@Eno Lark stands on the cliff path in @Cliffside Village at dawn, thick sea fog rolling up from below. Foreground mist drifts slowly across the boots; midground fog hides half the crab pots; background boats reduce to low-contrast silhouettes. Eno raises @Whale-bone Whistle, pauses when the fog muffles the harbor bell, then steps closer to the rope railing to listen. Camera: locked medium-wide shot, keep face, hands, and whistle readable. Light: cold dawn skylight, one warm lamp glow from a hut. No rain, no snow, no fog covering the face.
The fog has a job: it hides distance, changes sound logic, and forces Eno to move toward the railing.
Example 2: Dry wind market chase
@Eno Lark runs through a dry inland market in late afternoon, hot crosswind blowing screen right to left. Dust skims the ground, awning tassels whip sideways, loose price papers tumble past the stalls, and distant figures blur in heat haze. Eno shields @Whale-bone Whistle inside the cape, squints against the dust, plants one boot on a woven mat, then cuts sharply behind a clay water cart. Camera: side tracking shot, knees-up to full body, keep the whistle hand visible. Light: low copper sun from camera right, stall shadows broken by drifting dust. No rain, no fog, no face redesign.
This prompt shows that atmosphere can be action design. Dust, cloth, papers, and heat all move with the same wind rule.
Example 3: First snow revision pass
Same shot as before: @Eno Lark on the cliff path in @Cliffside Village, locked medium-wide camera, rope railing and crab pots in frame. Change the weather to first light snow — sparse flakes falling almost straight down with a slight drift toward the sea, collecting lightly on the railing and pot edges, not burying the scene. Eno notices snow melting on @Whale-bone Whistle, covers it with the cape edge, and looks toward the harbor path with quiet concern. Light: blue evening ambient, warm hut windows reflected on wet stone. Keep face, hand, whistle, and railing snow readable. No blizzard, no winter costume redesign.
The revision keeps the approved scene and changes only the weather layer. That is the fastest way to test atmosphere without losing continuity.
Common weather prompt mistakes
The biggest mistake is adding weather after the shot already failed. If the character action, camera, and prop are unclear, rain or fog will only make the failure harder to read.
Another mistake is forgetting direction. Rain, wind, smoke, dust, and snow need a path through the frame. Without direction, they often become static texture.
Creators also overuse heavy atmosphere to look cinematic. Dense fog, hard rain, sparks, smoke, and motion blur in the same short clip usually hide hands, faces, and story action.
A fourth mistake is ignoring surfaces. Weather becomes believable when it changes the ground, clothes, glass, metal, paper, or hair. If nothing reacts, the weather looks pasted on.
Finally, don't let weather rewrite the series timeline. Wet clothes, damaged paper, snow buildup, and muddy boots are continuity events. If the next scene depends on them, add that detail to the character or scene asset's description in My Assets so it's there the next time you write a shot, not just in your head.
FAQ
How much weather detail should I include?
Include the type, intensity, direction, affected surfaces, and what must stay readable. That is usually more useful than a long list of mood adjectives.
Should weather be part of the story action?
Yes, when possible. A character protecting a map from rain, losing sight in fog, or slipping on ash-covered stone gives the weather a reason to exist.
How do I keep atmosphere from hiding the character?
Set visibility priorities in the prompt: face readable, hands visible, prop clear, final pose held. Then limit fog, rain, dust, or snow so those elements remain visible.
How do I keep weather continuity across episodes?
Put the wet-cloak or damaged-prop detail into the location's scene asset (or the character asset if it's on a person) in My Assets, and reference that asset with @ in every later shot description. Since the description carries forward automatically, a soaked cloak in episode one won't quietly turn dry in episode two unless you change the asset yourself.
Where should I start?
Use regional art style guide for visual treatment, Cyberpunk Walk Depth Layers for layered atmosphere practice, and build the location as a scene asset in ArcLoop Worlds once the same weather rule needs to affect it across more than one episode.