Introduction
You typed "3D animation AI video generator" because you want the look: rounded characters, soft rendered light, that studio-feature polish. The first clip delivers it. The second clip is the same character with slightly different proportions, the third has a different lighting rig, and by the fifth the "3D look" is five different looks. The tool did what it said; it generated video that looks 3D. It did not build a 3D world, which is what you needed the look to come from.
That gap is the whole story of 3D-style AI video. This guide explains how to get a 3D animation look from an AI video generator that actually stays put across a scene: what these tools do and do not have, what makes the look drift, and how to lock it in ArcLoop with a style reference for the render and character assets for the cast.
What a 3D animation AI video generator actually does
There is no scene, no rig, no camera object. The model produces frames that resemble rendered 3D because it has seen a great deal of rendered 3D. That is why:
- A single clip can look perfectly rendered. Nothing has to be consistent with anything else.
- The second clip is a new roll. Without a fixed reference, the model re-decides the material, the light rig, and the proportions.
- Turnarounds are hard. A rigged model looks the same from behind because it is the same geometry. A generated character looks the same from behind only if something tells it to.
None of this makes the look unusable. It means the consistency a 3D pipeline gets for free has to come from somewhere else. In a story-first workflow that somewhere is references and assets, not the generator.
If you are coming from a real 3D background, the 3D-to-anime pipeline guide covers what transfers from that training. This article is for the look itself.
Rules for a 3D look that holds
- Style is one reference, used everywhere. One image that carries the render style — the material feel, the light softness, the level of detail — bound as a Visual reference and applied to every shot in the scene.
- Characters are assets with a front and a three-quarter view at minimum. The generator cannot rotate what it has never seen. Give it the views.
- Light rig described once, at scene level. "Soft key from the upper left, warm fill, cool rim" goes in the scene, not re-invented per shot.
- Materials named, not described. "Matte skin, glossy hair, cloth with visible weave." Short nouns the model recognises from rendered work.
- Proportions locked in the asset, never in the shot. If the shot says "big eyes, small nose" you will get a different big and small every time. The Main image says it once.
How to set up a rendered-3D style in ArcLoop, step by step
- Set the Story Brief. Aspect ratio and style; choose the base that is closest to the look you want and let the reference do the rest.
- Make or pick one style image. A single frame with the render feel you want: material, light, detail level. Generate it as a still until it is right, then stop.
- Bind it as a Visual reference named for the scene or the whole project. This is the one image every shot points at for style.
- Build each character as an asset with a Main image in the same render style and Reference images for the three-quarter and back views. Same materials, same proportions in every view.
- Write the scene's light rig once in the scene or location asset description, so shots inherit it.
- Write shot cards with
@references and camera and action only. No "3D style," no "rendered look," no proportions. The references carry all of that. - Generate the stills for the scene as a set and compare them side by side for material, light, and proportion. A shot that drifts gets its references checked, not its text rewritten.
- Generate video from the approved stills. The video inherits the still's look; if the still held, the video usually does.
Where the look breaks between shots
The look breaks at the moments a real 3D pipeline never had to think about: a new angle, a new distance, a new light. Watch for three:
- The close-up. Detail level jumps because the model adds texture the wide shot did not have. Keep "same detail level as the reference" in close-ups.
- The back view. No reference for the back means an invented back. Add the view to the asset.
- The night scene. A new light condition re-rolls the material feel. Make a night version of the style reference rather than describing the change.
Example 1: Establishing shot in the rendered style
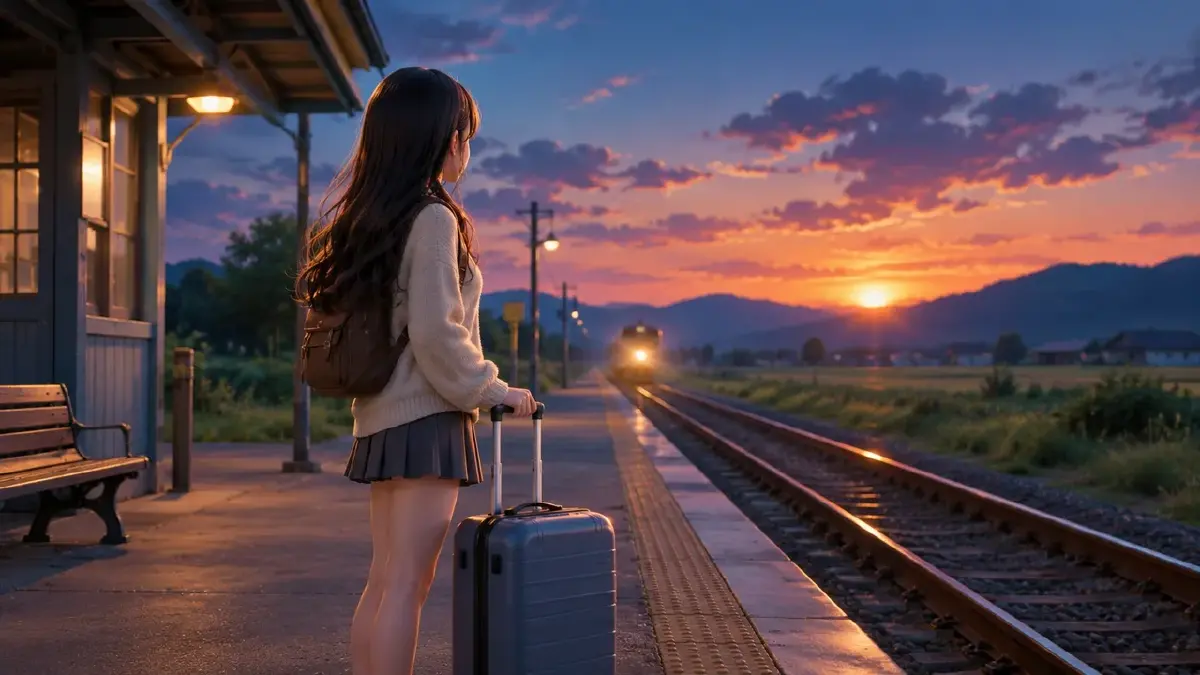
Wide shot of @Hollow Pines Station at dusk, camera at chest height, slow push in. @Juno stands on the platform with her suitcase, small in frame, looking down the empty track. Soft key light from the upper left, warm fill, cool rim on her hair. Materials as the style reference: matte skin, glossy hair, cloth with visible weave. Same detail level as the reference; no added grain.
Example 2: Close-up that keeps the detail level
Close-up of @Juno's face, camera at eye level, static. She hears the train and turns her head toward the sound, eyes widening slightly. Same light rig as the establishing shot: soft key upper left, warm fill, cool rim. Same detail level as the style reference; do not add pores, extra hair strands, or fabric detail beyond the wide shot. Background: the platform, soft.
Example 3: The back view the generator never saw
Medium shot from behind @Juno as she walks away from camera down the platform of @Hollow Pines Station toward the arriving train. Use the back-view reference for hair, coat, and suitcase. Camera tracks at walking pace, staying behind her. Same light rig; the train's headlight adds a warm front light as it approaches. Same materials and proportions as the front views.
The most common ways the 3D look breaks
- Style in the prompt, not in a reference. "Pixar-like 3D render" gives a new interpretation every shot. Bind one image.
- No side or back view on the asset. The turn invents a new character. Add the views.
- Light rig per shot. Every shot lit differently reads as different scenes. Describe the rig once at scene level.
- Detail creep in close-ups. The face gets pores the wide shot never had. State "same detail level as reference."
- Proportions in the shot text. Each shot re-rolls the big eyes. Move it to the Main image.
FAQ
Can an AI video generator replace a 3D pipeline for a short? For a story-first short where the look is the goal, yes, with references doing the work a pipeline used to. For anything that needs true geometry — a product spin, an architectural walkthrough — no.
Which model handles the 3D look best? Pick by the reference test, not by name: generate the same still on the models available in your Story Brief and keep the one that matches your style reference most closely across two angles.
Do I need one style reference per scene or per project? Per project for the base look; per scene only when the light condition changes enough that description will not hold it — night, underwater, heavy fog.
What about a 2D character in a 3D-look world? Possible, and a strong look. The style reference carries the world; the character asset carries a flat-shaded Main image. State "character keeps the asset's shading" in the shots.
Next step
Generate one still in the 3D look you want and stop when it is right. Bind it as the style reference, build your lead character with a front and three-quarter view in the same look, and write one shot with @ references and nothing about style. Open the project in ArcLoop, generate the still, then the close-up, and check that the material and detail level held.