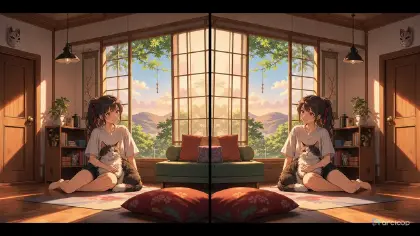
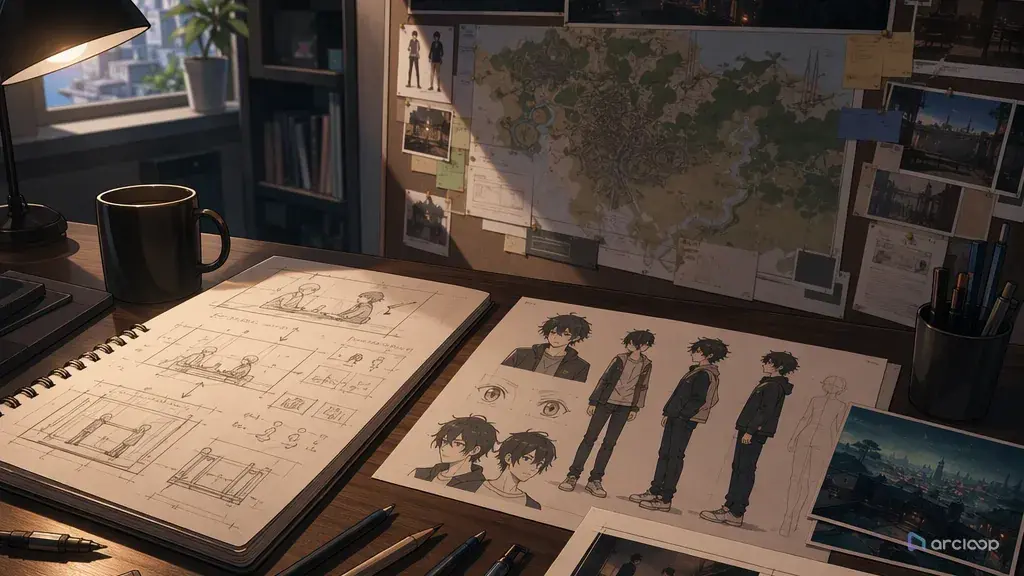
Talking Is Not Automatically a Scene
Two anime characters stand in a hallway. One mouth moves. The other stares forward without reacting. The camera floats for no reason. The line finishes, but nothing changes. This is the common dialogue-scene failure: the prompt asks for people talking, but it never stages pressure between them.
A good anime dialogue scene is built from eye line, distance, turn-taking, silence, reaction, and the thing neither character wants to say directly. The spoken line matters, but the listener often carries the scene. A tiny pause before answering, a hand tightening on a folder, a character looking at the door instead of the speaker, or a cut from a two-shot into an over-shoulder angle can make the conversation feel directed instead of random.
This guide explains how to prompt anime dialogue scenes in ArcLoop for short videos, storyboards, voice scenes, and character-driven clips. You will plan the characters, relationship, room layout, camera grammar, speech beats, reaction beats, and revision checks. For a ready animation starting point, browse 2D Animation AI Templates, then build the characters as assets and keep the project's dialogue timing inside ArcLoop Worlds.
Rules for Staging Anime Dialogue
Write the conflict before the line. Dialogue needs pressure. One character wants an answer, an apology, a secret, permission, distance, or reassurance. The other character resists, hides, redirects, or finally gives in. Without that pressure, the scene becomes mouth movement.
Stage the eye line. Decide who looks directly, who avoids eye contact, who turns away first, and when the gaze changes. Eye line is one of the fastest ways to show power, trust, guilt, or affection.
Use camera position as story. A two-shot shows the relationship in one frame. An over-shoulder angle places us with one character against the other. A close-up isolates a reaction. A profile shot can make disagreement feel formal or distant. Do not let the camera wander while the acting is subtle.
Give the listener a job. The listener can flinch, blink late, grip a sleeve, lower their eyes, interrupt, stay silent, or answer with a smaller voice. The reaction beat should be prompted as clearly as the spoken line.
Control duration with silence. Anime dialogue often needs a pause before or after the line. A 7-second scene can include one sentence and one reaction. It cannot hold a full argument unless it becomes a storyboard sequence.
Keep voice direction aligned with face and body. If the line is restrained, the animation should not use huge gestures. If the character lies, the mouth may smile while the hands betray tension. A character's voice lives on its asset in My Assets, and Edit's Generate Voiceover reads each shot's line against that same voice — so what you vary from shot to shot is the acting note in the shot description, not the voice itself.
How to Build a Dialogue Scene: From Relationship to Shot
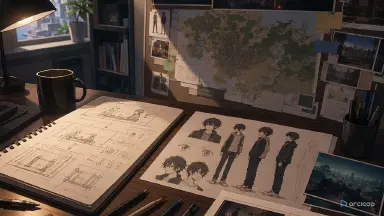
Start with the relationship. Name who the characters are to each other: rivals, siblings, captain and trainee, old friends, strangers, teacher and apprentice, client and courier, or two versions of the same character. This decides distance and tone.
Write the scene question. A useful dialogue beat often asks one question: "Will he admit he lost the map?" or "Will she let her sister leave?" Keep the shot focused on that question.
Plan the room layout. Put the characters somewhere concrete: lighthouse archive, empty club room, elevator, workshop, bus stop, rooftop garden, control room, or kitchen doorway. Name where each person stands, sits, or leans. Spatial clarity protects eye line.
Choose the camera pattern. For one short clip, use one main setup: two-shot with a push-in, over-shoulder angle with a reaction, locked profile two-shot, or close-up on listener. If the conversation is longer, make separate shot prompts instead of asking for many cuts in one render.
Write the dialogue and silence. Keep spoken lines short enough to perform. Mark pauses: "one beat of silence before answering" or "listener reacts before the second line." If voice is part of the output, keep the exact line separate from direction.
Add acting anchors. Hands, shoulders, breath, eye movement, posture, and props are easier to animate than abstract emotions. "She keeps one hand on the wet folder" is stronger than "she is conflicted."
Review the take for conversation logic. Ask whether the characters look at each other correctly, whether the listener reacts, whether the line changes the moment, and whether the camera helps the pressure. For storyboarding a longer exchange, use Storyboard Prompt Guide.
What Goes Where: Character Assets, Shots, and Edit
ArcLoop is useful for dialogue because the scene isn't just a single video prompt — it's a character asset, a Shot, and Edit's voice track that all have to agree. If a character's asset establishes someone as guarded and formal, the shot description's acting note shouldn't swing bubbly, and the generated voiceover shouldn't suddenly sound broad-comedy unless the beat actually calls for it.
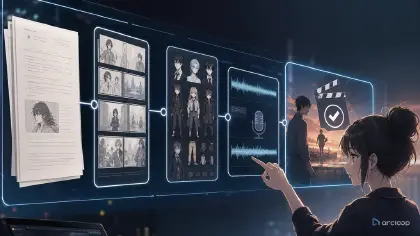
Build dialogue scenes in layers. Start with character profiles and relationship notes. Add the conversation beat to the storyboard. Create a shot card that names camera, eye line, line timing, silence, and reaction. Then generate a short draft and review the acting before final polish. When the scene needs voice, Character Voice Line Builder can keep the performance attached to the same character and beat.
This makes revisions smaller. If the shot has the right faces but no listener pressure, fix the reaction beat. If the line feels too rushed, shorten it or add a pause. If the crop hides the hand gesture, adjust camera. Do not rewrite the whole drama after one failed take.
Example 1: Lighthouse Archive Two-Shot
Create a 7-second 2D anime dialogue scene in a lighthouse archive at dawn. Characters: Sena Oric, an apprentice chart keeper with short chestnut hair, a navy cardigan, and ink-stained fingers; and Vale Noren, an older tide pilot with silver sideburns, a weathered green coat, and a folded sea map. Relationship: mentor and former student, tense but caring. Camera: locked medium two-shot across a wooden table, both faces and hands visible, window light behind them. Scene question: will Vale admit he changed the route? Action: Sena slides the folded map back across the table without looking away. Vale keeps one hand on the map but does not take it. One beat of silence before the line. Line from Sena: "You crossed out the safe harbor before the storm was even named." Vale reacts by lowering his eyes, not speaking. Clean cel-shaded anime, quiet dawn light, no extra characters, no text, no dramatic camera spin, no lip-sync exaggeration.
This prompt gives both characters a job. The line lands because the listener's silence is part of the shot.
Example 2: Over-Shoulder Confession of a Hidden Route
Use the approved Sena and Vale character sheets. Create an 8-second 2D anime over-shoulder dialogue shot from behind Vale, looking toward Sena across the lighthouse archive table. Keep Vale's green coat shoulder blurred in the foreground and Sena's face sharp in the middle of frame. Action: Sena tries to stay angry, then notices Vale's hand trembling near the old compass. Dialogue timing: first two seconds are silent as she sees the tremor; then Sena speaks softly, "You were not hiding the route from us. You were hiding the wreck." Add a small breath before the final word. Vale does not turn around; his fingers tighten once on the map edge. Maintain eye line, table layout, dawn window light, and muted blue-green palette. No new prop, no random smile, no face redesign, no captions inside the image, no watermark.
The camera puts the viewer inside one side of the conversation. The foreground shoulder, map hand, and delayed line build the reveal.
Example 3: Dialogue Revision for Listener Pressure
Revise the selected lighthouse archive take. Keep Sena's chestnut hair, navy cardigan, ink-stained fingers, Vale's green coat, the folded sea map, the wooden table, and dawn light. Current issue: the shot looks good, but Vale stares blankly and the conversation has no pressure. Change only dialogue staging and listener reaction. Keep the medium two-shot. Sena should slide the map forward and hold eye contact. Vale should avoid her gaze, look down at the crossed-out route, and tighten his hand on the paper during one silent beat after her line. The spoken line stays: "You crossed out the safe harbor before the storm was even named." End on Vale's silent reaction, not a new line. No camera jump, no added character, no smiling, no text, no costume change.
This revision fixes the actual dialogue failure. It does not throw away a usable camera, room, or character design.
The Most Common Ways Dialogue Scenes Break
The most common mistake is writing only the speaker. A dialogue scene needs a listener with visible behavior. Without the listener, the line has no pressure.
Another mistake is overloading one short clip with too many lines. A short anime shot can hold one reveal, one refusal, one apology, or one interruption. Save longer exchanges for storyboarded sequences.
Creators also ignore eye line. If two characters look past each other, the audience feels it immediately. Say who holds eye contact, who breaks it, and when.
A fourth mistake is using camera movement to fake drama. Dialogue often gets stronger with a locked camera, a small push-in, or one over-shoulder frame. Random pans and zooms can distract from facial acting.
Finally, do not treat voice as separate from staging. A whispered line, a guilty pause, and a tightened hand should all describe the same emotional beat.
FAQ
How long should an AI anime dialogue scene be?
For one generated clip, 6 to 8 seconds is enough for one short line and one reaction. Longer conversations should be split into storyboarded shots.
Should I use a two-shot or close-up?
Use a two-shot when the relationship and distance matter. Use a close-up when the reaction matters more than the room. Use over-shoulder when you want the viewer aligned with one character.
How do I make dialogue feel emotional without overacting?
Use restraint: a pause, eye movement, hand tension, a smaller voice, or a delayed answer. One precise acting note usually works better than a stack of emotional adjectives.
How do I keep the voice performance matched to the visual acting?
Bind the character's voice to its asset once, then write the acting note directly into each shot's description alongside the line — restrained, lying, or delayed. Generate Voiceover in Edit reads from that same bound voice every time, so the spoken performance and the visual acting are driven by the same shot description instead of drifting apart across separate passes.
What should I revise when a dialogue scene feels flat?
Check listener pressure first. If the listener has no reaction, add one visible reaction beat. If the eye line is wrong, repair staging. If the line is too long, shorten it before adding more camera movement.