Why storyboards beat single prompts
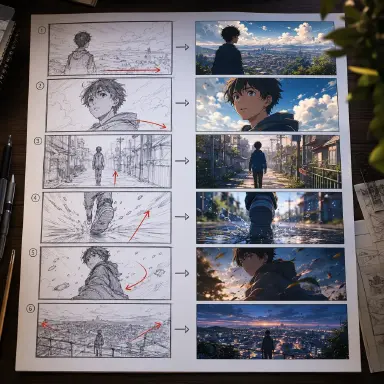
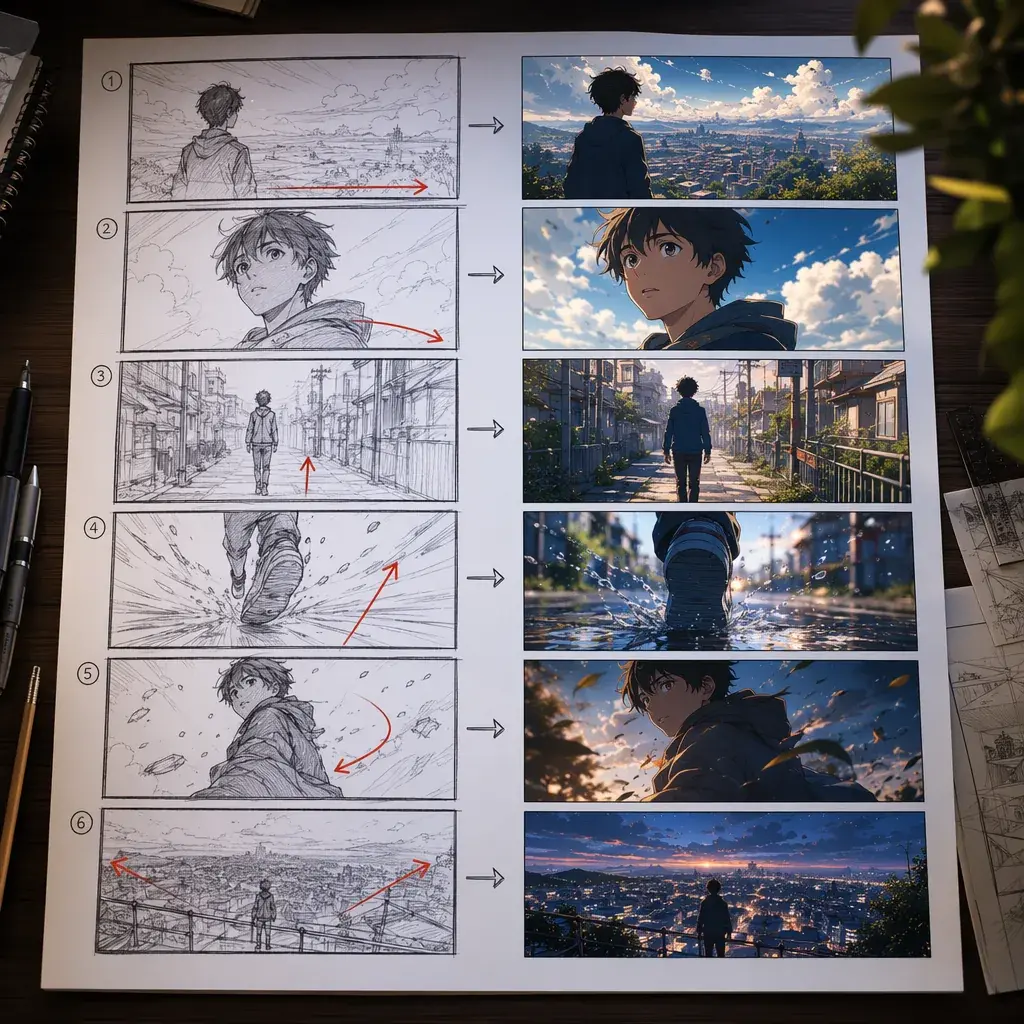
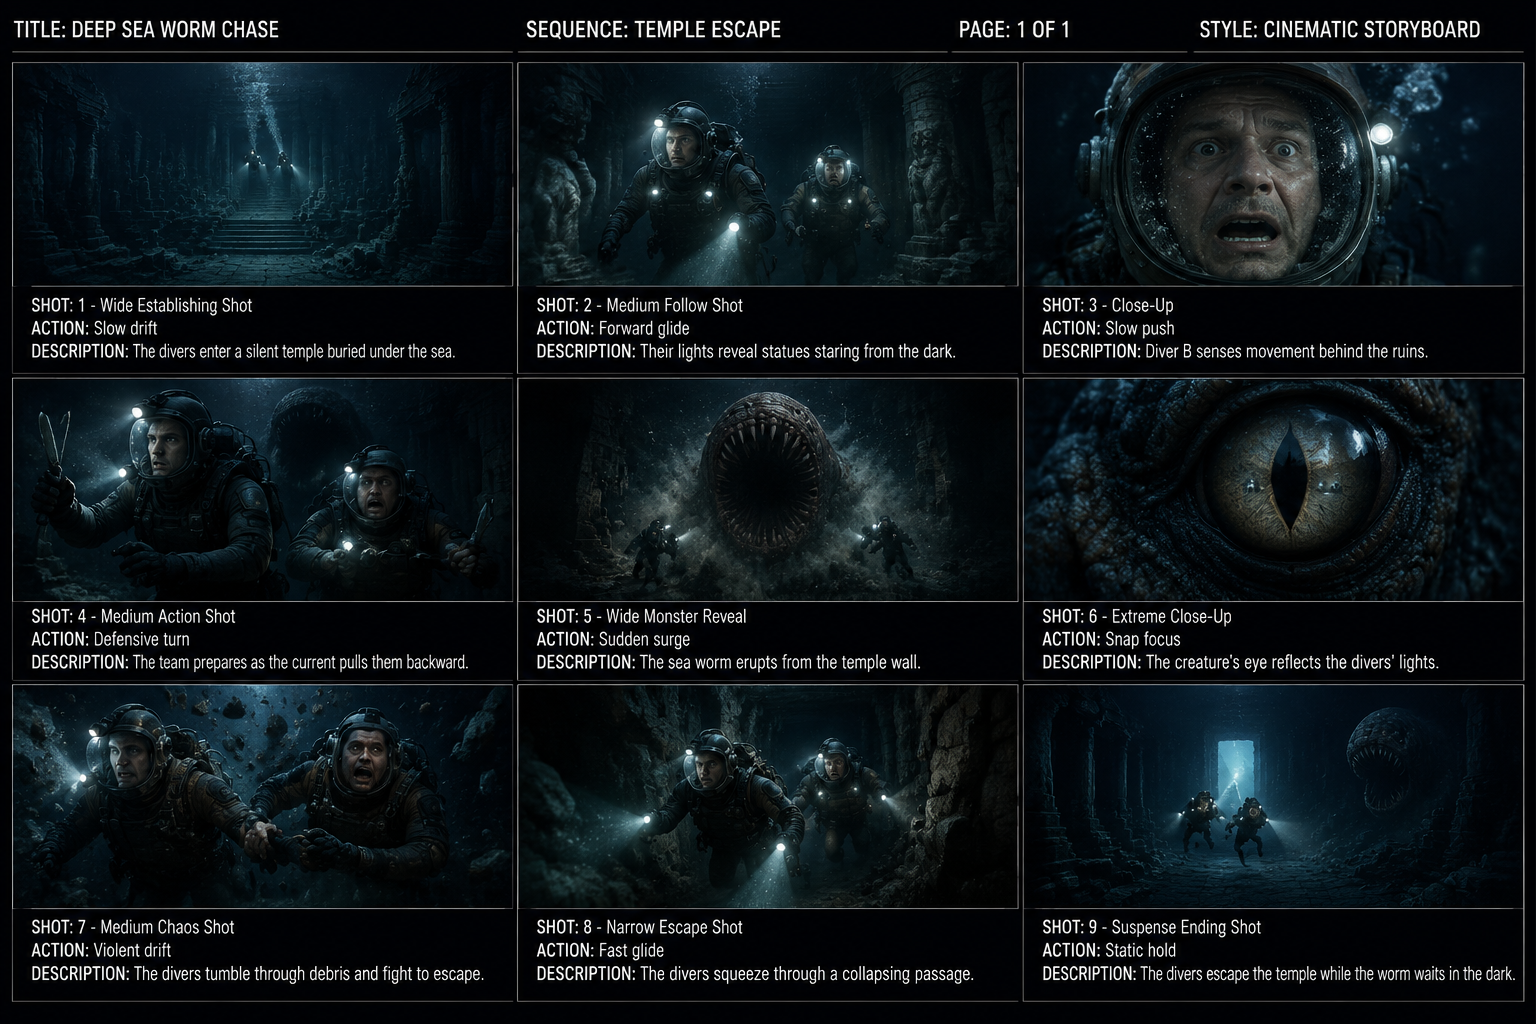
AI video becomes easier to control when you stop thinking in single prompts and start thinking in shots. A storyboard prompt is not just a longer prompt. It is a planning format that tells the model what each shot is supposed to accomplish, what changes between shots, and what must stay consistent. For anime creators, this is especially useful because anime storytelling relies on readable cuts: an establishing shot, a reaction close-up, a hand reaching for a prop, a sudden action pose, a quiet after-moment.
The goal is not to write a full screenplay inside one prompt. The goal is to give each generated clip a job. When every shot has a job, the final edit feels intentional even if the clips were generated separately. A storyboard prompt can support a music video, a character introduction, a short action scene, a product-style showcase for an original character, or a teaser for a longer world.
This guide shows how to write storyboard prompts for AI video in a practical anime workflow. It covers principles, a step-by-step writing method, three complete copy-ready examples, common mistakes, and FAQ guidance. When you want a reusable board structure, start with Three-Shot Continuity Board.
Rules for planning multi-shot sequences
The first principle is that one shot should express one idea. If a shot introduces the school rooftop at sunset, let it be an establishing shot. If a shot shows the character hiding a secret, let it be a close-up or small gesture. If a shot shows a chase, let it focus on the direction and rhythm of movement.
The second principle is continuity. AI models can make each clip visually impressive but inconsistent across cuts. A storyboard prompt should repeat the core identity anchors: character design, outfit, prop, environment, time of day, and color mood. Continuity does not mean every shot looks identical. It means the audience believes the shots belong to the same scene.
The third principle is shot contrast. A sequence made only of medium shots feels flat. Combine wide, medium, close-up, insert, and action shots. Anime often uses insert shots very effectively: a hand gripping a charm, a phone screen lighting up, a shoe stepping into a puddle, a strand of hair moving before a reveal.
The fourth principle is editability. Write prompts that produce clips with clean beginnings and endings. A clip that starts with a stable frame and ends with a clear pose is easier to cut together than one that changes camera direction every second.
The fifth principle is to separate global notes from shot notes. Global notes describe the whole sequence: style, character, setting, color palette, and constraints. Shot notes describe what happens in that specific clip. This keeps each prompt focused.
How to write a storyboard prompt: from goal to review
Start with a one-sentence scene goal. For example: "A young mechanic discovers that her repaired robot bird can still remember its old owner." This sentence prevents the storyboard from becoming a random collection of attractive visuals.
Next, define the global visual package. Write the character design, setting, anime style, aspect ratio if needed, mood, and negative boundaries. These notes can be reused at the beginning or end of every shot prompt.
Then break the scene into beats. A beat is a story action, not necessarily a camera shot. For a simple scene, three to five beats are enough: arrival, discovery, reaction, decision, exit. Do not overplan a ten-second concept as if it were a feature film.
Convert each beat into a shot. Assign shot size and camera behavior. Example: Beat "discovery" becomes "close-up insert of the robot bird's eye flickering on." Beat "reaction" becomes "medium close-up of the mechanic freezing, then smiling."
Write each prompt as a standalone clip. Even if clips belong to a sequence, each generation needs enough information to work on its own. Repeat the character anchor and setting in short form.
Add transition notes only when useful. "End with her looking screen left, ready to cut to the bird" is more helpful than "cinematic transition." If you want match cuts, name the matching element: a glowing eye, a falling feather, a raised hand.
Finally, create a review checklist. After generation, choose clips that preserve character design, maintain screen direction, and end on a usable frame. For hook-driven shorts, pair that checklist with Hook to Reveal Storyboard.
Use Storyboard as your production pipeline
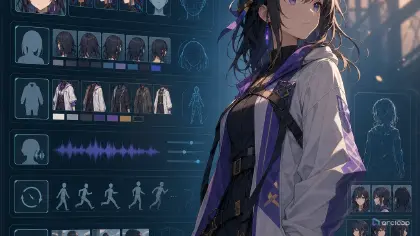
The easiest way to think about this workflow is character sheet → storyboard → shot prompt → video. The character sheet locks identity. The storyboard breaks the story into shots. The shot prompt tells each clip what to do. The video generation step then only has to solve one task at a time. That is why storyboards are not extra paperwork; they are the layer that keeps the rest of the pipeline under control.
This also keeps cost and retry budget sane. A single long prompt can fail for several different reasons at once: the pose may drift, the camera may overmove, and the scene may lose continuity. A storyboard lets you isolate the failure to one shot instead of burning the whole scene. A low-cost draft pass is usually enough to check whether the beats, timing, and screen direction work before you spend on a cleaner version.
Reference selection belongs in the storyboard phase too. Use a character sheet for identity, a pose reference for body language, a prop reference for recurring objects, and a background reference for the location. That is the real reason some scenes hold together while others fall apart. The prompt is not weak because it has too few adjectives; it is weak because the reference type does not match the problem it is trying to solve.
Keep action drift under control by limiting each shot to one primary motion and two supporting motions. If a clip tries to be a reveal, a fight beat, a camera move, and an emotional reaction all at once, the model usually compromises somewhere. Narrow shots are easier to edit, easier to rerun, and easier to stitch into a longer sequence.
Example 1: Three-Shot Character Discovery
Global style for all shots: 2D anime short film, clean cel shading, soft hand-painted backgrounds, warm sunset light, subtle film grain, no 3D render, no text, no watermark. Main character: a 17-year-old mechanic named Rina with short teal hair, amber goggles on her head, an oversized cream work jacket, fingerless gloves, and a small blue star patch on her sleeve. Setting: a cluttered rooftop workshop above a dense anime city.

Shot 1, establishing shot, 5 seconds: Wide shot of Rina's rooftop workshop at sunset. Laundry lines, antenna cables, toolboxes, and half-built devices frame the scene. Rina kneels beside a small brass robot bird on a workbench. The camera slowly pushes in from the workshop entrance. Wind moves the laundry and loose papers. End with Rina leaning closer to the bird.

Shot 2, insert shot, 4 seconds: Close-up of the brass robot bird on the workbench. Its scratched metal wing twitches once, then a tiny blue light flickers inside its glass eye. Rina's gloved hand enters frame carefully but does not touch it yet. Keep the background softly blurred, warm sunset reflection on metal, delicate anime line art.

Shot 3, reaction shot, 6 seconds: Medium close-up of Rina as she freezes, eyes widening behind the amber goggles, then slowly smiles with disbelief. The robot bird's blue light reflects on her face. Her teal bangs move in the breeze. Camera locked, quiet emotional timing. Preserve her jacket, goggles, gloves, and star patch.
This example works because every shot has a purpose: place, discovery, reaction. It also repeats the character anchors without rewriting the entire world each time.
Example 2: Five-Shot Anime Chase Board
Storyboard an AI anime chase sequence as five separate 4-second clips. Visual style: energetic 2D anime, bold cel shading, painted urban backgrounds, crisp action poses, no photorealism, no 3D, no text. Character continuity: a courier boy with spiky black hair, red headphones around his neck, a blue delivery sling bag, white sneakers, and a bandage on his left cheek. Location: elevated train tracks and market rooftops during golden hour.

Shot 1: Wide side view. The courier sprints along an elevated walkway as a delivery drone follows behind him. Camera tracks left to right. His sling bag bounces, sunlight flashes between train pillars, market banners ripple below.

Shot 2: Low-angle close shot on his sneakers. He jumps across a gap between two rooftops. Emphasize the takeoff, the shadow crossing the wall, and the landing skid. Use speed lines and dust sparks, but keep the shoe shape readable.

Shot 3: Over-the-shoulder shot from behind the drone. The courier looks back for one second, then ducks under a hanging sign. Keep screen direction left to right. The red headphones and cheek bandage must remain visible.

Shot 4: Insert shot. His hand grabs the blue sling bag strap as a package nearly slips out. The package corner tears slightly, revealing a glowing paper charm. Camera locked, fast but readable hand motion.

Shot 5: Final hero shot. The courier lands on a train roof, turns toward camera, and grins as the drone overshoots behind him. Sunset rim light, strong final key pose, jacket and bag settling after motion.
This prompt is designed for editability. Each shot can be generated separately, then assembled into a fast sequence.
Example 3: Music Video Storyboard Prompt
Create a storyboard prompt for a 20-second anime music video chorus divided into four 5-second clips. Style: glossy 2D anime idol performance with clean line art, saturated stage lighting, reflective floor, and soft bloom. Main performer: an original anime singer with long lavender twin tails, silver star earrings, a black-and-cyan stage outfit, and a crescent microphone. Keep the same outfit and face in all shots. No lyrics on screen, no text, no watermark, no extra fingers.

Clip 1, stage reveal: Wide frontal shot of the singer standing alone on a dark stage. Cyan light strips turn on one by one behind her. She raises the crescent microphone as her twin tails sway. Slow crane-like push-in, confident mood.

Clip 2, verse-to-chorus motion: Medium shot from camera left. She steps forward on the first beat, points the microphone toward the audience, then pulls it back with a smile. Light beams sweep diagonally across the background.

Clip 3, emotional close-up: Close-up on her face as she sings silently, eyes shining, star earrings catching pink and cyan light. Hair moves gently. Camera locked, shallow anime depth, soft bloom.

Clip 4, chorus pose: Full-body shot. She spins once, skirt and twin tails trailing in a clean arc, then lands in a final idol pose with one hand over her heart. End on a stable frame for editing.
The sequence uses wide, medium, close-up, and full-body shots. That variation makes a simple performance feel like a directed music video.
The most common failure points
The biggest mistake is putting an entire plot into one generation. If a prompt says the hero enters a city, meets a rival, fights, loses, remembers childhood, and escapes, the output will usually compress or ignore most of it. Split the idea into shots.
Another mistake is forgetting screen direction. If a character runs left to right in one clip and right to left in the next without a reason, the edit can feel broken. Add direction notes for chase, dance, and travel sequences.
Creators also underuse insert shots. Inserts are efficient because they solve story problems with simple visuals: a key turning, a message arriving, a glowing emblem, a hand trembling. They are easier for AI video models than crowded group action.
A fourth mistake is changing style between shots. Keep the same visual package unless the story intentionally changes reality, memory, or genre.
Finally, do not use transitions as decoration. A clean cut between two readable shots is often stronger than a flashy transition between confusing clips.
FAQ
How many shots should I storyboard for a short AI anime video?
For a 15 to 30 second piece, three to six shots is usually enough. More shots can work, but only if each shot has a distinct story or rhythm purpose.
Should I generate one long clip or separate clips?
Separate clips are usually easier to control. You can keep each prompt focused, reject weak clips, and edit the best results together. Use a long clip only when the action is simple and continuous.
What should stay identical across storyboard prompts?
Repeat the character identity anchors, outfit, setting, time of day, color palette, and style constraints. This is the easiest way to protect continuity across generated clips.
Can you use AI to make anime?
Yes, but the usable version is a pipeline, not a single prompt. Start with a character sheet, turn the idea into a storyboard, write shot prompts from that board, then generate the clips one at a time.
How do I create my own anime?
Break the scene into a few readable beats, keep each shot focused on one main action, and use references that match the problem you are solving. That gives you a repeatable way to build a short anime sequence instead of a one-off lucky result.