Introduction
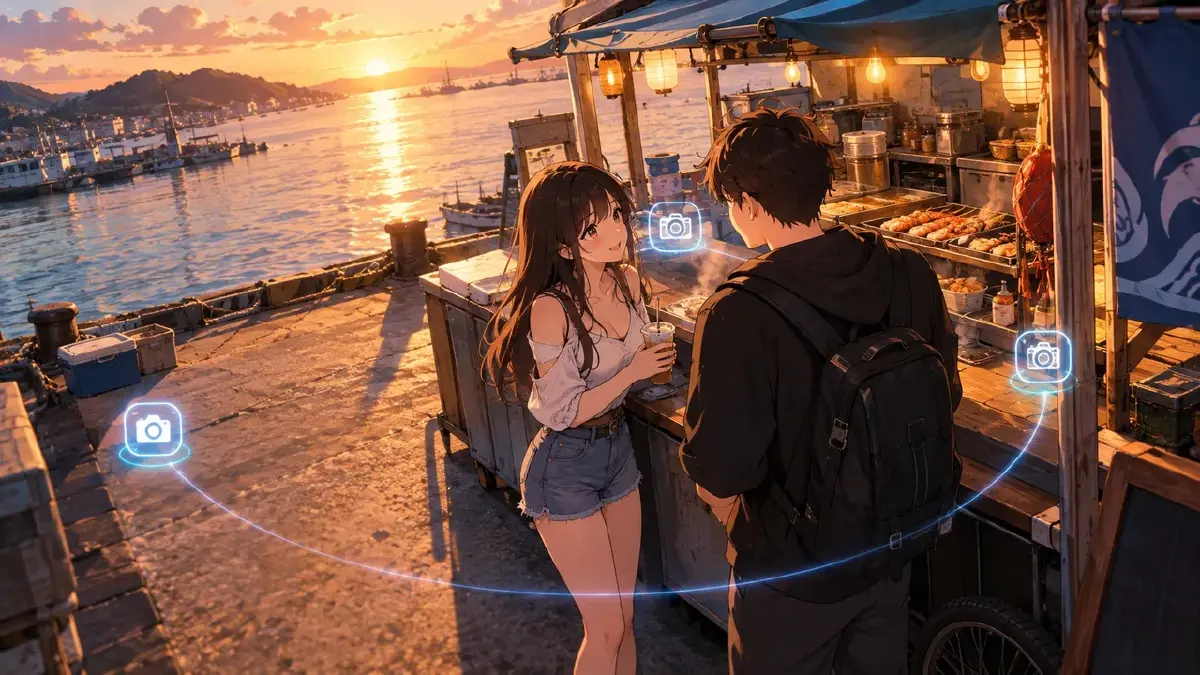
You have a street scene: the hero walks up to a vendor, they talk, the hero leaves. In a game the camera lives behind the player, so you write that, and the generation gives you a camera that clips through the vendor's cart, swings to nowhere while they talk, and loses the hero when he walks off. One camera cannot cover a conversation, and asking it to move around the actors makes every generation a gamble.
Film solved this a century ago with coverage: several fixed positions, each doing one job, cut together. AI video works the same way once you stop asking for one continuous camera. This guide shows how to plan a multi-camera scene in AI video as three positions, what has to match between them so the cuts feel like one room, and how to generate them as three shots in ArcLoop.
Why one moving camera fails a conversation
A moving camera in a dialogue has to solve three problems at once: stay out of the walls, keep both faces readable, and follow whoever is speaking. Each is a spatial decision, and a prompt can hold maybe one of them. The generation then picks its own solution for the other two, and it picks differently every time.
Three fixed positions split the problems. The over-the-shoulder handles the approach. The reverse handles the reply. The exit handles the leave. Each shot has one camera, one action, one thing to get right. That is a shot the model can execute, and a shot you can review against a plan.
Rules that make three angles cut together
- Stay on one side of the line. Draw a line between the two characters. All three cameras sit on the same side of it. Cross it and the characters swap sides of the frame on the cut, and the audience loses the room.
- Match the eyelines. If A looks slightly right of camera in the over-the-shoulder, B looks slightly left of camera in the reverse. State it in each shot.
- Match the distance. Over-the-shoulder and reverse at the same distance and height. A medium on one side and a close-up on the other reads as a jump, not a cut.
- Keep the background continuous. The street behind A in shot 1 is the street behind B's shoulder in shot 2, from the other side. Reference the same location asset with
@in every shot. - One action per angle. Approach, reply, exit. The moment a shot has two actions, add a fourth camera or split the shot.
For where the characters stand and who owns which line, the multi-character blocking guide covers the staging diagram. This article assumes the staging is set and plans the cameras around it.
How to plan and generate the three cameras, step by step
- Fix the staging. Where A stops, where B stands, which way each faces. Note it in one line; this is the input for every camera.
- Draw the line and choose the side. Usually the side with the more interesting background. All three cameras go there.
- Place camera 1 behind A, over the shoulder, at head height, far enough to see B's whole upper body. This covers the approach.
- Place camera 2 behind B, the mirror of camera 1: same height, same distance, same lens feel. This covers the reply.
- Place camera 3 for the exit. Often a wider angle from beside B, so A can walk out of frame past camera without the camera moving.
- Write three shot cards. Reference
@A,@B, and the location in all three. Each card states its camera in one sentence and its one action. If you have stills of the positions — from a previz, a storyboard, or a generated frame you approved — attach them; the previz guide shows how to export them. - Generate the three images first and lay them side by side. Check the line, the eyelines, the distance. Fix on the cards before generating any video.
- Generate the videos, then cut them in Edit in order: 1, 2, 1 again if there is a second line, 3. Trim to the dialogue. If a cut feels wrong, it is almost always distance or eyeline; fix that shot, not all three.
Example 1: Camera 1, the approach
Over-the-shoulder from behind @Ren, camera at head height, tracking at walking pace as he approaches @Vendor Marcus at the food cart on @Harbor Street. Ren slows and stops two steps away; Marcus looks up and turns to face him. Ren's shoulder on the left edge; Marcus and the cart center; the harbor street continues behind. Camera stops when Ren stops. Match camera position 1.
Example 2: Camera 2, the reply
Reverse angle from behind @Vendor Marcus, camera at head height, same distance as Shot 1, static. @Ren faces camera and speaks, looking slightly left of lens at Marcus; one hand gestures toward the cart. Marcus's shoulder frames the right edge, soft. The far side of @Harbor Street behind Ren, continuous with Shot 1. No camera move. Match camera position 2.
Example 3: Camera 3, the exit
Wide shot from beside the cart, camera at chest height on the same side of the line, static. @Ren nods to @Vendor Marcus, turns, and walks left to right out of frame past the camera. Marcus watches him go, then turns back to the grill. @Harbor Street and the water behind. The camera does not follow; Ren simply leaves the frame. Match camera position 3.
The most common ways multi-camera scenes break
- The line got crossed. Characters swap sides on the cut. One camera is on the wrong side; move it, regenerate that shot only.
- Different distances. Shot 1 is a medium, shot 2 a close-up. Rewrite shot 2 with the same distance sentence as shot 1.
- Eyelines both to the same side. Both look right of lens; on the cut they appear to look at the same off-screen thing. Flip one.
- The background changed. Shot 2 invented a different street. The location asset was not referenced; add
@Harbor Streetto every shot. - Camera 3 tried to follow. The exit became a tracking shot and the camera clipped the cart. State "camera does not follow" in words.
FAQ
Do I need a fourth camera? Only if there is a beat the three cannot cover — a reaction from a third character, or an insert on an object. Add it for that beat only, on the same side of the line.
Can the over-the-shoulder be a moving shot? Yes for the approach, as long as it stops when the character stops. The reverse should be static so the cut has something stable to land on.
What if the characters walk while they talk? That is a different scene design: a tracking two-shot from the side, cut with a front tracking shot. The line rule still applies; the cameras just move together.
How do I keep both characters the same across the three shots?
Reference both with @ in every shot and keep face and outfit description out of the text. The assets carry identity; the shots carry camera and action.
Next step
Take one conversation that keeps failing with a moving camera and plan it as three positions on a napkin: over the shoulder, reverse, exit. Write three shot cards with the same distance sentence and @ references for both characters and the location. Open the project in ArcLoop, generate the three images, and check the line before any video.