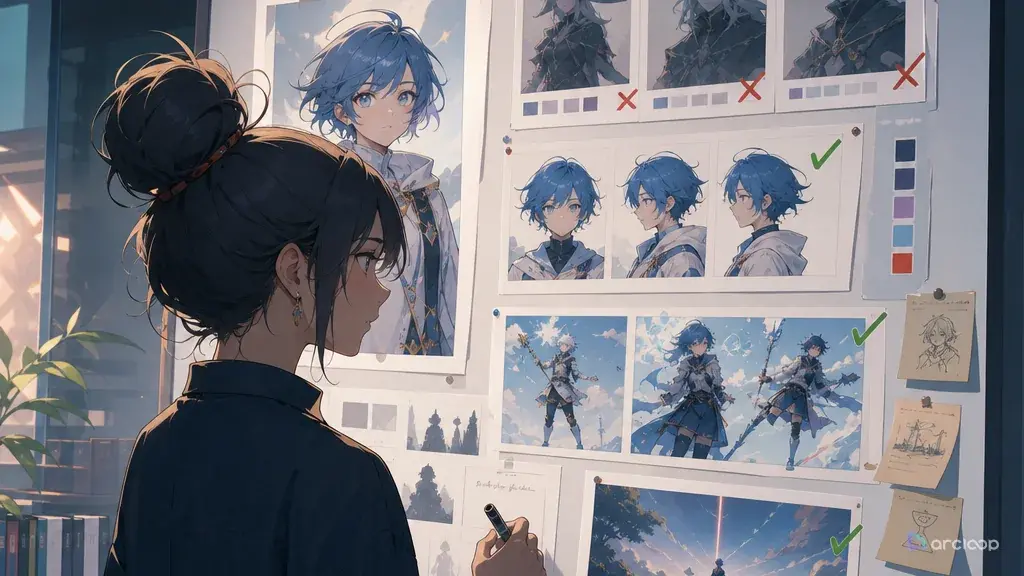
What style transfer tends to take that you didn't offer
The test looked impressive until the creator placed it beside the character asset. The original character was supposed to be a sleepy bakery witch with heavy eyelids, flour on her sleeves, and a crooked moon pin. After the transfer, she had a different face, a sharper costume, a grander setting, and none of the awkward charm that made the scene funny. The transferred look did not decorate the project. It took command of it.
Style transfer is useful only when the boundary is visible. You may want a softer line treatment, older print texture, flatter shadow design, or a bolder color system. You usually do not want another creator's character identity, world logic, costume language, composition habit, logo shape, or signature scene copied into your project. If the boundary is not written down, the generated result may preserve the least important part and overwrite the story-critical one.
This guide explains how to plan style transfer boundaries for original AI anime work in ArcLoop. You will decide what can transfer, what must stay original, what should be blocked, and how to review the first results without being distracted by polish. Use AI Anime Reference Selection for choosing reference roles, then test visual recipes from Style Templates inside your own project rules.
Traits worth transferring — and that aren't
Transfer traits, not ownership signals. Traits include line thickness, color temperature, paper grain, background depth, shadow edge behavior, and animation timing. Ownership signals include recognizable characters, costumes, emblems, vehicles, mascot shapes, title layouts, and scene compositions associated with a specific work.
Keep the character asset above the transfer note. The original character's face, body type, hairstyle, outfit silhouette, prop state, and personality posture should outrank any transferred treatment. If the transfer makes the OC look cooler but less like themselves, the take fails.
Write the forbidden zone. It is not enough to say "inspired by old anime" or "soft fantasy style." State what cannot move: no copied character design, no recognizable logo, no named-work scene layout, no costume replacement, no changing the world rules, no turning background references into story locations.
Separate style from setting. A reference may show a rainy harbor, but you may only want its muted color and wet-surface lighting. If your story takes place in a dry mountaintop bakery, the harbor should not follow the style into the scene.
Review for provenance comfort. Ask whether you would feel comfortable explaining the style recipe without pointing to a single protected source. If the honest explanation is "it looks like that famous thing," the boundary is too weak.
How to plan your transfer boundary before you generate
Start with the original asset list. Write the character asset, world rule, scene beat, and must-keep props before looking at style. Example: "Pella is a bakery witch with heavy eyelids, ash-brown curls, flour-smudged sleeves, a crooked moon pin, and a floating recipe card that misbehaves." Those details are the project.
Choose transferable traits. Keep them material and broad: soft ink lines, chalky background texture, warm low-contrast palette, simple shadow blocks, limited mouth movement, or gentle camera holds. Do not transfer costumes, character archetypes, title shapes, or famous compositions.
Create a boundary note with three columns: may transfer, must remain original, and block. "May transfer: chalky paper texture and warm low-contrast shadows. Must remain original: Pella's sleepy face, moon pin, bakery kitchen, floating recipe card. Block: recognizable costumes, logos, named-work layouts, heroic redesign, new familiar creature companion."
Turn the note into a shot prompt. Name the transfer's job in one line, then write the scene action. If the transfer is only for texture and palette, say that plainly. The prompt should not ask the style to invent story content.
Generate a small batch of variants and reject by boundary first. Do not keep a take because it is pretty if it imports a costume, changes age, replaces the location, or makes the OC resemble a known character. Boundary review comes before color and polish.
Promote the cleanest transferable recipe. Once one take works, save the short recipe as a Visual reference asset in My Assets and reuse it on another scene. If it only works for a single close-up, treat it as a one-off shot description instead of promoting it to a reusable asset.
Here is how to put this workflow into practice inside your project.
Open your IP Project and go to My Assets. Create a Character asset for your OC — add a Main image that locks the face and silhouette, then Bind any additional Reference images for costume variants or emotional states. Create a Scene asset for each location that must stay consistent across shots.
When you are ready to generate, go to your Episode and click Generate Shots. The AI will break the episode into shot cards. Open a shot card and write the transfer rule in the description: name one transferable trait (texture, palette, line weight) and list what must not change. Use @ to reference your character and scene assets — for example, @Pella in @mountaintop bakery, chalk texture on environment only — rather than re-describing the face or location from scratch.
Generate images first to confirm the character identity holds before you generate video. If a take looks right on identity but wrong on transfer, adjust the shot description and regenerate that single card. Once a take works, save the short style rule as a Visual reference asset in My Assets so you can pull it into other shots with another @ reference instead of retyping it each time.
Use the AI Chat Panel to generate several shots at once: Generate videos for Shots 1, 2, and 3. Then move to Edit to arrange the takes on the timeline and swap out any that failed the boundary check.
Where to keep the boundary note so it stays with the shot
The transfer decision doesn't have to hide inside a long prompt — write it down once. Build the character as an asset in ArcLoop Worlds under My Assets, and put the transfer rule (what can shift, what must stay original) directly in the shot description next to the @ reference. That way the shot itself says which part is the character's identity and which part is allowed to take on the borrowed texture or line quality.
This matters during review. A generated take might have beautiful chalk texture but erase Pella's crooked moon pin. Another might keep the pin but move the bakery into a grand castle kitchen that belongs to a different story. Put a few takes side by side on Canvas and check them in the same order every time: original identity first, then world rule, story action, the transferable trait, and polish last.
For per-shot decisions, use Per-Shot Reference Decision Tree. It keeps reference roles practical: identity reference, pose reference, environment reference, or style treatment. The smaller the job, the easier it is to transfer style without transferring someone else's design.
Example 1: Bakery Witch Chalk Texture
Medium shot of @Pella standing at the wooden counter in @mountaintop bakery before dawn. She reaches for the floating recipe card, misses once, then pins it to the air with one floury finger. Style transfer: chalky paper texture, warm low-contrast shadows, and soft ink line edges applied to environment and lighting only. Pale blue light from the small round window. Camera locked. Block costume redesign, logo shapes, recognizable scene layouts, new familiar companions, and heroic character treatment.
The prompt makes the boundary visible. Texture can transfer; character and world cannot.
Example 2: Harbor Signal Without Borrowed World Rules
Wide over-the-shoulder shot of @Orin standing on the rope bridge at @floating dock town at night. He raises one yellow-gloved hand; @belt lantern flickers twice. A distant bridge light answers across the low fog. Style transfer: muted storm colors, soft cel shadows, and hand-painted water reflections as broad production traits only. Slow push-in. Block known ships, uniforms, emblems, recognizable harbor layouts, readable signage, and extra characters.
This example separates weather and paint treatment from world design. The dock town remains its own place.
Example 3: Practice Hall Memory Treatment
Locked close medium shot of @Minao in the empty @school practice hall at lunchtime. He taps the taped drumsticks together once, stops before the second tap, then looks toward an empty chair. Sunlight from high windows. Style transfer: faded print softness and slightly uneven cel color to signal memory only. Block copied uniforms, recognizable club logos, dramatic stage lighting, new band members, famous performance poses, and age alteration.
The transfer is temporal: it signals memory. It does not import a different school, cast, or music-video identity.
The most common ways a transfer boundary breaks
The most damaging mistake is transferring the whole reference. A reference is not a permission slip for costume, character design, scene layout, and mood all at once. Decide which trait you actually need.
Another mistake is writing only positive inspiration. "Soft nostalgic fantasy look" sounds harmless, but it does not block recognizable design signals. Add a block list for costumes, logos, scene layouts, and character identity.
Creators also let the transfer change story tone. A comic bakery scene can become epic or tragic if the style reference has grand lighting. Keep the scene's emotional job in the prompt.
A fourth mistake is approving near-copies because the OC name is different. Names do not make a design original. Face, silhouette, costume, prop, and composition need to belong to your project.
Finally, do not use transfer as a shortcut for art direction. A clean style recipe is shorter and safer than chasing a famous look. Describe line, texture, color, and timing in your own production language.
FAQ
What can safely transfer in an AI anime style?
Broad production traits are the safest: line softness, palette temperature, shadow behavior, background texture, grain level, camera restraint, and animation timing. Character designs, logos, costumes, and signature compositions should stay out.
How do I know if a transfer went too far?
Put the result beside the character asset and world note. If the character looks redesigned, the setting moved into another story, or the style can only be explained by naming one source, the transfer went too far.
Should I mention blocked elements in every prompt?
For early tests, yes. Once the boundary rule is written into the character's Visual reference asset in My Assets, you can keep each shot description shorter — reference the asset instead of retyping the rule. Important blocks should stay visible when you compare takes on Canvas.
How do I keep style transfer ethical?
Keep the character locked as an asset in My Assets, write the transfer boundary into the shot description, and compare takes on Canvas before you commit to one. That combination makes it easier to borrow broad visual traits — texture, palette, line weight — while protecting the character's original identity and world rules.
What is the difference between style mixing and style transfer?
Style mixing combines multiple visual languages into a hierarchy. Style transfer applies selected traits from a source treatment to your own project. Both need boundaries, but transfer needs extra care because it can accidentally pull in recognizable ownership signals.