What goes wrong when you choose the wrong reference
Many AI anime prompts fail because the wrong reference is doing the wrong job. A creator wants the same OC in a new action pose, so they upload a beautiful portrait. The portrait protects the face, but it does not explain the body movement. Another creator wants the same outfit across scenes, but they rely on a motion-heavy video frame where half the costume is hidden. The model guesses, and the result drifts.
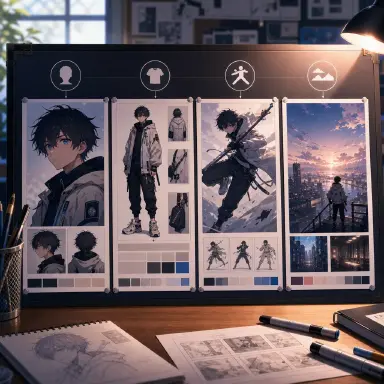
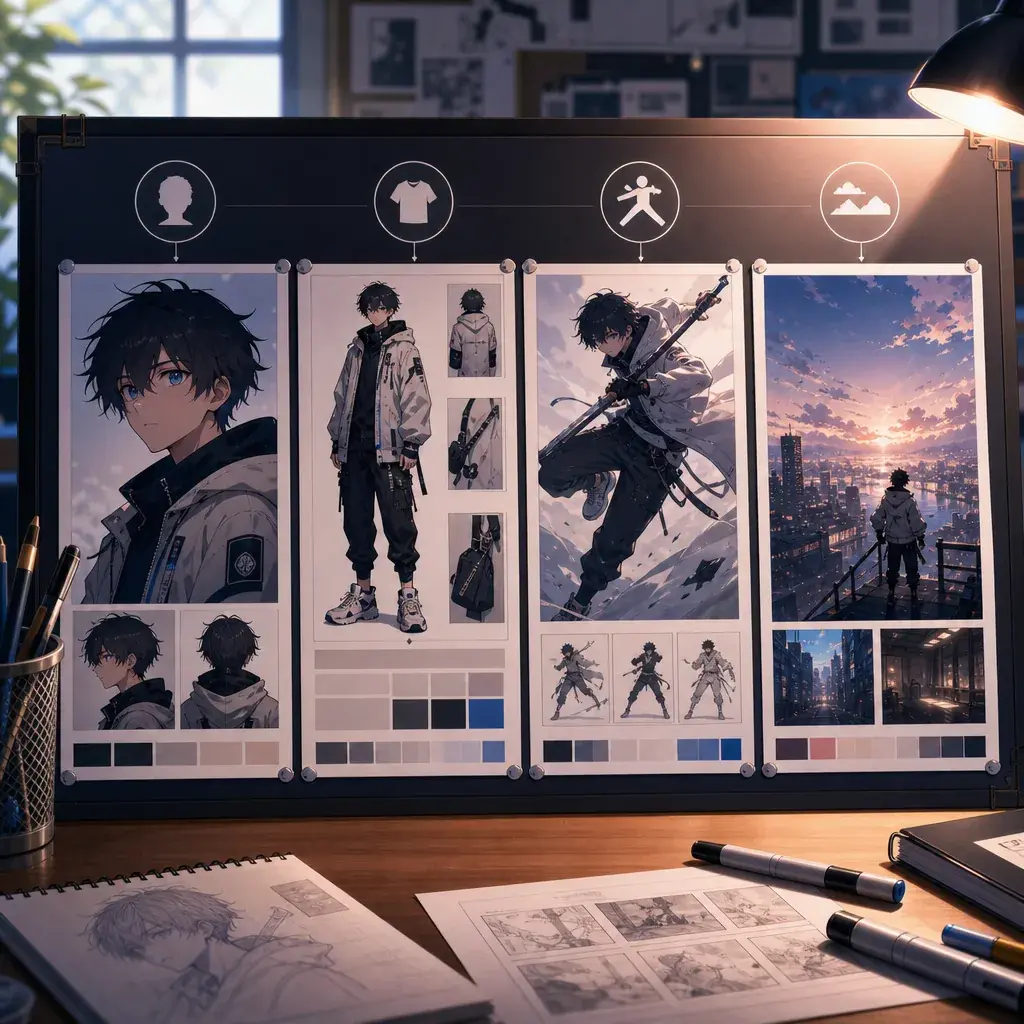
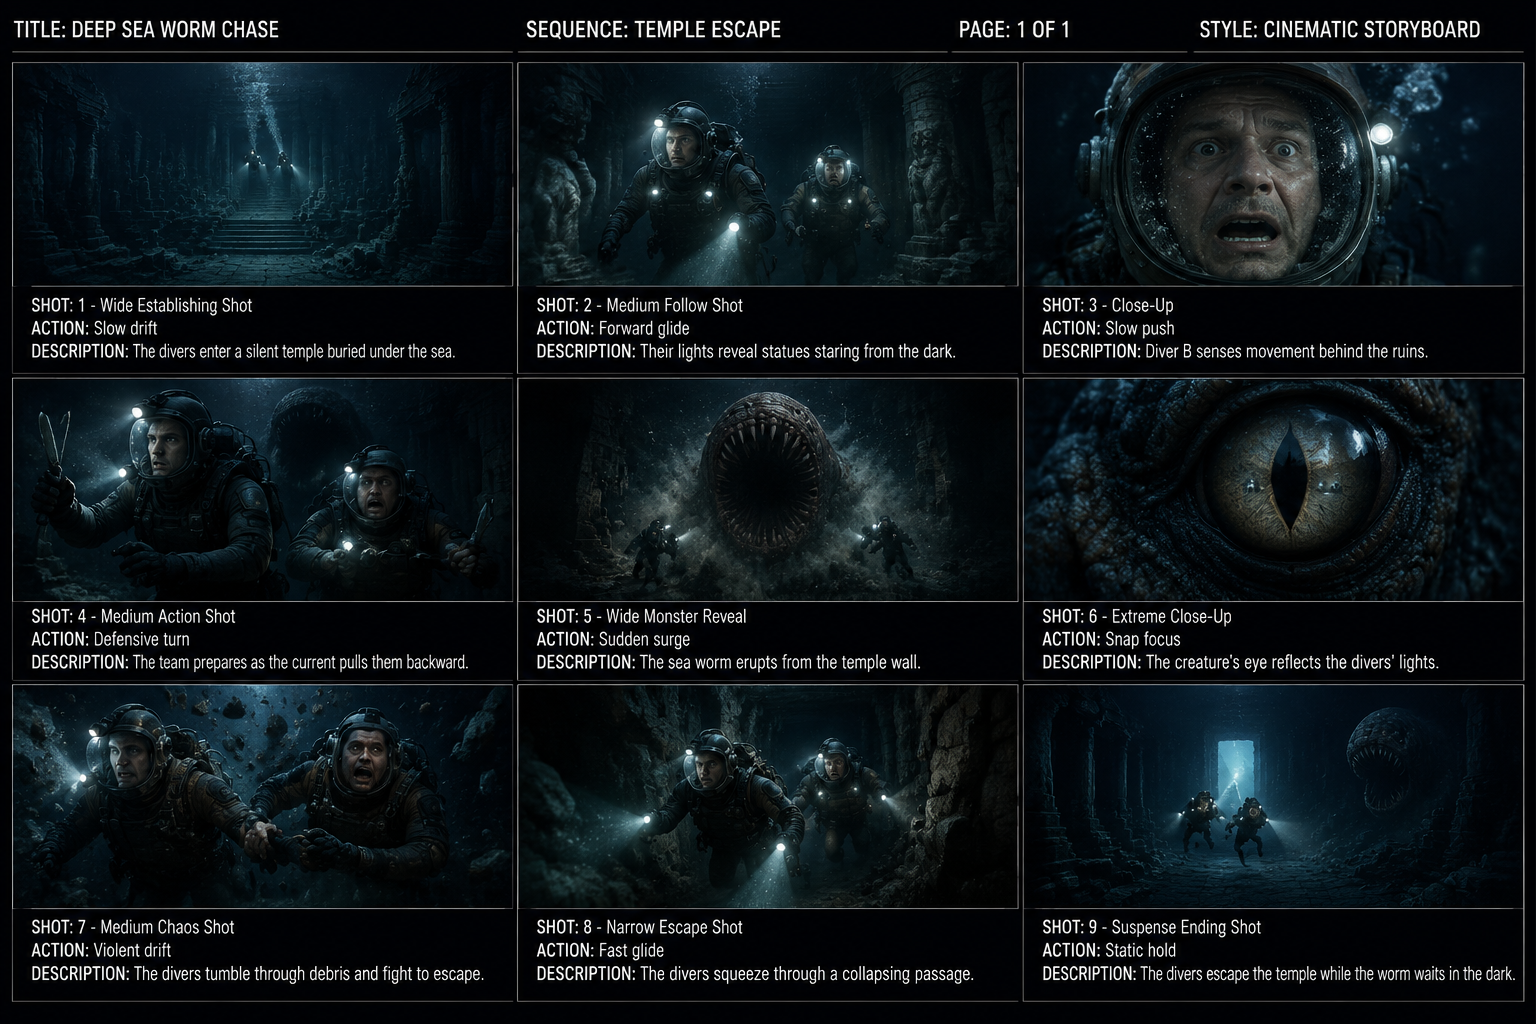
Reference selection is a production decision. Each reference should have a role. A character sheet locks identity. An outfit reference protects clothing. A pose reference controls body language. A scene reference guides depth, lighting, and layout. A storyboard holds shot order and continuity. When those roles are clear, the prompt can stay shorter and the output becomes easier to review.
This guide explains how to choose references for AI anime shots without turning every prompt into a pile of competing images. Use it when your original character, storyboard, or short-form anime workflow needs repeatable results. Start with Reference Type Per Shot when you need each image to have one job.
One reference, one job: rules
The first principle is one reference, one job. A reference can influence multiple things, but you should still decide its main purpose before using it.
The second principle is identity first. If the same character appears in more than one shot, create a neutral character sheet before generating action clips.
The third principle is visible information. A reference cannot control what it does not show. A cropped portrait is weak for boots. A dynamic action frame is weak for a symmetrical outfit.
The fourth principle is conflict reduction. If one reference says soft pastel slice-of-life and another says dark neon action, the prompt needs to explain which parts matter.
The fifth principle is per-shot selection. A close-up, dance clip, chase shot, and transformation beat do not need the same reference mix.
How to pick the right reference for each shot
Start with the shot problem. Ask what keeps failing: face, outfit, pose, hand gesture, camera depth, background mood, or continuity. The answer chooses the reference.
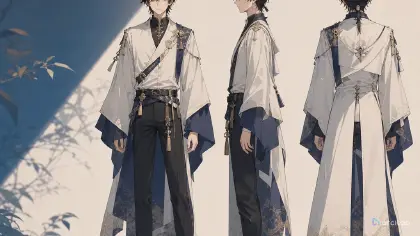
Use a character sheet when the face, hairstyle, silhouette, and base outfit must stay stable. A front, side, back, and expression sheet is better than one dramatic illustration.
Use an outfit reference when clothing is the main risk. This matters for idol costumes, school uniforms, armor, VTuber designs, fantasy robes, and recurring jackets.
Use a pose reference when the body action matters. Dance, sword draw, kneeling, running, leaning, and hand-reaching shots need pose clarity more than extra style words.
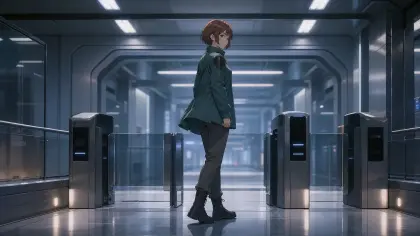
Use a scene reference when the environment must be coherent. Depth layers, lighting direction, storefront spacing, room layout, and weather are easier to guide visually than through text alone.
Write the reference role in the prompt. Do not just attach images and hope. Say "use the character sheet for identity only" or "use the alley reference for depth and lighting, not for character design." Use OC Character Sheet Front Turnaround when identity is the failure.
The reference matrix: match shot type to input
A simple matrix prevents reference overload. Across the top, list shots. Down the side, list identity, outfit, pose, scene, prop, and continuity. Fill only the cells that matter. A talking close-up might need identity and expression, not a full pose guide. A dance shot might need identity, outfit, and pose. A cyberpunk walk might need identity and scene depth.
This matrix is also useful for cost control. If a shot fails, you can ask whether the failed element had the right reference. If the face drifted without a sheet, add the sheet. If the pose failed despite a beautiful portrait, add a pose guide. If the background keeps flattening, use a scene reference with clear foreground, midground, and background.
The key is to stop treating references as magic. They are inputs with jobs.
Local edits, masks, and when to swap just one thing
Reference selection also decides how much of a shot should be regenerated. If only a mask, hand, prop, hair strand, or face angle fails, do not spend the next pass asking the whole scene to change. Use a local edit mindset: preserve the approved performance, camera, lighting, and background, then isolate the small area that needs repair.
For identity edits, start with the smallest replacement that solves the problem. A face correction can use a head reference and a narrow mask. A clothing transfer can use an outfit reference while the character sheet protects the body and face. A full-body replacement should come later, after the head, outfit, pose, and scene references have failed separately.
Keep the control surface small. In many image-to-image and headswap workflows, the useful tuning knobs are simple: denoise controls how much the result may change, guidance strength controls how aggressively it follows the source, and reference strength controls how much identity or style enters the output. You do not need twenty settings to review a shot; you need to know which part of the shot each setting can break.
This is why a shot card should say which asset carries identity and what the edit is allowed to touch. @Character for identity and "repaint only the left glove" is a different job from "replace the character while preserving the room." The first is a repair. The second is a new shot with stricter continuity risk.
Example 1: Character Plus Pose Reference
Use the OC character sheet as the identity reference: short lavender hair, green eyes, black sleeveless jacket, white skirt, red ribbon bracelet, and ankle boots. Use the separate pose sketch only for body position: one knee bent, right hand reaching forward, left hand held back for balance.

Create a 6-second 2D anime video of the same OC reaching for a floating glass key in a moonlit library. Camera: medium-wide three-quarter shot, locked, keep the full pose visible. Main action: she steps onto a low chair, reaches forward, and catches the key as it glows. Supporting motion: skirt hem and loose papers move in a small burst of wind. Preserve the character sheet design, especially hair, jacket, bracelet, and boots. Do not copy the pose sketch style. No text, no logo, no extra fingers.
This prompt separates identity from pose, which keeps both easier to judge.
Example 2: Outfit Lock Reference
Use the outfit reference only for clothing: navy idol jacket with gold trim, white pleated skirt, black thigh-high socks, star brooch, and short capelet. Use the character sheet for identity: original singer with copper twin buns, amber eyes, and round cheek shape.

Create an 8-second 2D anime stage shot. The singer walks from backstage shadow into a warm spotlight, touches the star brooch, and smiles toward the audience. Camera: slow frontal push-in from knees-up to medium close-up. Keep outfit structure consistent across the walk; the capelet may flutter but should not change shape. Clean cel shading, soft concert bloom, no lyrics on screen, no sudden costume redesign, no extra accessories, no text.
This is useful when the clothing matters more than the exact pose.
Example 3: Scene Depth Reference
Use the character sheet for identity and the alley reference only for depth layout: foreground signs, midground walkway, background train lights, and wet reflections. Do not copy any people or logos from the alley reference.

Generate a 7-second 2D anime cyberpunk walk shot. Original courier with white bob hair, orange scarf, gray utility coat, and black messenger bag walks from foreground left into the midground walkway. Camera: gentle dolly backward, keeping foreground signs sliding past the edge of frame while the background train lights stay distant. Supporting motion: scarf moves in the rain wind, puddle reflections shimmer under boots. Preserve the courier's face, scarf, coat, and bag. No readable signs, no text, no logo, no extra pedestrians blocking the character.
The scene reference controls spatial depth without taking over the character.
The most common ways this breaks
The biggest mistake is using a reference without naming its job. The model may borrow style, pose, clothing, or background when you only wanted identity.
Another mistake is using a dramatic shot as a base sheet. If the hand, back, shoes, or outfit are hidden, later shots will guess those details.
Creators also use too many references for a simple shot. More inputs can create more conflict. Add only the reference that solves the current failure.
A fourth mistake is using a pose reference for expression. Body position and face acting are different problems.
Finally, do not let references weaken originality. Your character, your world, AI is your tool. Use references to clarify production choices, not to copy someone else's design language.
FAQ
What reference should I create first for an OC?
Create a neutral character sheet first: front, side, back, face close-up, expressions, and palette. It becomes the identity anchor for later shots.
Can one image be both character and pose reference?
Sometimes, but it is less reliable. If identity and pose both matter, a neutral sheet plus a separate pose reference is easier to control.
How do I know a reference is mismatched?
If the failed output borrows the wrong thing, the reference role is unclear. Rewrite the prompt to say exactly what each reference should and should not control.