Antagonists Who Actually Change the Hero's Choices
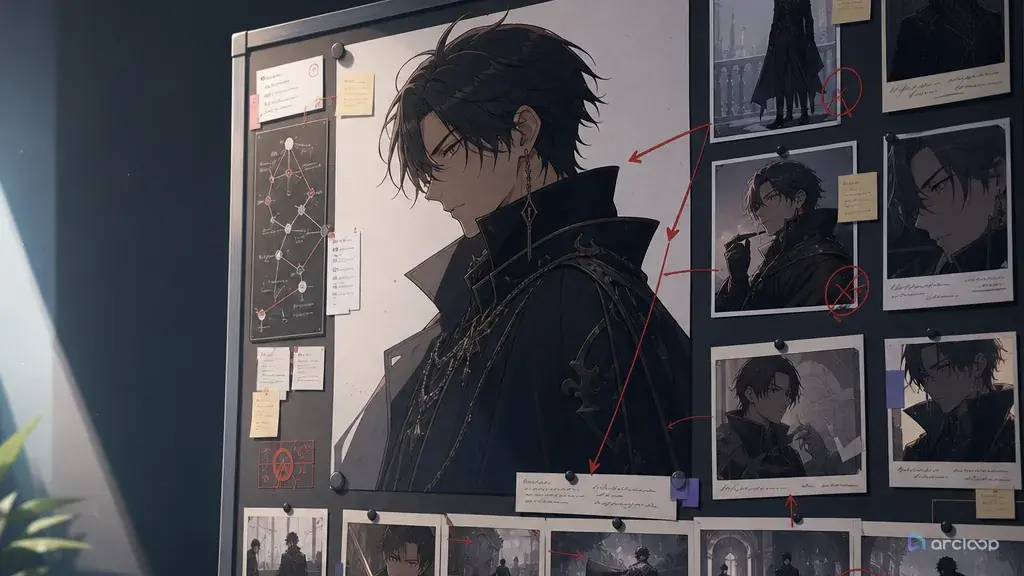
The easiest AI anime villain to generate is also the easiest one to forget: black coat, sharp smile, dramatic backlight, maybe a throne. The shot looks expensive. Then the story starts and the villain could be replaced by any other threatening person without changing the hero's decision. That is not antagonist design. That is costume design wearing a scowl. This guide shows you how to design an antagonist whose presence actually forces the hero to choose differently, from first sketch to final shot.
An antagonist needs a function before they need a silhouette. They pressure the hero's weakness, protect a belief the story wants to challenge, enforce a rule the hero cannot accept, or pursue a desire that makes the hero choose. If the antagonist does not force a choice, the generated shots may still look cool but the scene has no engine.
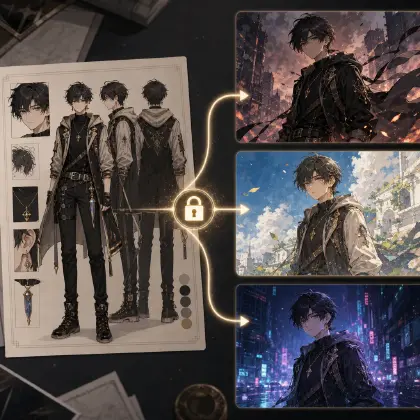
Antagonist work touches several parts of the project at once, so it's worth building the villain as a character asset from the start, not a one-off prompt. Use character profile fields to lock the visible identity, Character Asset First to keep the design reusable across shots, and AI Character Voice Is a Story Layer when the antagonist's delivery needs to reveal power without overacting.
This guide builds an antagonist function brief for AI anime stories. The card names what the antagonist embodies, how that pressures the protagonist, which visual anchors must persist, and what each generated scene must prove.
Rules for Building an Antagonist Who Works
Start with the wound they press. A rival who beats the hero in combat is less interesting than a rival who exposes the hero's need to be admired. A monarch who controls the city matters more when the hero depends on the very order the monarch protects.
Give the antagonist a value, not just a goal. "Wants the artifact" is plot movement. "Believes memory should be edited so people stop grieving" is an antagonist value. Values create repeatable behavior across scenes.
Design visual authority around the function. A bureaucratic antagonist may be terrifying through perfect posture, clean gloves, and stamped documents. A reckless antagonist may use asymmetry, loose straps, and impatient gestures. The outfit should tell the same story as the pressure they create.
Make the antagonist capable of being right about something. Flat evil becomes predictable. If the antagonist's argument has a painful truth, the hero must answer it instead of only defeating it.
Keep menace performable. Constant shouting, glowing eyes, and huge effects can make every scene peak too early. Small control often reads stronger: a quiet correction, a delayed blink, a hand placed over the hero's exit.
Link the antagonist to the world rule. In anime shorts, screen time is limited. The antagonist should reveal how the world works: academy rankings, guild debt, memory laws, shrine taboos, city rationing, or family inheritance. That makes every appearance carry exposition without a lecture.
How to Build Your Antagonist Design Workflow
Write the protagonist's current comfort first. What habit lets the hero avoid growth? Maybe they apologize too quickly, refuse help, hide talent, chase applause, or treat rules as someone else's problem. The antagonist should make that habit fail.
Name the antagonist function in one sentence. Use a sentence like, "Director Veyra embodies a world where safety is purchased by deleting dangerous memories." This is clearer than "elegant villain woman."
Build the visible character asset. Include age range, silhouette, face shape, hairstyle, color palette, costume anchors, signature prop, posture, and expression habits. Keep it original and avoid copied franchise cues or protected logos.
Define the pressure scenes. List three situations where the antagonist changes the hero's choice: first encounter, private offer, public consequence. Each scene should test a different part of the hero.
Plan the performance layer. Voice, gesture, and timing should match the antagonist's power. A character who controls law may speak in calm corrections. A character who lives by hunger may interrupt, lean in, and speak too close. Keep the behavior consistent.
Generate a small batch of variants from the function brief. Do not approve the shot only because the antagonist looks attractive. Ask whether the hero's problem becomes sharper when the antagonist appears.
Save rejection rules. Reject designs that look threatening but do not reveal the value, fear, desire, or rule. Reject shots where the antagonist changes personality just to make the scene louder.
Put the Antagonist's Function in the character asset, Not a Separate Doc
Build the antagonist the same way you build the hero: as a character asset in My Assets, in the same project as the world rules they enforce. Write the function — what they embody, whose weakness they pressure — into the asset's description field instead of a one-off poster prompt, so every shot that references them with @ carries that function along.
Start with character profile fields, then write into the description: the value they embody, the hero's weakness they pressure, the first visible sign of their power, and what they must never do out of character. If the story relies on a setting rule, attach it in ArcLoop Worlds. If the antagonist needs a recurring speech style, set it as the character asset's voice instead of planning it separately.
For production, use continuity checklist to compare antagonist shots across episodes. Review in this order: function, identity, relationship to hero, readable action, then polish. A gorgeous shadow pose fails if it does not sharpen the protagonist's choice.
Complex antagonist scenes — public speeches, crowd reactions, elaborate powers, costume motion — take more shots and more retries than a quiet confrontation. Plan for that in the storyboard before generating finals, so the expensive scenes are the ones you're sure about.
Once the function is written, run the confrontation the same way you'd run any scene: build the antagonist in My Assets first, bind the design as its Main image and any costume or prop close-ups as Reference images, then write the function straight into the description field before you touch a single shot. Open the episode and click Generate Shots to break the confrontation into shots. In each shot card, reference the antagonist with @ and write only what's new for that shot — the pressure action, the camera angle, where the light falls — since identity and function are already carried by the asset. Generate the image first and check that the blocking reads as pressure, not just a pose, before you spend a video generation on it. Once the shots hold up, batch them from the AI Chat Panel with something like "Generate videos for Shots 1, 2, and 3," then drop the results into Edit and swap out any take that undercuts the choice you're building toward.
Example 1: Antagonist Function Brief for Director Veyra
Introduce @Director Veyra inside the archive at midday: she moves slowly between the racks of glass memory-cards, stops at a citizen's file, and seals it back into its rail with two fingers before its light can fade. Camera: slow, low-angle dolly-in, keeping her centered and unhurried. Lighting: even, bright archive light with soft reflections crossing the glass. Sound: one quiet click as the card locks home, nothing else. She never raises her voice — the whole room already does what she says.
This prompt makes the antagonist's threat specific. Her design, behavior, and story function all point at controlled forgetting.
Example 2: First Confrontation Shot
@Director Veyra steps between @Tamsin Roe and the archive doors without hurrying, lifts a glass memory-card glowing with summer light, and lays it gently over Tamsin's reflection on the polished floor. Camera: medium-wide, low angle, both characters in frame, Veyra centered and still, Tamsin half-turned with one hand guarding the key at her wrist. Lighting: bright noon archive light, soft reflections sliding across the glass rails. Sound: only the faint scrape of the card sliding into place. Keep it restrained — no shouting, no combat effects, just the choice sitting between them.
The antagonist pressures the hero through a choice: surrender the key or risk a memory being sealed.
Example 3: Controlled Revision for Antagonist Clarity
Revise the @Director Veyra confrontation shot: keep her white archivist coat, looped silver-gray hair, and calm stillness, keep @Tamsin Roe's green satchel and red wrist cord, and keep the archive's circular layout and low medium-wide camera. Change one thing — have the lifted glass card project a small flicker of summer light onto the floor, right over Tamsin's shadow, while Veyra's posture stays exactly as still. Don't touch the lighting direction, the duration, or Tamsin's hand guarding the key. The shot should read clearly: Veyra controls the memory, and Tamsin is choosing between truth and comfort.
The revision repairs the antagonist's function without redesigning the scene.
Ways Antagonist Design Goes Wrong
The biggest mistake is starting with menace words instead of conflict. Dark, evil, powerful, cruel, and mysterious do not tell the story what the antagonist changes.
Another mistake is giving the antagonist a costume unrelated to their power. If they control contracts, records, songs, weather, or academy rank, the design should show that system.
Creators also make every antagonist scene louder than the last. Volume is not escalation. A quieter offer can be more dangerous than a battle pose if it corners the hero's values.
A fourth mistake is letting the antagonist change personality to fit each prompt. If they are patient in one shot and impulsive in the next, the audience loses the pattern they are meant to fear.
Finally, do not make the antagonist only a final boss. Let them reshape ordinary scenes: forms that cannot be signed, doors that stop opening, friends who repeat their language, rules the hero starts to believe.
FAQ
What should be on an antagonist function brief?
Include the value or rule the antagonist embodies, the hero weakness they pressure, visible identity anchors, behavior anchors, signature prop, scene tests, and reject rules.
Does every antagonist need a tragic backstory?
No. They need a coherent function. A short, sharp belief that pressures the hero is often more useful than pages of backstory that never appears on screen.
How do I make an antagonist visually original?
Start from their job in the world and their method of control. Build silhouette, costume materials, props, posture, and color around that function instead of borrowing a generic villain outfit.
How does ArcLoop help antagonist continuity?
The antagonist lives as one character asset alongside the hero's, in the same project as the world rules. Every shot references it with @, so identity doesn't drift between episodes — and because the function is written into the asset's description, you can check any new shot against it directly.
When should I redesign the antagonist?
Redesign when the character looks striking but does not pressure the hero, reveal the world rule, or behave consistently across scenes. If only a prop, gesture, or camera read is unclear, revise that layer instead.