Introduction
The expensive retry usually starts earlier than the render button. A shot looks acceptable alone, but in the cut the character has a new face, the prop vanished, the voice timing no longer fits, and nobody can say which take was actually approved. That gap gets worse when every step keeps its own truth outside the project — the fix is keeping character assets, shot cards, and the approved take all in the same ArcLoop project instead of scattered across chat threads and local files.
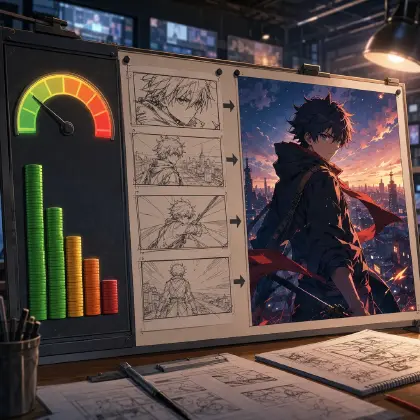
Approve-before-render is the small gate that prevents that mess from becoming final-quality waste. Open the episode in a creative world, use AI Short Drama guides to shape the shot sequence, and check recurring roles against Character Asset References before spending on polish.
The script-first story stays intact because approval happens on concrete objects: character assets, shot cards, prop notes, voice notes, and budget assumptions. If one layer is weak, revise that layer instead of rerendering the whole scene.
What Gets Approved
Approve the script breakdown first. Check scene order, character list, emotional turns, dialogue blocks, props, and cliffhanger logic. If the breakdown misreads the story, every downstream asset will be wrong.
Approve the character reference library. Each recurring role should have identity anchors, expression range, wardrobe rules, and voice notes. Reject vague role descriptions before they become video drift.
Approve the per-scene shot list. Each shot should have one job, runtime, aspect ratio, action, camera, dialogue coverage, continuity anchors, and review criteria. If a shot card is crowded, split it before render.
Approve props and text. Documents, messages, rings, scars, keys, and phone screens often carry the drama. If they must be readable, mark where they appear and what text is allowed.
Approve voice notes. Speaker IDs, pace, emotion, pauses, and line placement should be checked before final video. Voice affects shot duration and cut timing.
Approve budget. Decide which shots get draft passes, how many retries are allowed, and which shots deserve final polish. Budget estimate is not accounting theater. It is a way to stop blind re-rendering.
The Gate Checklist
The gate should be small enough to use every time. A complicated approval system becomes another place for notes to get lost.
For character, ask: is the role recognizable from multiple angles, distinct from other roles, emotionally usable, and tied to a voice notes?
For shot list, ask: does each shot have one primary job, and does the shot order match the script beat order?
For props, ask: are story-critical objects visible, readable, and stable across shots?
For voice, ask: does every line have a speaker, emotion, pace, placement, and enough silence?
For cost, ask: which shots need only draft, which need final, and what is the retry limit?
If an item fails, send it back to the smallest upstream asset. Fix the character asset for identity drift. Fix the shot list for unclear camera. Fix voice notes for performance mismatch. Do not rewrite the whole episode.
Run this checklist on the shot cards themselves, inside Storyboard, not on a separate document. Open a shot card and check whether its description leans on an @ reference for the character instead of re-describing her face — if identity keeps drifting, that's usually the shot skipping the asset reference, not a generation problem. Generate the image for that shot before touching video. Sit it next to the character's Main image and Reference images in My Assets and look for mismatches in face, wardrobe, or prop detail. If it holds up, generate the video from the AI Chat Panel — "Generate video for Shot 3" works on a single shot. If it doesn't, rewrite the shot description or bind a better reference image to the asset, then regenerate the still and check again before spending a video generation on it.
Use Drafts as Approval Evidence
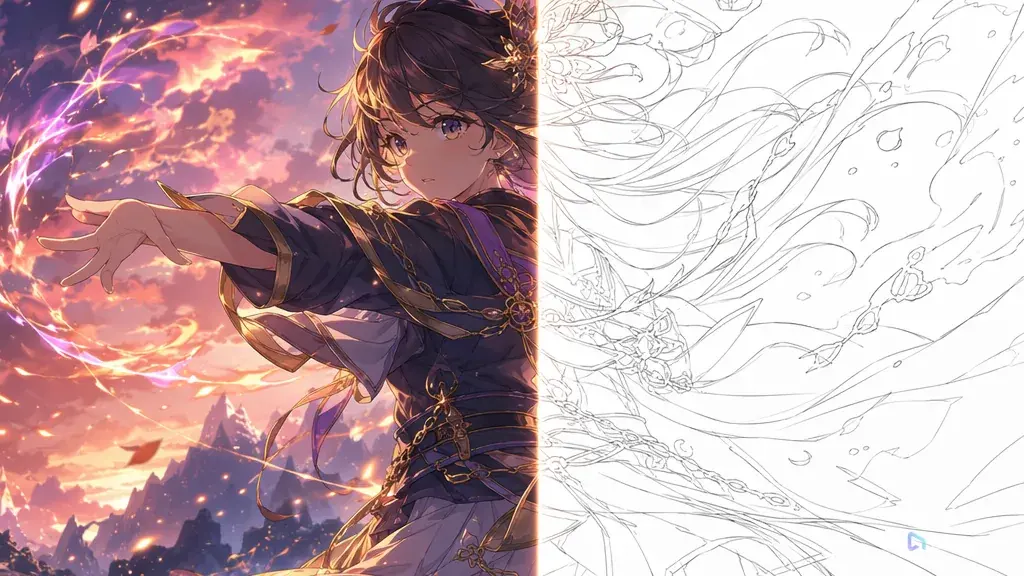
Approval should not be based only on imagination. A draft frame, rough voice line, or low-detail clip gives the creator something concrete to accept or reject. The draft does not need final lighting, perfect texture, or polished effects. It needs to answer whether the approved asset is working.
For a character gate, compare draft shots side by side. For a prop gate, freeze the frame where the document, ring, key, or phone appears. For a voice gate, listen to the line against the planned reaction timing. For a budget gate, mark whether the shot passed in one draft or needed repeated attempts. This evidence makes approval less subjective and keeps future revisions grounded.
The result is a cleaner final pass. The final render is no longer asked to discover the scene. It is asked to polish an already approved decision.
Keep the evidence beside the shot card. Future edits stay faster when the team can see why a shot was approved.
Treat the still you generate for a shot as the evidence itself, not a placeholder you'll redo anyway. Once Generate Shots creates the shot cards for an episode, generate an image for each one and leave it sitting on the card next to the description — that's what you compare the next draft against when something looks off. For a prop-heavy shot, like a document or a phone screen, zoom into the generated still and confirm the text is actually legible before it reaches video. For a run of shots in the same scene, generate their stills back to back and review them together, so a face or prop that drifted between shots is easy to catch side by side, instead of three shots later in the Edit timeline.
Example 1: Approval Checklist Prompt
Medium shot of @Maya standing in the @Apartment living room, holding a stack of mail. She pulls out a folded document and stops, recognizing the letterhead as the divorce agreement. Her hand tightens slightly around the paper. Soft afternoon light comes through the window blinds, casting thin shadow lines across her face. Camera holds steady at eye level, no movement, letting her reaction carry the shot. The room stays quiet, just the paper rustling as she unfolds it.

This prompt turns approval into a practical review step.
Example 2: Gate Output
Side profile shot of @Leo standing alone in the @Elevator as the doors close. He avoids his own reflection in the metal panel, jaw tight. Camera does a slow push-in from a three-quarter angle, keeping his side visible instead of a full front view. Elevator light is cool and slightly flickering, giving the space a clinical, uneasy feel. Leo mutters a short defensive line under his breath, low enough to carry into the next cut as an off-screen line.
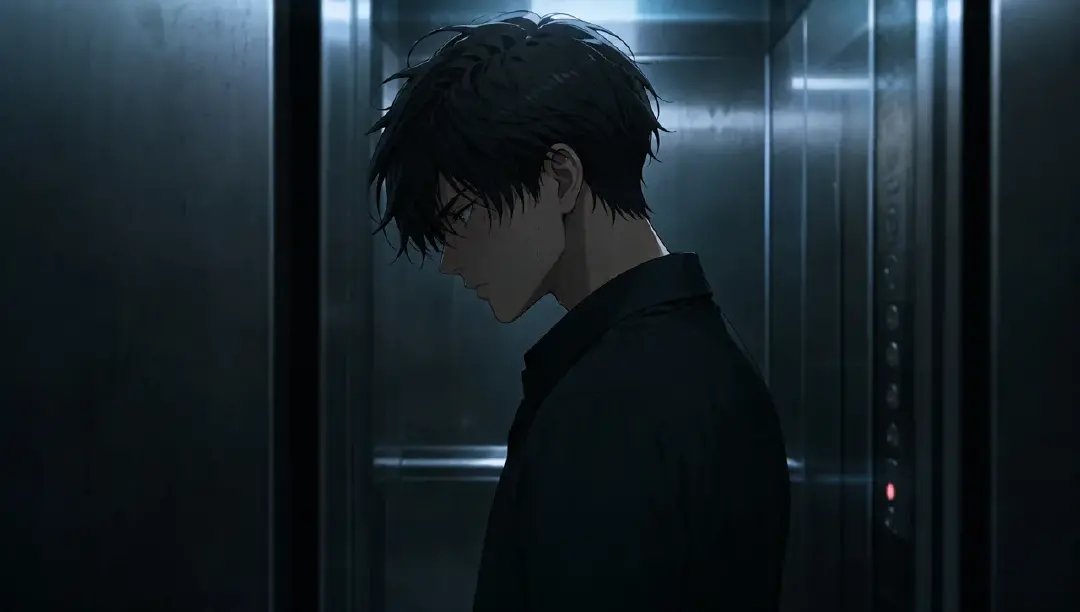
This output is useful because it tells the team exactly what to fix before spending more.
Example 3: Render Readiness Spec
Close-up sequence for @Maya: start on the divorce agreement's signature line held in her hands, then rack focus and push up to her face as she reads it. Her expression stays restrained, a held breath, not tears. @Leo's voice comes in off-screen in the final second, defensive and clipped, cutting the moment short before she can react further. Lighting stays flat and even, no dramatic shift, keeping the focus on her control rather than the room.
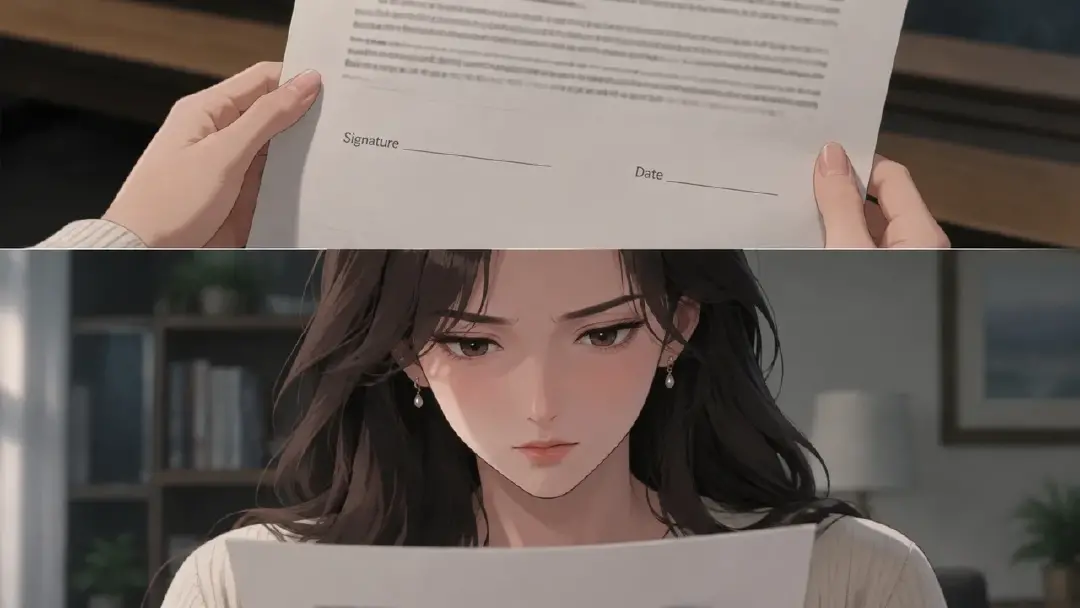
The gate makes final render a decision, not a gamble.
Common Mistakes
The biggest mistake is approving the idea but not the production assets. "The scene is good" is not enough. Approve the character, shot, voice, prop, and cost.
Another mistake is treating approval as a final-stage review. Approval belongs before render, with drafts and cards that are cheap to change.
Creators also make the checklist too complex. If the gate takes longer than the shot plan, nobody will use it. Keep it focused on failures that cause expensive retries.
Finally, do not fix everything downstream. A face problem belongs in the character library. A pacing problem belongs in the shot list or voice plan. A prop problem belongs in the prop reference.
FAQ
Is approve-before-render only for teams?
No. Solo creators benefit too. The checklist prevents you from spending final quality on shots that still have basic identity, prop, or timing issues.
What should block final render?
Block final render for wrong character identity, unclear story beat, missing critical prop, broken voice timing, unreadable phone or document text, or unapproved budget.
Can I skip approval for simple shots?
You can keep the gate lightweight, but still check identity, action, camera, and continuity. A simple shot needs a simple approval, not no approval.