Introduction
You open a new ArcLoop project and the image model chip under the chat box says Seedream 5.0 Lite. You generate a character still, it looks good, and then you wonder: is "Lite" what I should be shipping, or is there a Pro I should have switched to before I spent the credits? The search results answer with spec sheets. The useful answer is about which frame you are making.
Seedream 5.0 Lite vs Pro is not a quality contest with one winner; it is a split by job. Most of the frames in a project are decisions — does this composition work, is this the right casting, is the light coming from the right side — and Lite is the right tool for decisions. A few frames are deliverables, and those are where a higher-fidelity tier earns its cost. This guide maps the two to the steps of an anime or short-drama project in ArcLoop and shows how to switch without the look changing.
What "Lite" means in practice
A lighter tier of the same model family trades some detail and fidelity for speed and cost. In a story-first workflow that is the right trade for most of what you generate:
- Composition checks. Is the character in the top third, is the door on the left. A softer frame answers this.
- Casting tests. Three versions of a character concept before one becomes the Main image.
- Shot stills before video. The still that checks framing and identity before you spend on motion.
- Variations. Five reactions, pick one.
Where detail carries the value — the frame itself is the product — the trade goes the other way:
- Key visuals and the character's Main image, which every later frame references.
- Cover frames that are judged in a feed at thumbnail size and then at full size.
- Stills that become video when the shot is a close-up and texture will be visible for seconds.
- Anything with small text or fine hands in frame.
Rules for splitting the tiers
- Draft on Lite, decide, then re-generate the winner on the higher tier. Never draft on the higher tier; you pay full price for frames you will throw away.
- The style reference and the assets carry the look, not the tier. With the same Visual reference and the same
@assets, Lite and Pro frames belong to the same show. If they do not, the reference is weak, not the tier. - Main images are always the higher tier. Every future frame is anchored to them.
- Video stills follow the shot size. Wide shot: Lite is usually fine. Close-up that will hold for five seconds: higher tier.
- Check the model page for current limits before you assume a resolution or ratio; tiers change more often than workflows do.
How to run the split in ArcLoop, step by step
- Start on Lite. Story Settings opens with Seedream 5.0 Lite selected; leave it for the whole outline and casting phase.
- Cast on Lite. Generate character concepts, pick the winners, and note what you liked in words on the asset description.
- Switch the image model in Story Settings to the higher tier for one session: regenerate the winning concepts as Main images and bind them to the character assets. Switch back.
- Block the episode on Lite. Generate Shots, generate stills for every card, review composition and identity against the plan. Fix cards here.
- Promote the frames that ship. Cover frame, key visual, and the stills for close-up shots that will hold on screen: switch the tier, regenerate only those cards, bind the results.
- Generate video from the promoted stills. The video inherits the still's fidelity; the wide shots can go from Lite stills.
- Keep a note of which tier each shipped frame used on the shot card, so a re-generation months later uses the same one.
Example 1: Casting on Lite, promoting the winner
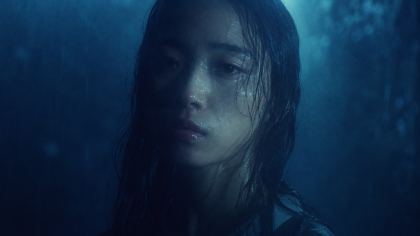
Story Settings: image model Seedream 5.0 Lite. Generate three concepts for @Yuki: same description, same style reference, variations in hair length and jacket. Pick concept 2. Switch Story Settings to the higher tier, regenerate concept 2 as a full-body key visual and a three-quarter portrait, bind both to @Yuki as Main image and Reference image. Switch back to Lite for blocking.
Example 2: Blocking an episode on Lite
Story Settings: Seedream 5.0 Lite. Generate stills for all nine shot cards of EP2 with @Yuki and @Hana referenced. Review only skeleton items: camera direction, who is where, layering. Fix Shot 4 (Hana on the wrong side) and Shot 7 (camera too high) on the cards and regenerate those two stills. Do not judge texture or line quality at this stage; this pass is about the plan.
Example 3: Promoting the close-up and the cover
Switch Story Settings to the higher tier for three frames only: EP2 Shot 8 (close-up of @Yuki reading the message, will hold 5 seconds), the episode cover frame (9:16, Yuki at the window, title space top third), and the series key visual. Same style reference, same assets, same descriptions as the Lite drafts. Bind the cover and key visual to the project; generate video for Shot 8 from the promoted still.
The most common ways the split goes wrong
- Drafting on the higher tier. Full price for throwaway frames. Draft on Lite.
- Shipping the cover on Lite. The frame judged at full size is the one with the least detail. Promote it.
- Different look between tiers. The style reference was thin, so each tier interpreted it. Strengthen the reference; do not blame the tier.
- Forgetting to switch back. One session of higher-tier blocking eats a week of drafting credits.
- No record of the tier. A re-generation six months later looks subtly different. Note it on the card.
FAQ
Is Lite good enough to ship for a vertical short drama? For wide and medium shots that move, often yes; the video model does most of the work. For close-ups that hold and for covers, promote.
Does switching tiers change the character's face?
Not if the face comes from the bound Main image and @ references. If it does change, the description is doing identity work that the asset should be doing.
Can I set different tiers per shot? The image model is a Story Settings choice, so switch it for a session, regenerate the cards you want promoted, and switch back.
Where do I check the current limits of each tier? On the model's page in ArcLoop before a session; ratios and resolutions are tier-specific and change.
Next step
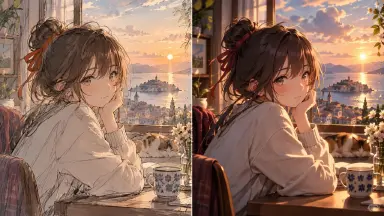
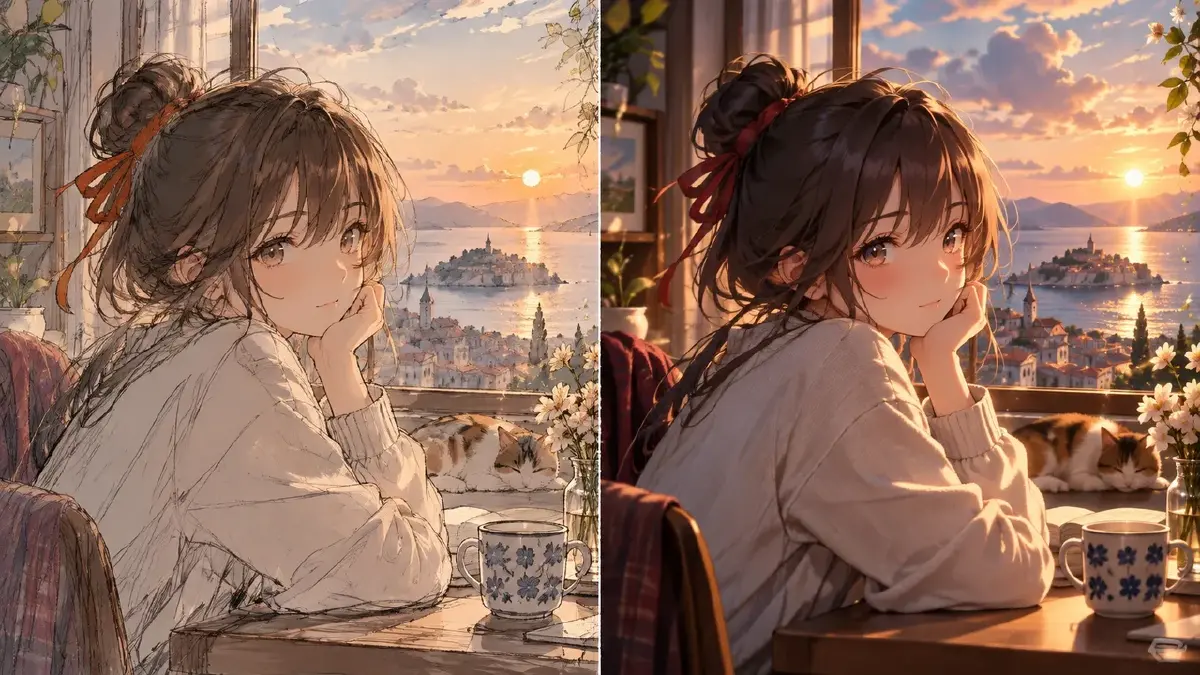
Open your current project in ArcLoop, check that Story Settings is on Seedream 5.0 Lite, and list the frames that actually ship this week — probably a cover, a key visual, and two close-ups. Draft everything on Lite, promote only those, and compare the promoted frames to their drafts side by side to see what the tier bought you.