Introduction
You asked for a slow push-in on a face. You got a drone shot. You asked for the camera to stay behind the character. It swung around to the front for no reason and came back. Every AI video creator has a folder of clips that look great and do not do what the shot called for, and the usual fix — write more words about the camera — often makes it worse.
The problem is not that the model cannot control the camera. It is that camera control has levels, and most people use one level for everything. A push-in needs a sentence. A frame that must match the previous shot needs a still. A camera that dives, tracks, and pulls back needs a plan drawn in space. This guide explains how to pick the right level of AI video camera control for each shot, and how to set each level up in ArcLoop so it holds.
Level one: camera language in the shot description
For a single clear move, the shot description is enough — if the camera sentence is written like a shot list and not like a mood. Four parts, in order:
- Where the camera starts. Height and distance: "chest height, medium shot."
- What it does. One verb: push in, pull back, pan left, track alongside, tilt up, hold.
- Where it ends. "ending on a close-up of her hands."
- What stays in frame. "the doorway stays on the left edge throughout."
Write it in that order, once, near the top of the shot. Do not repeat it in different words further down; the second version competes with the first. The vocabulary — push, pull, pan, track, tilt, crane — is covered in the camera language guide.
Level one covers most shots in a dialogue scene, most establishing shots, and any static frame. If a shot has one camera move and one character action, start here and do not go further.
Level two: a reference still for framing
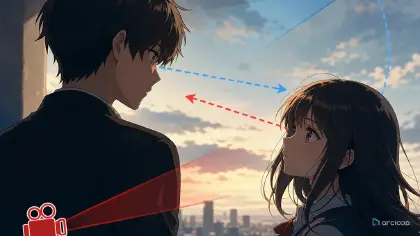
Some shots do not need a fancy move; they need the frame to match something — the previous shot, a storyboard panel, a composition you already approved. Words are bad at "the character's head sits in the upper-left third and the window fills the right half." A still is good at it.
The still can come from anywhere: a generated frame you liked, a storyboard panel, a photo you framed with your phone. Upload it to Library, bind it as a Visual reference so the Agent can reuse it, and attach it to the shot. Then the text only has to say what changes: "same framing as the reference, camera holds, she turns her head."
Level two is the right choice when:
- Two shots must cut together and the framing has to match.
- A composition matters more than the move (a symmetrical hallway, a silhouette against a window).
- You approved a still in a previous pass and want the video to keep it.
It is the wrong choice when the still carries a look you do not want. A grey-box still pulls the generation grey; a photo pulls it photographic. Keep a style reference in place so the framing reference only supplies framing. The reference selection guide covers the one-reference-one-job rule.
Level three: a previz for the path
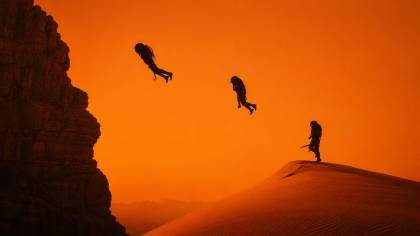
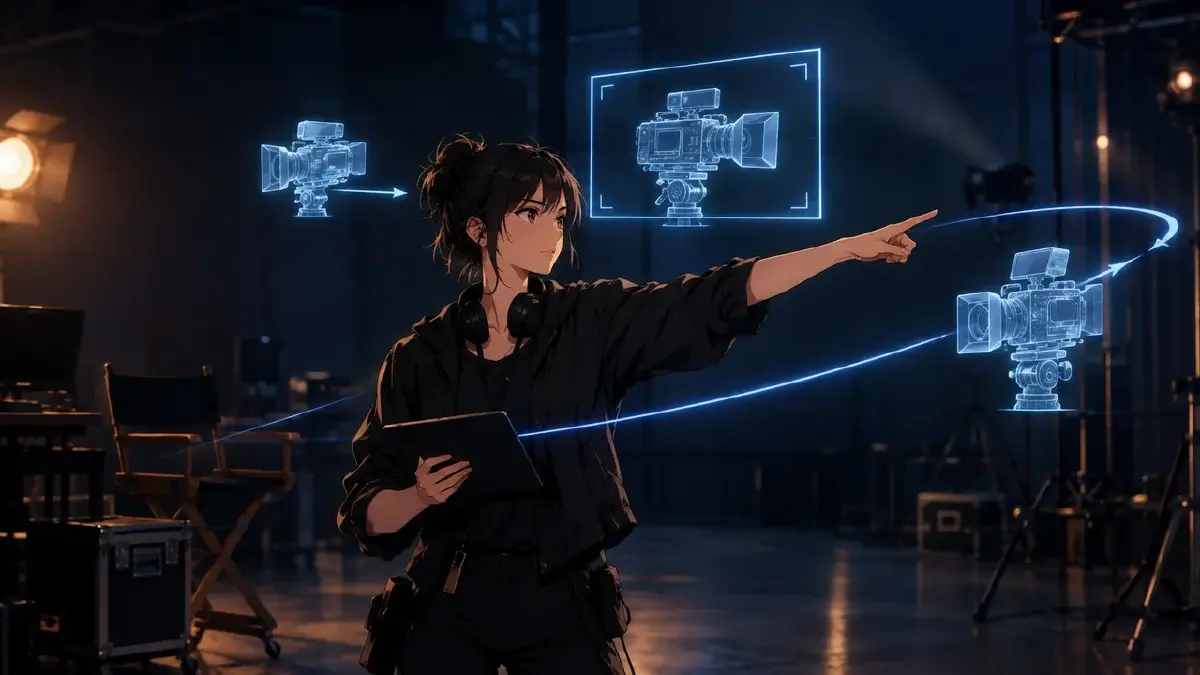
When the camera has to be in several places in sequence — high angle, then between the buildings, then beside the car — no sentence and no single still can carry it. That is a path, and paths are drawn, not described. A grey-box previz answers where the camera is at each moment and which way the characters move, and it exports one still per position that you feed back into level two.
Level three is for the minority of shots: chases, one-take reveals, anything with two characters crossing while the camera moves. It is worth the setup exactly when the shot has been re-rolled five times and the camera is the thing that keeps failing. The full workflow is in the 3D previz guide.
How to pick the level, shot by shot
- Count the camera moves in the shot. Zero or one: level one. Two or more: split the shot first, then decide again.
- Ask whether the frame has to match something. If yes: level two, with a still of the thing it has to match.
- Ask whether the camera changes position, not just angle. A push-in changes distance; a dive between towers changes position. Position changes across a fast move: level three.
- Write the camera sentence anyway. Even at level two and three, the text states start, move, end, and what stays in frame. The still and the previz support the sentence; they do not replace it.
- Reference characters and locations with
@. Identity is not the camera's job. Keep the shot text about camera and action, and let the assets carry faces and sets. - Generate the image, check the frame, then the video. A wrong frame in the still will be a wrong frame in the video. Fix the shot card before spending credits on motion.
Example 1: Level one, a single push-in
Medium shot, camera at eye level, two meters from @Mira at the kitchen table. Slow push in over the whole shot, ending on a close-up of her face as she reads the letter. The window stays on the right edge throughout and the table edge stays at the bottom. She does not look up or move her hands. Warm afternoon light from the window, no camera shake, no cut, no zoom burst at the end.
Example 2: Level two, matching a frame
Same framing as the attached reference still: @Tomas centered, the corridor vanishing point behind him, doors on both sides. Camera holds, no move. He walks toward camera from the far end to a medium shot and stops, hands at his sides. Keep the symmetry of the corridor exactly; do not tilt, drift, or reframe as he gets closer. Cold overhead light, same as the reference, no added haze.
Example 3: Level three, a path with three positions
Shot 2 of 3 — Camera position B from the previz: low angle beside the tracks at knee height, tracking alongside @Sae's motorbike left to right at matching speed. The station platform passes in the background. She leans into the turn; the bike stays centered and does not change direction. End as she pulls half a length ahead of camera. Match previz still 02B.
The most common ways camera control breaks
- Two verbs in one sentence. "Push in and pan to the window" is two moves. Pick one or split the shot.
- Camera described from the character's point of view. "She sees the camera approach" gives the model nothing. Describe the camera, not what the character experiences.
- A reference still with the wrong look. The framing was right and the whole clip turned photographic. Add a style reference; keep the still for framing only.
- Level three used for a level one shot. A previz for a static two-shot is wasted time, and the grey-box still can drag the look. Downgrade.
- Camera sentence buried at the end. Put it near the top. The model weights the first lines.
FAQ
Does ArcLoop have a separate camera setting?
Camera direction lives in the shot description and its references. Write the camera sentence in the shot card, attach a still when framing must match, and keep character and location identity in @ assets.
Can I reuse one camera sentence across shots? Yes, and you should for a consistent scene: same height, same distance, same lens feel. Change only the verb and the end point per shot.
What if the camera is right and the character is wrong? That is an identity problem, not a camera problem. Check the character asset's Main image and references before touching the camera text.
How do I know the level was too low? If the camera fails the same way twice with a clean sentence, go up one level. If it fails differently each time, the sentence is unclear — rewrite it before adding a still.
Next step
Take the shot you keep re-rolling and write its camera sentence in the four-part order: start, move, end, what stays. If the frame has to match something, attach that still. Open the project in ArcLoop, generate the image, and compare the frame before you generate video. Most camera problems end at level one once the sentence is in order.