Introduction
Your two characters are talking in a café. Shot 1: the window is behind them, counter on the left. Shot 2, the reverse: the window is now on the left and the counter is gone. Shot 3: there is a staircase nobody has seen before. Each frame is a lovely café. Together they are three cafés, and the audience feels it even if they cannot say why.
Character drift gets all the attention because faces are obvious. Location drift is subtler and breaks the scene just as hard, because the cut only works if the room stays the room. The fix is the same as for characters: stop describing the place in every shot and give it a reference that says what is where. This guide shows how to turn one photo into a scene layout reference for AI anime video and how to bind it so every shot inherits the layout.
What a layout reference is, and what it is not
A layout reference answers one question: what is in front of what, and on which side. Foreground counter on the left, characters in the midground, window and street in the background on the right, door on the far left. That is the whole content.
It is not a style reference. It does not say what the café looks like — the wood, the light, the posters. That is the job of the location asset's Main image. Keep the two separate: layout says where, Main image says what. A shot that references both gets a room that is arranged correctly and looks right, and the model still has freedom over the light and the small stuff.
The one-reference-one-job principle is covered in the reference selection guide. This article is that principle applied to a place.
Rules for a layout that survives every angle
- Pick the photo for the layout, not the mood. A plain daylight photo with clear depth beats a beautiful one where everything blends. You can add mood later; you cannot add depth.
- Three layers, named. Foreground, midground, background. Write what is in each. If a layer has nothing, say "empty floor."
- One anchor object per side. Counter on the left, window on the right. Anchors are what the audience uses to know they are still in the same room after a cut.
- The character zone is a zone, not a spot. "Characters stand or sit in the midground between the counter and the window." Shots move them inside the zone; the zone does not move.
- Keep the layout at the project's aspect ratio. A 16:9 layout does not tell you what is in a 9:16 frame. Set the Story Brief ratio first and block for it.
How to build the layout reference and bind it, step by step
- Choose one photo. Your own, a location scout shot, a reference from Library. Clear depth, clear sides.
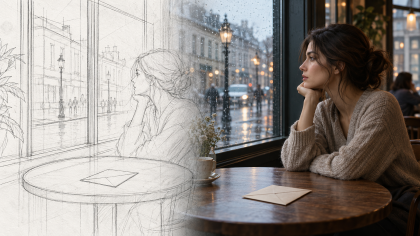
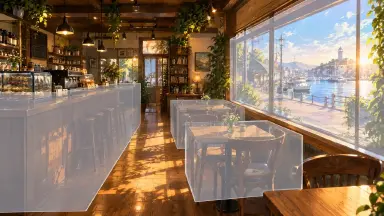
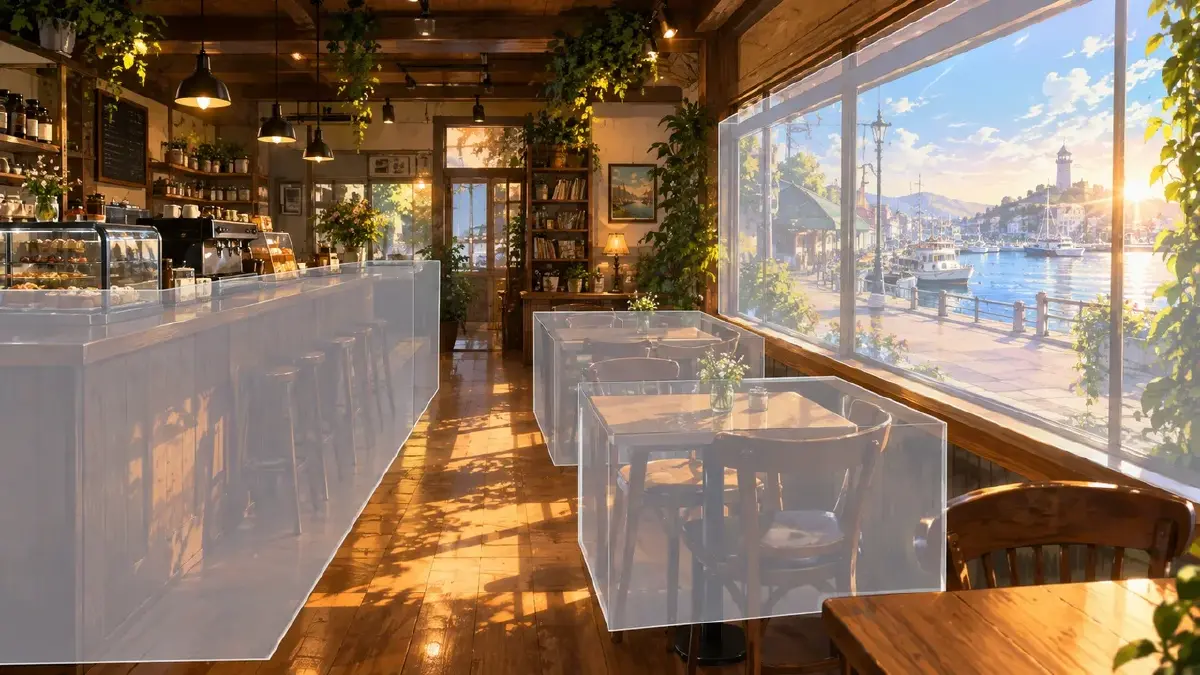
- Block it out roughly. A quick sketch or a grey-box render is enough: boxes for the counter, the tables, the window wall. Nobody sees this; it only has to be legible to you and to the Agent.
- Write the layout note in five lines. Foreground, midground, background, left anchor, right anchor. Example: "FG: counter, left. MG: two tables, character zone. BG: window wall with street, right. Left anchor: door. Right anchor: window."
- Upload the photo and the blockout to Library, then bind them to the location asset as Reference images, with the styled café image as the Main image. If the location does not exist yet, create it in My Assets first.
- Put the layout note in the location asset's description. This is where the Agent reads it from when a shot references the location.
- In each shot card, reference
@Caféand say where the camera is relative to the anchors: "camera on the door side, looking toward the window." Do not re-describe the room. - Generate the stills for the scene together and check that the anchors are on the correct sides in every frame. A window that jumped walls is a layout failure; fix the shot card's camera position, not the asset.
- Generate video only after the stills agree. Light, time of day, and small props can change per shot; anchors and layering cannot.
Where layout meets the camera
A layout reference tells you what the camera will see from any position, which is what makes multi-angle coverage possible. If the counter is on the left from the door, it is on the right from the window, and the reverse shot has to say so. Plan the positions once against the layout and the reverse angles stop surprising you. The multi-camera scene guide covers the three-position setup; this layout is what those positions are placed on.
Example 1: The establishing shot
Wide shot of @Harbor Café from the door side, camera at chest height, static. Foreground: the counter on the left with the espresso machine. Midground: two small tables, @Mira at the nearer one reading. Background: the window wall on the right with the harbor street outside, late morning light coming through. The door edge visible at the far left. No camera move; a customer passes behind Mira.
Example 2: The reverse from the window side
Medium shot of @Mira from the window side of @Harbor Café, camera at eye level, static. From this side the counter and the espresso machine are behind her on the right, the door on the far right edge, the window now behind camera so its light falls on her face. She looks up from the book toward the door. Same time of day as the establishing shot. No camera move.
Example 3: Moving through the layout
Camera at chest height starts at the door of @Harbor Café and tracks forward toward the window wall, passing the counter on the left and the two tables on the right. @Mira stays seated at the nearer table and turns her head as the camera passes. The window grows to fill the frame by the end. Layout unchanged from the establishing shot; only the camera moves. Slow, steady, no handheld.
The most common ways layouts break
- The photo had no depth. A flat wall shot gives the model nothing to arrange. Choose a photo with a clear near, middle, far.
- The room got described in every shot. Each description re-invents it. Reference
@Caféand describe camera and action only. - Reverse angle ignored the mirror. The shot card said "counter on the left" from the window side too. Flip the anchors when the camera crosses.
- Main image and layout fought. The styled image shows a different arrangement from the blockout. Regenerate the Main image from the blockout, or re-block to match the image, but do not keep both.
- Layout blocked at the wrong ratio. Everything important is out of the 9:16 frame. Re-block for the delivery ratio.
FAQ
Do I need a blockout, or is the photo enough? For a simple room, the photo plus the five-line note is enough. Block out when the space has several levels or when you plan more than three angles.
How many references can the location asset hold? Bind the Main image plus the layout photo and blockout as Reference images. More references with the same job add noise; more with different jobs — a night version, a rain version — are fine.
What if the scene needs the layout to change, like a fight that knocks a table over? Write the change in the shot: "the near table is overturned from Shot 4 on." The layout note is the default; shots state exceptions.
Does this work for outdoor locations? Yes, and it matters more. A street has no walls to anchor it; pick a landmark per side — a sign, a tree, a bridge — and treat those as the anchors.
Next step
Pick the location that keeps changing on you. Find one photo with clear depth, write the five-line layout note, and bind both to the location asset with the styled image as Main image. Open the project in ArcLoop, regenerate the scene's stills with @ references only, and check that the anchors stay on their sides before you touch video.