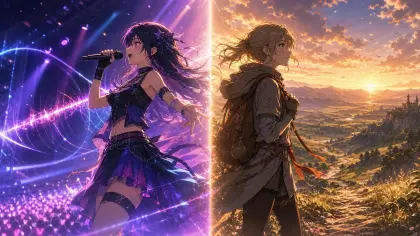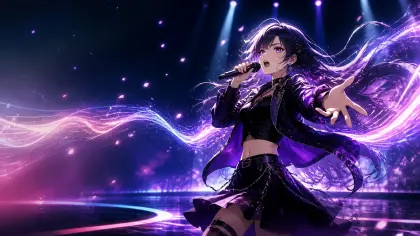
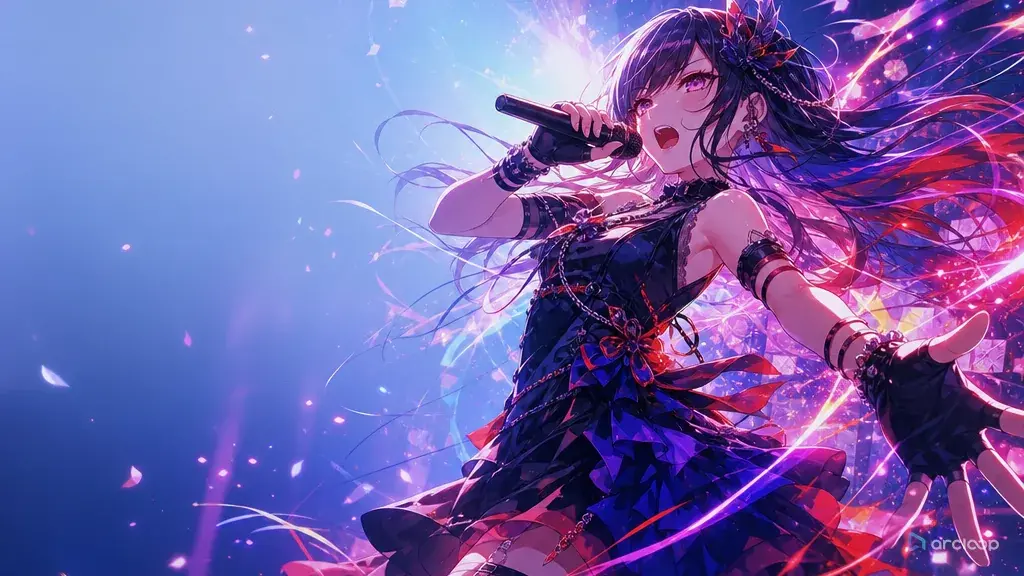
Why pretty visuals aren't enough without rhythm
Anime music videos fail in a very specific way: every frame looks like it belongs in a poster folder, but none of the shots feel like they heard the song. The character stands in a neon room, petals fly, the camera pushes in, the colors flash, and after ten seconds you still cannot tell where the verse ended or what image was supposed to hit on the chorus.
A useful anime music video prompt is not just a list of pretty visuals. It is a rhythm plan. It decides the intro image, the first character gesture, the chorus motion, the loop point, the color refrain, and how dense the cuts should feel. Even if you are generating short clips one at a time, each clip should know what part of the song it serves.
This guide focuses on prompts for anime-style music videos, character performance clips, opening-adjacent song montages, lyric-free social edits, and looping chorus shots. It shows how to turn a song mood into storyboard beats without sending the planning work elsewhere. Build the character once as a character asset in ArcLoop, then reference it with @ in each shot card so the same face and outfit carry through every beat. For a starting point, browse 2D Animation AI Templates or test a performance motion with Single Action Dance Clip.
Principles for an MV that feels musical
The first principle is to assign a job to each section. Intro shots establish the image. Verse shots show character interior life. Pre-chorus shots build pressure. Chorus shots need a repeatable gesture, bigger color, or cleaner silhouette. Outro shots should leave an afterimage.
The second principle is rhythm before effects. A burst of confetti or light streaks does not create musicality by itself. The viewer needs to feel that the character move, camera move, or cut pattern belongs to a beat.
The third principle is a strong refrain. Pick one visual idea that returns: a blue scarf crossing the frame, a finger tracing a star on glass, a bandage ribbon snapping in the wind, a stairwell light flickering on every chorus. Repetition makes a short MV feel designed.
The fourth principle is controlled cut density. Fast songs can use more shots, but one generated clip should still have one clean purpose. If you want quick cuts, plan them as separate shot cards instead of asking one clip to become an edit timeline.
The fifth principle is performance continuity. If the singer, dancer, or lead character changes costume, hairstyle, or age between clips, the MV stops feeling like a project and starts feeling like a mood board. Use a character sheet as the anchor.
The sixth principle is a usable loop point. Social clips and short choruses often need a final frame that can cut back to the first frame. Prompt for matching pose, matching color, or a visual reset.
How to build a beat-synced prompt from mood to final frame
Start with the song section, even if you do not include audio. Write "intro," "verse," "pre-chorus," "chorus," "bridge," or "outro" at the top of the shot card. This keeps the clip from trying to do the whole music video.
Define the performer or lead image. Name the character, outfit, expression range, and one identity anchor. If the MV is not performance-based, name the symbolic subject: a train ticket, rooftop aquarium, empty microphone, cracked school trophy, or glowing bicycle wheel.
Choose the rhythm action. For a chorus, this might be a repeated hand sign, spin, step, jump cut, hair flip, or camera pullback. For a verse, it might be a slow walk, a glance through glass, or fingers tapping a locker.
Set the camera and cut feel. Write whether the shot should feel like a locked lyric shot, a side-tracking walk, a handheld rehearsal moment, or a clean anime montage panel. Keep the instruction visual.
Add the color refrain. Pick one repeatable color behavior: magenta lights during chorus, yellow window squares on verse shots, cyan rim light on every memory image, or red paper strips during the final beat.
Write the loop or endpoint. If the clip should loop, say where it returns. If it should cut into the next shot, say what the last frame offers: a raised hand, a door opening, a black screen, or a held face close-up.
Finish with constraints. Keep the character sheet stable, avoid random text, avoid fake logos, avoid extra limbs, avoid sudden outfit changes, and avoid effects that hide the gesture.
How to build anime MVs inside ArcLoop
The simplest working ArcLoop flow is song idea to storyboard to shot prompts. You do not need an outside planning tool for structure. In ArcLoop Worlds, build the character once as a character asset and sketch the song's beats in the Story Outline. Then convert each beat into a shot card in the episode's Storyboard.
For an MV, the shot card should answer three questions: what part of the song is this, what image carries it, and what repeats later? If the answer is "everything changes every time," the clip will probably look expensive and forgettable. Give the project one refrain and let each shot vary around it.
Use Three-Shot Continuity Board when you need a verse-to-chorus transition. Shot one can be a quiet intro image, shot two can build the pre-chorus gesture, and shot three can land the chorus pose. Generate low-cost drafts first and check whether the rhythm reads before adding lighting polish.
ArcLoop's useful role here is continuity: the same character asset — face, outfit, prop — gets referenced with @ in every shot, so you are not re-describing the OC's look each time you revise a beat. That means you fix only the weak layer: gesture, cut density, color, loop point, or final frame.
Example 1: Rooftop Chorus Spin
Create a 7-second 2D anime music video chorus shot. Performer: Nari, an original rooftop synth singer with black hair in a high ponytail, violet eyes, an oversized white jacket, teal shorts, and a thin yellow ribbon tied around one wrist. Setting: school rooftop at blue hour, city signs glowing below the fence, wind moving laundry lines behind her. Song section: first chorus, bright but lonely. Main rhythm action: on the first beat Nari lifts the yellow-ribbon hand toward the sky; on the second beat she spins once; on the chorus hit she faces camera and points the ribbon hand outward. Camera: medium full-body shot, slow push-in, no cuts inside this clip. Color refrain: yellow ribbon catches warm light against cool blue background. End frame should hold her pointing pose for an easy cut into the next shot. Clean cel-shaded anime MV style, crisp silhouette, jacket and ponytail moving with the beat. Preserve outfit, ribbon, face, and body proportions. No text, no logo, no extra limbs, no camera spin, no photorealism.
This prompt gives the chorus a repeatable gesture. The ribbon can return in later shots as the MV refrain.
Example 2: Convenience Store Verse Walk
Generate an 8-second 2D anime verse shot for a quiet city-pop music video. Lead character: Sefu, an original part-time bassist with sandy blond hair, narrow green eyes, a faded red hoodie, black backpack, and a blue guitar pick necklace. Setting: late-night convenience store aisle, drink coolers glowing behind glass, rain tapping outside but not covering the face. Song section: verse two, tired and reflective. Main action: Sefu walks slowly down the aisle, taps two fingers against the guitar pick necklace in rhythm, stops in front of the cooler, and sees his reflection overlap with the city lights. Camera: side tracking shot at chest height, steady pace, no fast cuts. Color refrain: blue cooler light appears every time the necklace catches light. Style: soft 2D anime, muted palette, gentle line art, realistic store spacing. Keep the hoodie, necklace, backpack, and face consistent. No product labels, no readable brand text, no crowd, no warped reflection, no photorealism, no watermark.
The verse does not need big action. Finger taps and reflection timing can make the shot feel musical without turning it into dance.
Example 3: Bridge Memory Montage Panel
Create a 6-second 2D anime bridge shot for a bittersweet band MV. Character: Mave, an original drummer with short dark purple hair, round glasses, a cream practice-room sweater, and a green wrist tape on the right hand. Setting: empty rehearsal room after sunset, stacked chairs, drumsticks on a windowsill, orange light across the floor. Song section: bridge, memory of a band that almost broke up. Main visual rhythm: three gentle flashes inside one shot: Mave reaches for the drumsticks, pauses with fingers above them, then lowers her hand and smiles at the taped wrist. Camera: locked medium close-up, no camera shake, no jump cuts. Color refrain: green wrist tape remains the only saturated color. End frame should match the beginning composition enough to loop softly. Use clean 2D anime line work, restrained emotion, dust in the light beam, and subtle glasses highlight. Keep glasses, sweater, tape, and hand position clear. No text, no logo, no extra fingers, no new band members, no heavy effects hiding the hand.
This bridge prompt uses rhythm as memory. The hand pauses, not the camera, so the emotional beat stays readable.
The most common ways anime MV prompts fall apart
The first mistake is asking one clip to become the entire MV. A prompt that includes intro, dance break, chorus, costume change, flashback, and finale will usually collapse into visual noise.
The second mistake is ignoring the song section. A verse shot and chorus shot should not have the same motion scale. Label the section before writing the image.
The third mistake is using random color changes. Color should repeat with a purpose. A stable refrain makes the video feel edited even before the final assembly.
The fourth mistake is hiding performance behind effects. Light streaks, petals, rain, and particles should frame the gesture, not cover the face, hands, or body line.
The final mistake is treating continuity as optional. Anime music videos can be surreal, but the viewer still needs anchors: the same character, prop, setting logic, or emotional question.
FAQ
How do I write a prompt for an anime music video?
Write the song section first, then the lead character, rhythm action, camera plan, color refrain, endpoint, and constraints. Keep each generated clip focused on one part of the song.
Do anime music video prompts need lyrics?
Not always. A lyric-free MV can work if the prompt defines rhythm, gesture, color, and emotional progression. If you use lyric timing, sketch it into the Story Outline first and let each shot card handle one beat, rather than overloading a single shot description with the whole timeline.
How long should each MV shot be?
For generation and review, five to eight seconds is a practical range. Short clips make it easier to fix one weak layer and chain approved shots into a larger sequence.
How do I make an anime music video loop cleanly?
Prompt for a final pose, color, or composition that can cut back to the start. A hand returning to frame, a repeated light flash, or a held camera position can make the loop feel intentional.
How do I keep an MV's shots tied to the same song plan?
Yes. Sketch the song's beats in the Story Outline, build the cast once as character assets, then convert each beat into a shot card under the episode's Storyboard — every shot references the same character asset with @ instead of redescribing it. The whole music video stays inside that one project.