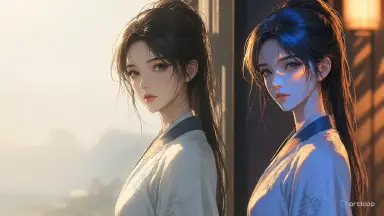
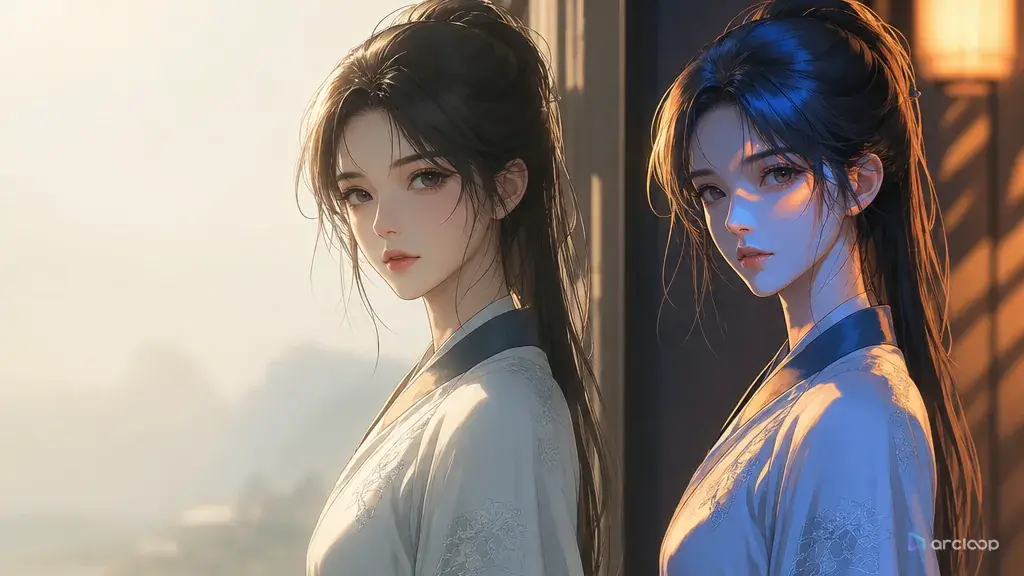
What lighting consistency actually means for AI video
You've already fixed the character changing every shot, the turnaround holds up, and multi-character blocking is clean — but the finished cut still feels off. The first shot is cool white office light, the second looks like sunset, and the shadow on the character's face falls the wrong way in the third. The character hasn't changed, but viewers still sense it's not the same scene. Rerunning single shots over and over just produces more good-looking material that doesn't match. Lighting isn't part of the character asset — it has to be written into the time, light source, color temperature, and shadow direction of every shot description before it goes into the final cut. This guide shows you how to turn time of day, light source, color temperature, and shadow direction into a checklist before you lock the edit.
Lighting consistency needs to go from a style word to a review field. Write out time, light source, and color temperature in the workspace, manage shot order with the AI short drama guide, and check it against the standard face, outfit, and color palette in the character asset guide. That's what makes finished material read as one episode instead of a patched-together sample reel when you're producing at volume.
Why lighting breaks character reads across shots
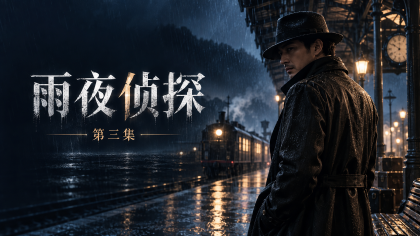
Lighting consistency covers time of day, light direction, color temperature, shadow, reflection intensity, and ambient brightness. Just writing "cinematic lighting" doesn't help, because it doesn't guarantee continuity across shots. The system might generate great-looking light every time, but no two shots' light belongs to the same scene.
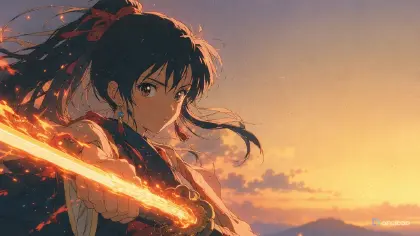
In AI short drama and AI anime drama, lighting also affects character consistency. Strong side light can change the read of a face shape, backlight can swallow a hairline, and colored ambient light can shift costume color. A character that was actually stable ends up looking like it changed across shots again. When judging this, go back to the character asset hierarchy: the character brief defines what can't change about the look, the turnaround and four-view define different angles, the character reference image set shows the standard color palette, and the character asset stores all of it. Confirm it's a lighting drift before assuming the character needs a redesign.
The full pipeline is concept → script → storyboard → video → voiceover → edit. Lighting fields should be written in at the storyboard stage, referenced during video generation, and reviewed before editing. Use storyboard templates, the character asset guide, and the AI short drama workflow together for this.
How to lock lighting before you cut: steps
Step 1: define time and space for each scene. For example, "night office, cool white overhead light, faint blue light through the window." Don't redefine the mood for every single shot.
Step 2: write down the main light direction. Front-left, upper-right, behind, overhead — all need to be explicit. A character's face can catch light differently as they turn, but the light source's position shouldn't jump around.
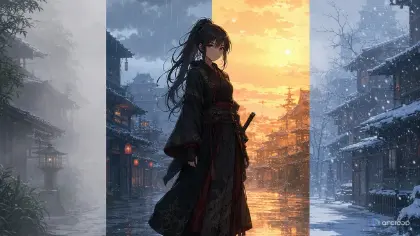
Step 3: write down the color temperature. Warm yellow, cool white, blue-violet, sunset orange — all workable, but keep it consistent within one scene. An AI anime drama can go more stylized, but it still needs a rule.
Step 4: write down shadow and reflection. Whether there's a hard shadow, which side the facial shadow falls on, and whether glass, tabletops, or metal props reflect light — all need to hold steady across key shots.
Step 5: put lighting into the shot-by-shot list. Every shot should have at least four fields: time, light source, color temperature, shadow. That way generation isn't relying only on a style word.
Step 6: review lighting before you assemble the cut. If adjacent shots show a big gap in facial brightness, costume color drift, or a shadow falling the wrong way, fix or redo before moving on. Within a single scene under 15 seconds, lighting has to stay continuous; for anything past 30 seconds, use a transition shot or a scene reset to bridge it — but don't let the same cool white lamp over the same table suddenly turn into warm sunset light.
Step 7: make commercial trade-offs. High-consistency lighting improves the feel of the finished piece, but it also raises rerun cost. Prioritize the main conflict, cover shots, and reusable scenes; ordinary transition shots can carry a lower bar and get cleaned up in editing.
Step 8: turn approved lighting into a scene asset. Something like "night office, cool white overhead light," "rainy-night convenience store, warm yellow light," or "evening hallway, side backlight" can all go into a scene asset. The next time an episode returns to the same space, reference the scene asset's lighting directly — calling on a scene rule the same way you'd call on a character identity — instead of rewriting "premium mood" from scratch. It's more consistent, and it holds up better at production volume.
Once a scene's lighting rule holds up across a few shots, lock it into a scene asset instead of retyping it every time. Open My Assets, create or open that scene — the night office, the rainy-night convenience store, whatever you're building — and bind the frame that nailed the lighting as its Main image. That frame becomes the standard the rest of the scene gets checked against; bind a second frame as a Reference image if the color temperature or shadow angle needs more than one frame to pin down.
Back in the episode, when a shot lands in that same space, type @ and pull in the scene asset instead of writing "cool white overhead light, faint blue window glow" from scratch again. Write only what's new for that shot — who's in frame, what they're doing, where the camera sits. The lighting rides in with the reference.
Generate the image first and hold it next to the scene asset's Main image. If the light source, color temperature, or shadow direction has drifted, fix it before it becomes a video — cheaper to catch now than after editing. Once a run of shots checks out, batch the video generation through the AI Chat Panel: "Generate videos for Shots 1, 2, and 3." Anything that still reads wrong once you're in Edit gets pulled and replaced on its own, without regenerating the whole scene over one bad light.
Specs you can copy into your shot list
Example 1: Lighting Spec
Establishing shot inside @NightOffice, empty meeting table in frame. Cool white ceiling light angles down from upper-right, and a faint blue glow spills through the window onto the background wall only — keep it off the foreground. Camera holds at desk height, pushing in slowly toward the tabletop, which catches a slight reflection. No character in frame yet. This shot sets the lighting rule for the whole scene: cool white key from upper-right, blue window fill in the background, no warm tones creeping in later.
Example 2: Video Prompt With Lighting Fields
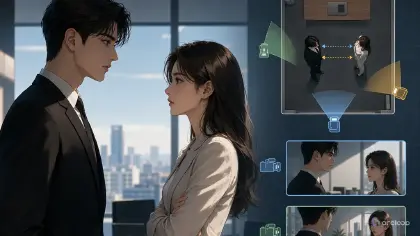
Medium shot in @NightOffice. @Lead sits in the right foreground under the same cool white overhead light from upper-right; a faint blue window glow still only touches the background, and a light shadow falls across the left side of @Lead's face. @Lead slides a voice recorder across the table toward @Colleague, seated in the left background, then looks up and holds eye contact. The recorder taps softly against the tabletop. Camera stays locked at eye level, no push or pan — match this shot's lighting exactly to the establishing shot, no drift toward warm tones.
Example 3: Lighting Consistency Review
Close-up reverse shot on @Colleague in @NightOffice, now framed head-on where they were seated in the left background of the previous shot. Hold the same cool white overhead light from upper-right and the same faint blue window glow along the frame edge, with the shadow still falling left across the face — don't let it shift warm. @Colleague watches the recorder slide into view, eyes lifting, jaw tightening slightly. Camera holds still for a beat before the cut, so this frame can be checked side by side against the establishing and medium shots.
What goes wrong and how to fix it
The first failure mode is writing only "premium lighting." The fix is writing light direction, color temperature, shadow, and reflection — not just an aesthetic word.
The second failure mode is changing the light in every single shot. The fix is building a lighting spec per scene, not generating it fresh per shot.
The third failure mode is lighting that undermines character recognition. The fix is avoiding a heavy shadow that covers the face, especially where the lead's look-photo anchors need to stay clear.
The fourth failure mode is not catching a lighting jump until after editing. The fix is reviewing material as it comes in, not waiting until the whole episode is cut together.
The fifth failure mode is holding every shot to the same fix priority. Commercially, this needs tiers: cover shots, twist shots, and key-line shots get quality priority first; transition shots can be cut if needed.
The sixth failure mode is overlooking costume color drift. Inconsistent lighting can make the same outfit look like a costume change, which then gets misread as a character inconsistency. When fixing this, check against the costume color in the character asset first, before deciding whether it's the character or the lighting that's actually broken.
FAQ
Does lighting consistency matter more than character consistency?
Character consistency comes first, but lighting affects character recognition. If the lighting is inconsistent, even a stable character can start to look like it's changing.
Can an AI anime drama use more dramatic lighting?
Yes, but it still needs a rule. Color temperature, main light source, and shadow direction should stay consistent within one scene — don't swap the whole lighting setup shot to shot.
Can lighting problems be fixed in color grading afterward?
Minor color temperature and brightness issues can be graded. Shadow direction, a face getting obscured, and recognition problems from strong backlight usually need a redo.