Your character stops at a doorway, but the jacket hem stops on exactly the same frame as the shoulders. In another take, the hem moves, yet the collar stretches as though the whole outfit were elastic. Both clips have motion. Neither preserves the garment’s intended behavior.
Adding “realistic fabric” does not identify what failed. First decide whether the body is stiff, the costume has changed design, or the loose material fails to respond over time. Here is how to fix stiff clothing motion with a focused comparison of the body, its attached garment areas, and one free edge.
Locate the Failure in Time
Watch the clip once for the body alone. Can you read the start, the change of direction or speed, and the end position? If the torso slides without a credible stop, the jacket cannot make that action convincing. Repair the main movement first; the stiff-action guide addresses that broader problem.
Watch again for one garment edge. Compare it with a stable attachment area such as the shoulder. Does the loose hem remain frozen against the thigh throughout a turn? Does it continue moving after the body settles? Does the collar detach or change shape? These are different failures. “Nothing moves” calls for a different revision from “everything stretches.”
Check the end of the clip too. A cut that ends at the body’s stopping point may hide whatever settling follows. Review the available footage before rewriting the shot. If useful follow-through is present, adjust the trim in Edit. If the source clip never contains it, trimming cannot create it; revise and regenerate the shot.
Separate Costume Design from This Shot’s Response
Open the character asset in My Assets and inspect its Main image and Reference images. Confirm the intended garment silhouette, its loose areas, and any structured sections. Library stores the image files; Binding those files to the asset makes them reusable visual references. Keep the costume under the character asset instead of redescribing the entire outfit in every shot.
A neutral standing reference is not automatically the cause of stiff motion. It may be a good design reference. If the intended pose exposes an unclear sleeve or hem, add a useful pose or angle reference under the same asset. Inspect that reference before binding it: a distorted sleeve supplies confusing information even when the face looks right.
Then name only the response relevant to the action. For a structured jacket with a loose lower section, the shoulders follow the torso while the hem can lag and settle. A fitted cuff has less freedom than an open cuff; not every edge should flutter. The clothing folds and material guide covers choosing garment behavior. This repair starts after that design choice and tests whether it survives movement through time.
How to Test One Change Before Rebuilding the Shot
- Write the failure precisely on the shot card. “The lower hem stays fixed during the turn” identifies something visible. “Make the outfit dynamic” does not.
- Keep one main body action. A run, skid, reach, and look back create several changing forces and make diagnosis difficult. Choose the action the story needs at this moment.
- State the starting condition. For a stop, the character is already moving at the clip’s opening. For a reach, the hand begins below the target. Do not describe the final pose as if it were the start.
- Keep the relevant attachment area and free edge visible. A face close-up cannot diagnose a hem. A camera orbit can make fabric direction harder to judge.
- Generate an image before video. Check the pose, costume shape, and framing. A plausible still is a useful prerequisite, but it cannot prove that motion will work.
- Change one request and compare the resulting clips. A smaller turn or clearer hem direction may help. Treat that as a trial, not a guaranteed fix. Retain the version that preserves the intended story action and costume.
Do not solve every clothing problem by reducing motion until the character does almost nothing. The revised shot still has to communicate the arrival, decision, or reaction that belongs in the scene. If the useful action remains unreliable, a different framing or a cut between separate actions may serve the scene better.
Fictional Case: Sera’s Jacket at a Transit Gate
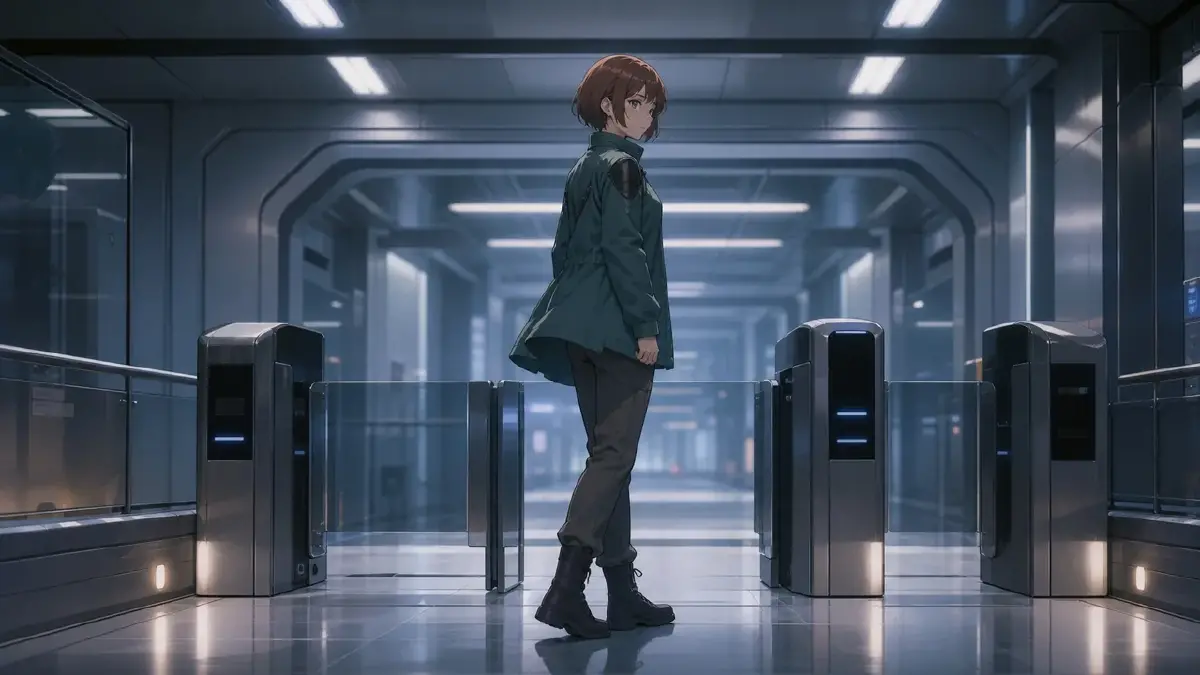
Sera is an original courier whose jacket has structured shoulders and a loose lower hem. She needs to stop at a transit gate after an alert. The following is a proposed troubleshooting exercise, not a report of generated or measured results. It compares a simple movement check, the story’s stopping action, and an alternative reachable pose.
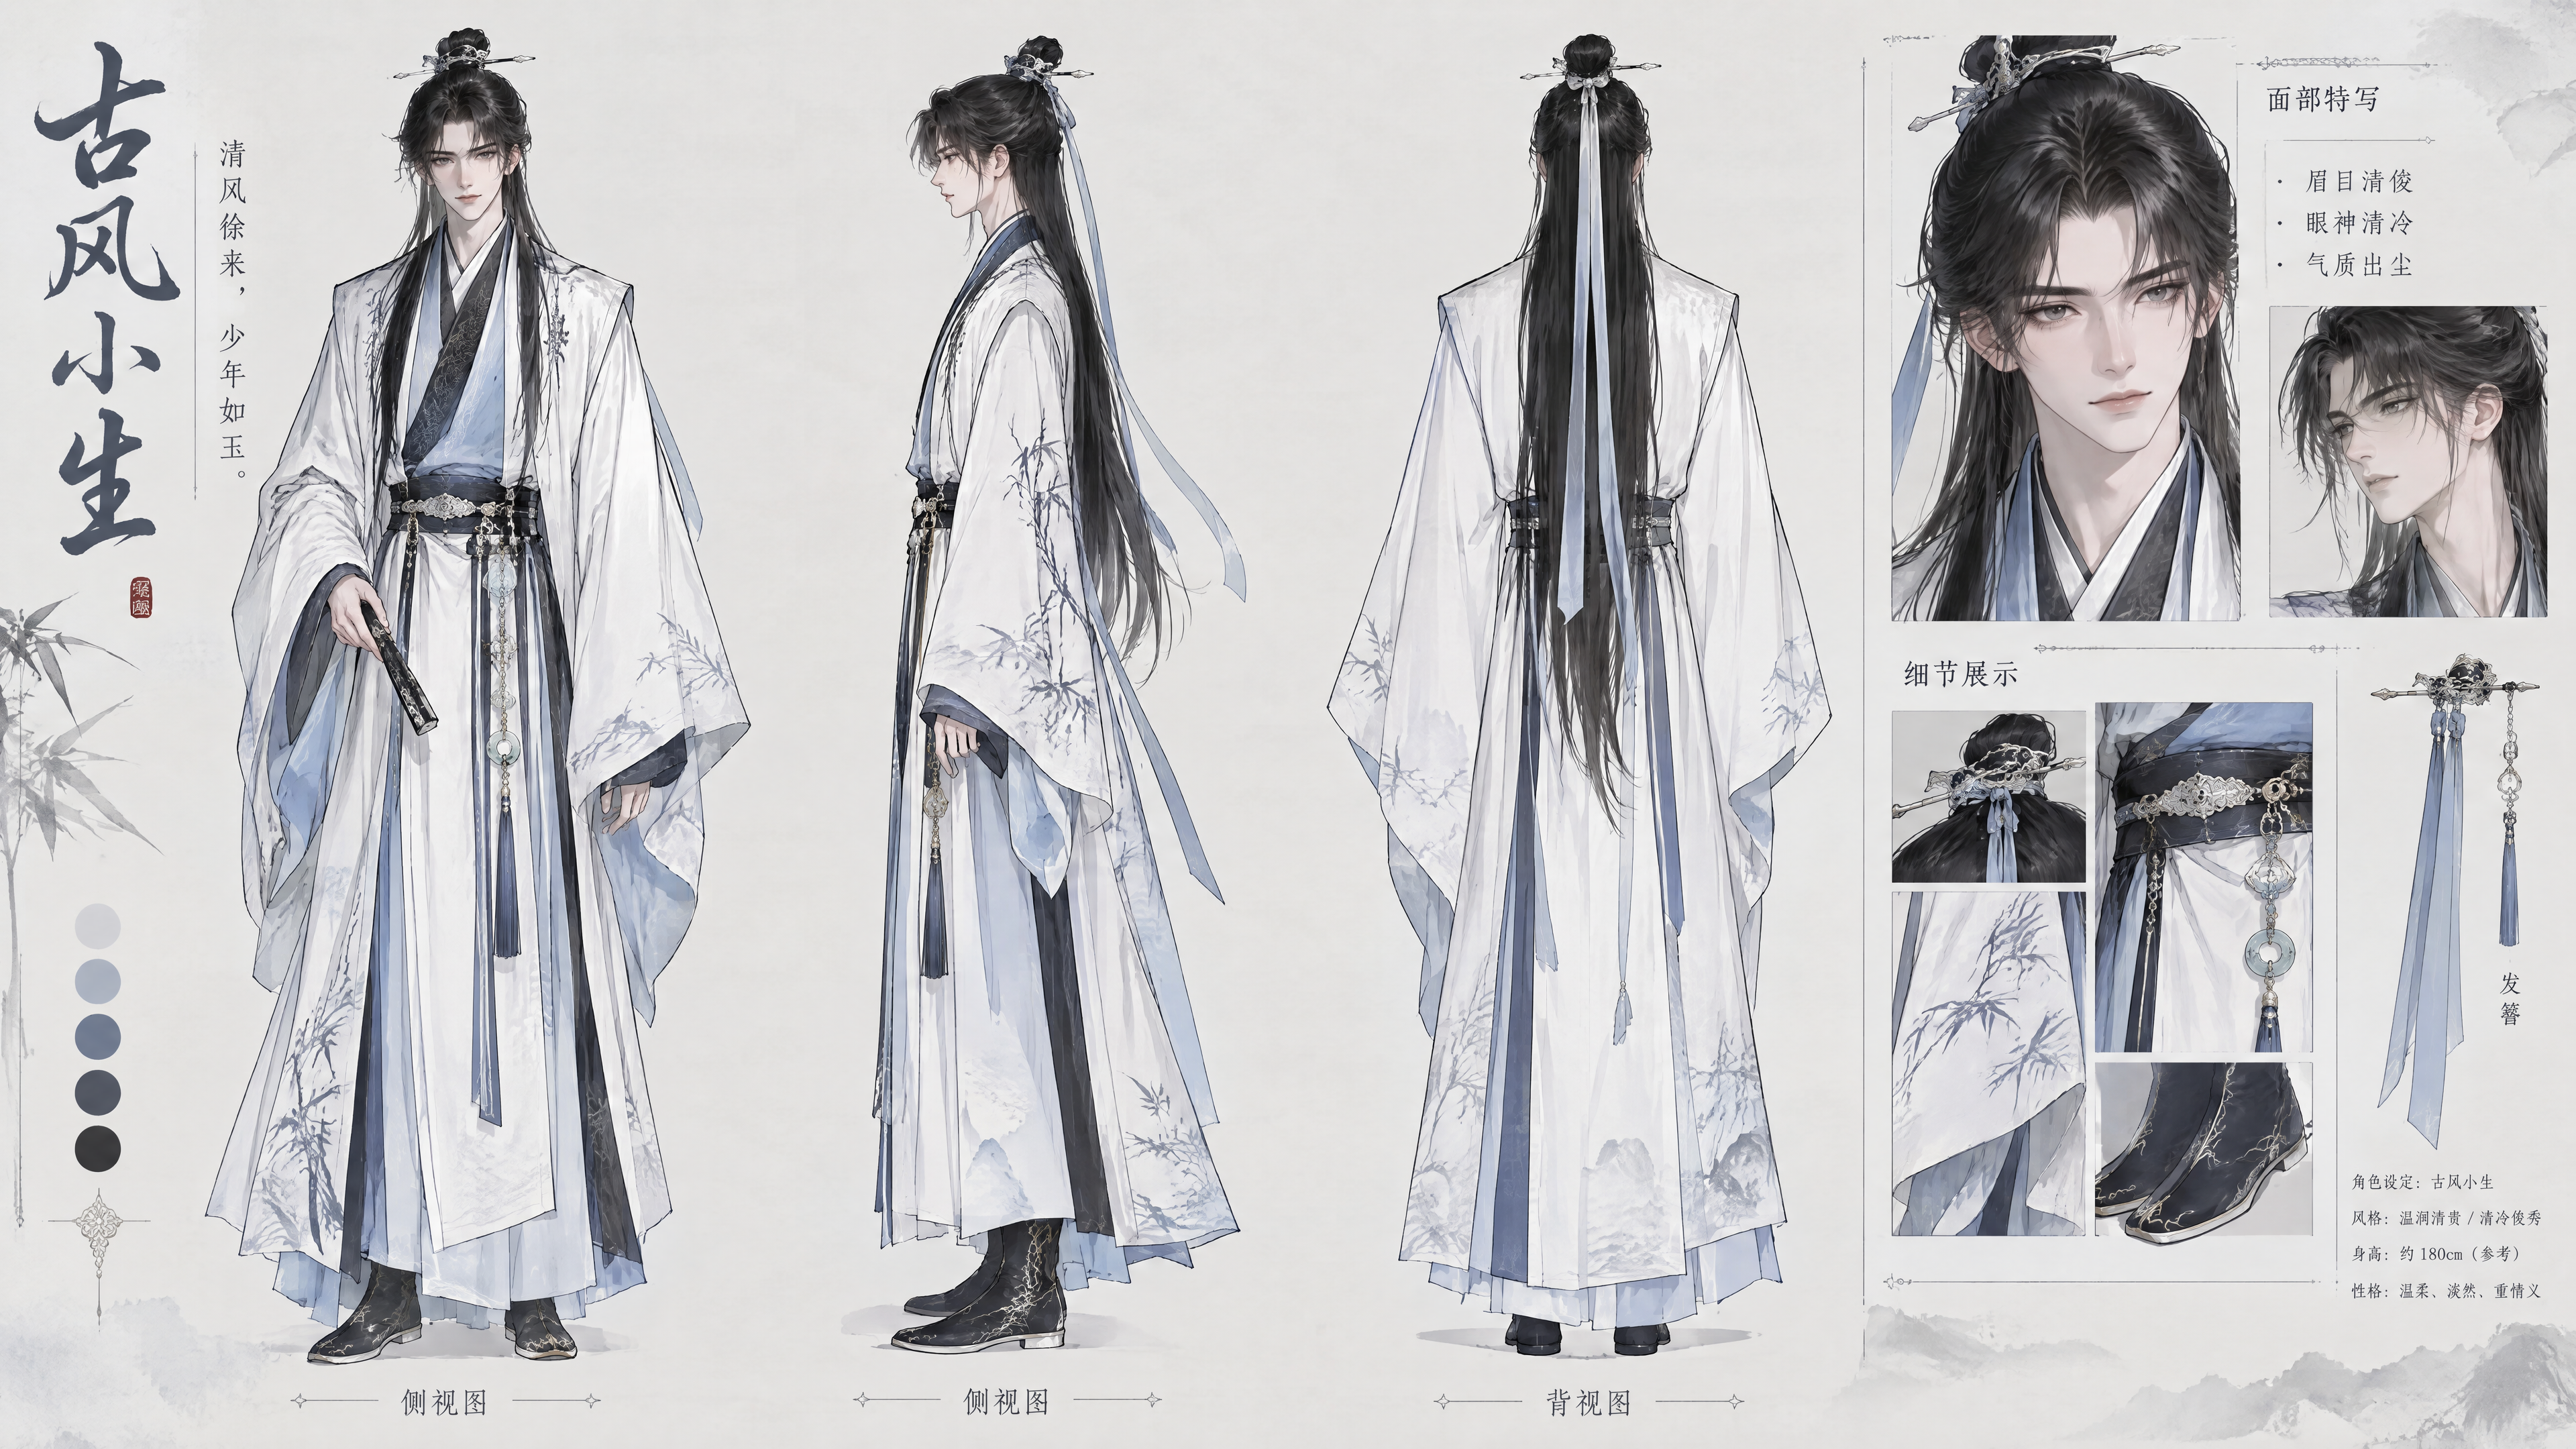
Create Sera, TransitCorridor, TransitCar, and Handhold in My Assets and Bind their references from Library. Sera’s costume references belong to her character asset, with a side view useful for seeing the hem. The scene and prop references establish the corridor, carriage, and reachable handhold. These fictional assets must exist before the following @ descriptions are usable.
Example 1: A small turn checks whether the hem responds at all.
Medium shot of @Sera in @TransitCorridor, framed from knees to head. She begins facing forward with both feet planted and her arms relaxed. Her only action is a small upper-body turn toward frame right. Keep the shoulder panels aligned with her torso; the loose lower hem follows the turn with a modest delay and then settles. Use a locked three-quarter camera and steady overhead light. No wind, walking, or hand gesture; keep the hem unobstructed.
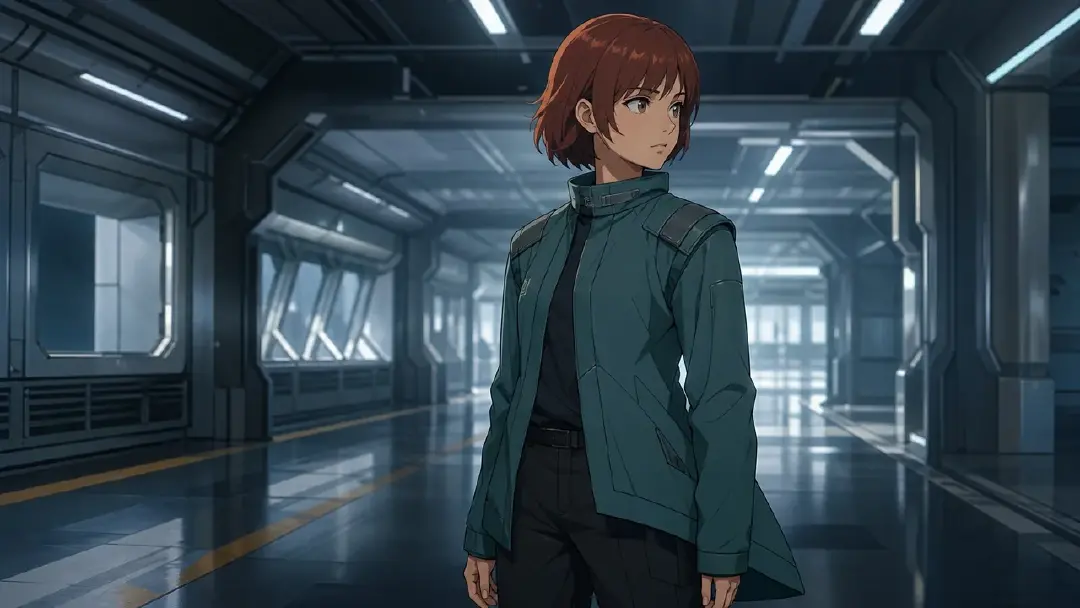
This is a diagnostic shot rather than an obligatory opening to the scene. Removing wind and travel makes the relationship between torso and hem easier to inspect. A still can show the intended pose and framing; the delayed response needs video review.
Example 2: Give the required stop a clear starting speed.
Side medium-full shot of @Sera in @TransitCorridor. She is already walking toward frame right at the opening; her only action is coming to a controlled stop at the gate. Keep both feet and the lower jacket hem visible. The shoulders follow her slowing torso while the loose hem continues slightly forward before settling. Avoid a skid or a second turn. Use a locked camera, steady overhead light, and an unobstructed silhouette against the corridor wall.
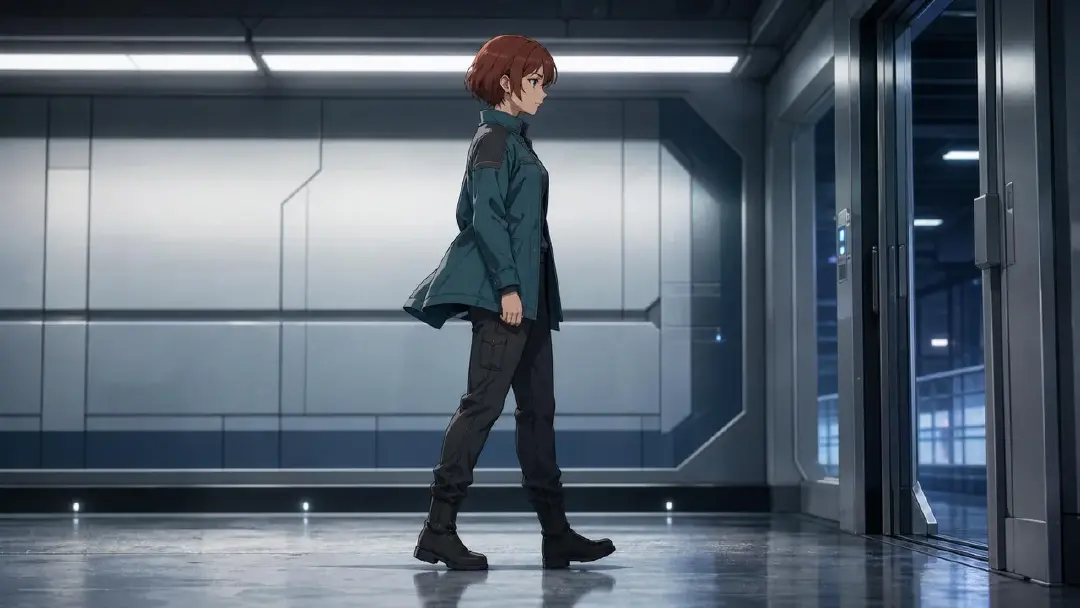
The desired body action remains a stop, with clothing response belonging to that action. There is no exact half-second pause for the fabric to obey. Judge whether the degree and timing of movement fit the established jacket, rather than accepting a large flutter simply because it is visible.
Example 3: An overhead reach tests local deformation at the sleeve.
Medium shot of @Sera inside @TransitCar, framing her hips, shoulders, right hand, and @Handhold. Her right hand begins at chest height; her only action is reaching upward toward the handhold without closing her grip yet. Keep her feet and left arm still. The reaching-side sleeve and lower hem lift modestly with the arm while the opposite hem stays lower. Use a locked side-three-quarter camera and steady ceiling light so the underarm area remains visible.
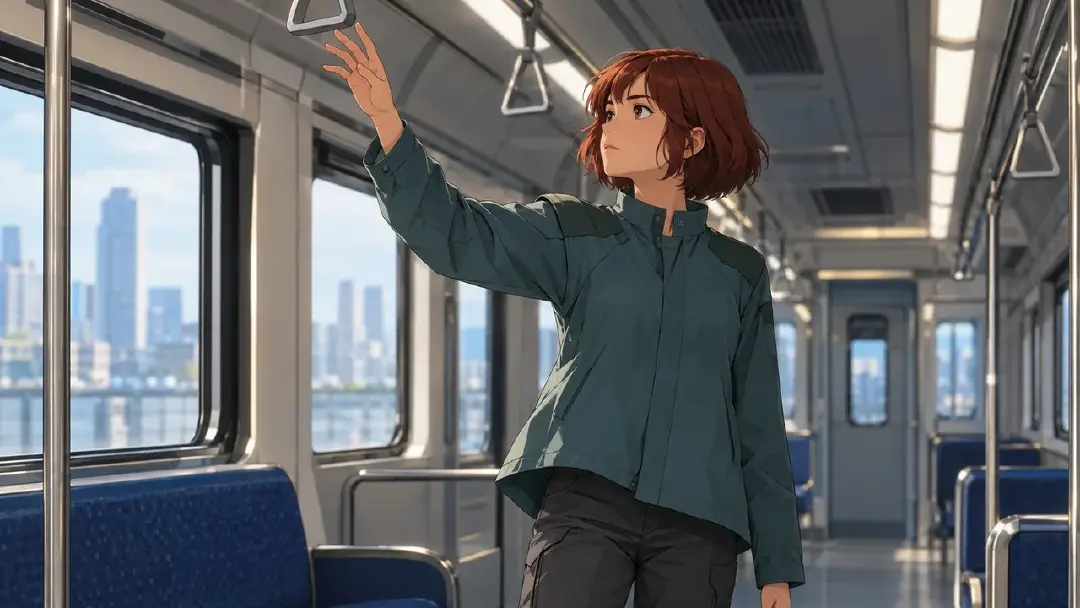
This tests whether the garment can deform locally while preserving its construction. It is an alternative exercise, not the next chronological action after the corridor stop. Do not replace a required arrival shot with a reach just because the reach generates more easily. The illustrations show proposed poses, not evidence that these descriptions produced successful clips.
Read the Result Before Choosing the Next Revision
If the shoulders look correct but the hem never separates from the legs, check whether the framing hides its edge or the starting image merges its silhouette with the trousers. Then clarify the small relative movement. Do not change the face, collar, and scene at the same time.
If the hem responds but the whole jacket becomes soft, revise the distinction between structured and loose areas. Inspect the bound reference too. If it actually depicts a soft unstructured jacket, the shot request conflicts with the design you supplied. Correct that design decision before adding more motion instructions.
If the clip gains folds by stretching the torso or changing sleeve length, reject that version. Extra movement is not a useful repair when it replaces the garment. Similarly, do not require a newly exposed lining stripe that the costume reference never established; the task is to animate the existing design.
When the description and still are ready, use the AI Chat Panel for the relevant shot, for example: Generate video for Shot 3. Compare the result with the original failure. References guide identity and design, but they do not guarantee that every regeneration keeps them intact. Inspect the complete shot before using it in Edit.
FAQ
Does every garment need visible follow-through? No. Tight, short, or structured sections may move very little. Look for behavior consistent with the design and action, not maximum flutter. A dramatic hem swing can be wrong for a fitted jacket.
Can I fix this entirely in a still image? You can repair the pose, silhouette, and framing there. Delay, settling, and changes between positions require video inspection. A good starting image narrows the problem; it does not solve the timeline by itself.
Should I replace the character asset? Usually start by checking the current shot and bound references. Add an appropriate angle or pose reference when needed. One failing motion does not require rebuilding a character whose design already works elsewhere.
Is a cloth simulator required for this workflow? This workflow uses ArcLoop’s shot descriptions, bound references, image generation, and video review. It does not promise simulation-level control. If a specific movement remains unreliable, revise the shot’s action or framing and evaluate the new result.
Next Step
Open your IP project in ArcLoop, select the Episode, and find the shot with the stiff garment. Name the body action and one visible fabric failure. Check the reference, keep the relevant edge in frame, then generate and review that one repair before changing the rest of the scene.