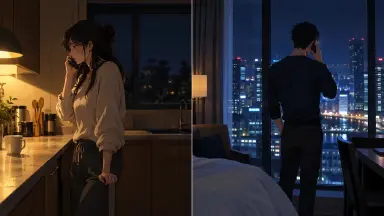
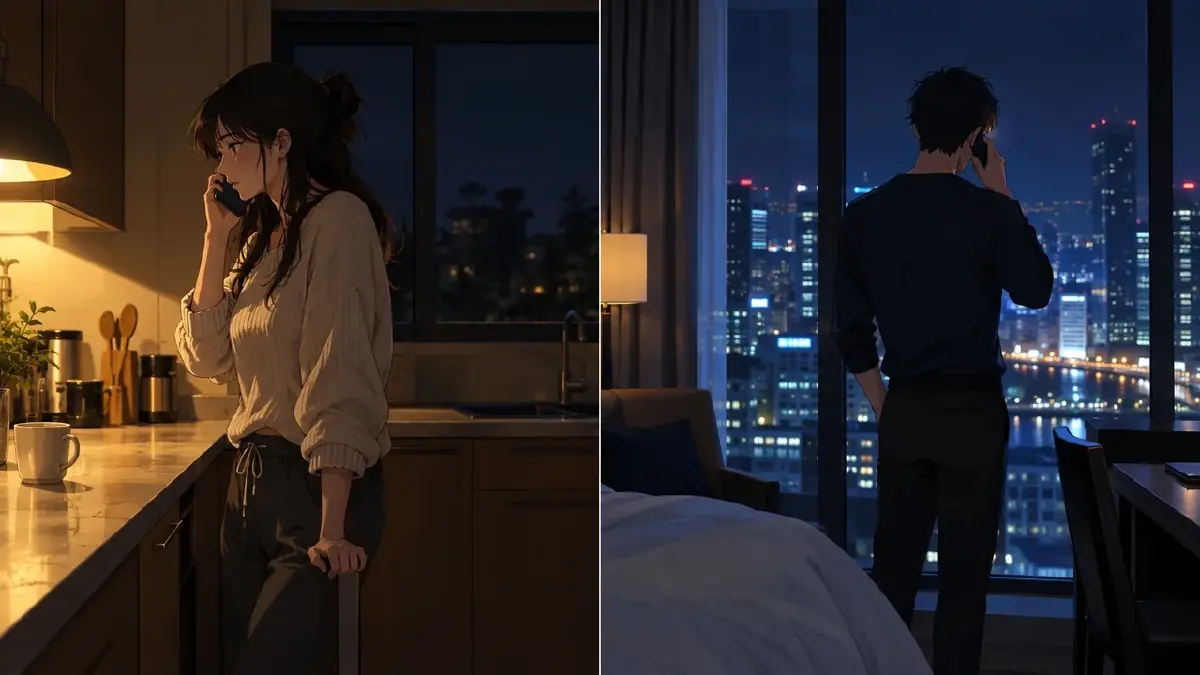
A phone conversation looks simple on the page: two characters talking in different places. In the generated sequence, matching backgrounds and ambiguous eyelines can make those places feel like one room. Spoken lines alone also miss the most revealing moment: the listener’s silent reaction, which the audience sees but the other caller cannot.
Give each caller a recognizable physical space, a clear phone-holding posture and something specific to look at while listening. Then decide which reaction the audience needs before the next reply. This guide shows you how to stage that information gap across two locations without losing the call’s geography.
What Each Caller Knows — and What Only the Audience Sees
Before building any shot, write down three things for each caller:
- What they know when they pick up. The facts available to them and the emotional state those facts create.
- What is audible to the other person. The spoken lines, and any sound they intend to share — or accidentally reveal.
- What the audience alone can see. A shaking hand, a glance at a door, a photo face-down on a desk.
This third layer is where phone-call scenes earn their tension. If Caller A is told something that changes everything, the audience watches A process it in silence before A speaks. Caller B cannot see that. The audience can. That information gap is the scene.
Use those three answers to decide which caller the audience needs to see next.
Build Separate Assets for Each Location
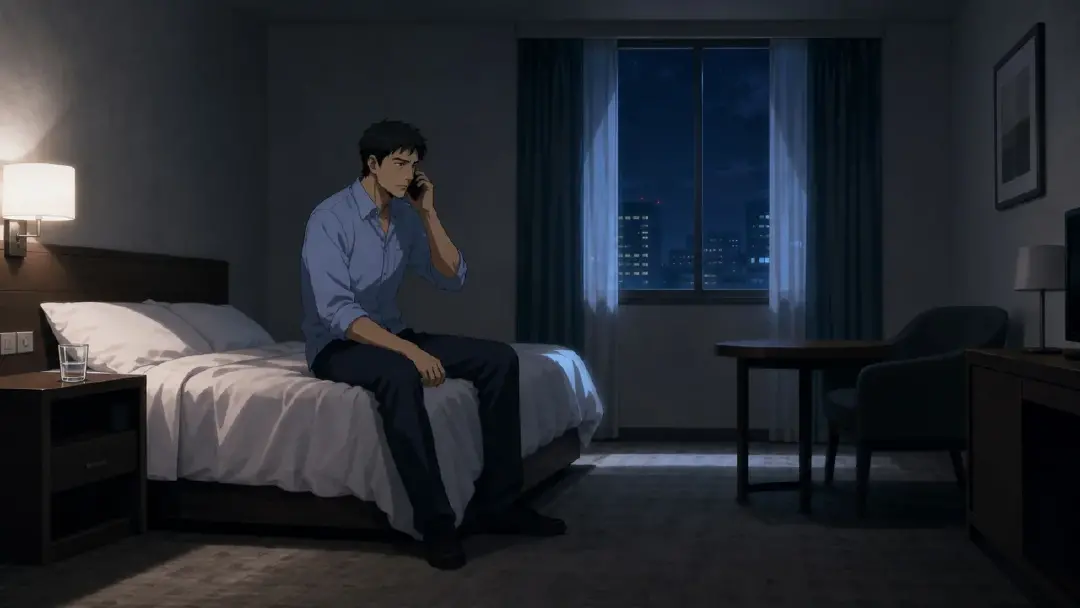
Give the locations different visible anchors: a kitchen counter and warm lamp for one caller, a hotel bed and cold window for the other. Review the backgrounds together so viewers can identify either place before anyone speaks.
In My Assets, create two distinct scene assets: one for each caller's location. Give each scene asset a reference image that shows the actual environment, not just a color palette. A cramped apartment kitchen is a different asset than a hotel-room desk. Bind those reference images as Main images, then check each generated view against the established space.
For each caller, confirm their character asset and bind useful reference images. If a phone-holding reference helps explain the posture, add it alongside the main appearance reference. In each shot description, specify the hand holding the phone when continuity depends on it; the asset reference does not replace a clear action.
Create the fictional character assets Nadia and Ryo, scene assets NadiaKitchen and RyoHotelRoom, and prop assets NadiaPhone, RyoPhone and WaterGlass in My Assets. Bind their reference images before selecting them through
@. The following case is an original design exercise; its images illustrate proposed compositions, not tested video outputs.
Separate a Line, a Silent Response and a Reply
For an exchange whose unspoken response matters, consider three dramatic units. They can receive separate coverage without turning every line in the call into the same three-shot pattern:
Beat 1 — The incoming line. The speaking caller delivers a line. The camera covers the speaker's face or body. The voice, framing, and performance note go here.
Beat 2 — The silent response. Cut to the listening caller before they speak. This is the most neglected beat in short-drama phone scenes. The listener is processing — and the audience reads their face to understand the weight of what was just said. No line. One action. One emotion.
Beat 3 — The spoken reply. Now the listener becomes the speaker. Stay with them or choose a different framing of the same location. The reply lands differently because the audience has already watched it form.
Use the silent beat when it changes how the following reply is understood. It does not need to appear after every line.
How to Stage the Phone Conversation: Shot by Shot
With assets built and beats mapped, open your episode and generate an initial set of shots with Generate Shots. The AI will draft a sequence based on your Story Outline. From there, review each shot card and revise or add shots to match your beat plan.
For each cut to a new location, confirm the scene asset reference is included in the shot card. Use @ to reference the character and scene explicitly — do not re-describe the room from scratch in every card. Use the recurring scene reference for the established space, then describe the new angle, action and relevant object contact. Generate images first and compare both rooms before proceeding to video.
For the silent reaction beat, resist adding a line. Write only the action and framing. A shot description that reads "@Nadia stands very still, staring at the wall above the sink. The call is still live but she has not spoken. Tight on her face." is stronger than padding it with narration.
Choose a character voice for each caller and keep that choice consistent when preparing dialogue. In Edit, use Generate Voiceover for the lines you need, then listen to the results beside the relevant shots. Check speaker identity and delivery yourself; a voice selection does not guarantee that every generated line has the intended emotion or timing.
In the original case Coastal Signal, marine researcher Nadia calls her estranged collaborator Ryo to say their joint study is being shut down. She is in her kitchen; he is in a hotel across the country. An earlier scene establishes that he expects a different call. Nadia does not know what that other call concerns.
Example 1 — Incoming line, Nadia's location:
Medium locked view of @Nadia at the counter in @NadiaKitchen. @Nadia speaks the line, “The department approved the shutdown this morning. I thought you should hear it from me.” @NadiaPhone stays at her right ear and her left hand remains resting on the counter edge. Keep her delivery level, with no added head turn or hand gesture. A warm overhead lamp separates her face from the dark window. One spoken line, no camera movement or cut.

Example 2 — Silent reaction beat, Ryo's location:
Medium-close locked view of @Ryo seated on the bed in @RyoHotelRoom. @Ryo slowly sets @WaterGlass on the nightstand while @RyoPhone stays at his left ear. Keep the glass, supporting hand and tabletop fully visible, with his face above the action. He remains silent and his posture otherwise still. Cool window light outlines the glass without obscuring its contact with the table. One placement only, with no jaw clench, second gesture, camera movement, or reply.

Example 3 — Spoken reply, staying with the listener:
Wide locked view across @RyoHotelRoom, with @Ryo still seated on the bed and @WaterGlass resting on the same nightstand. @Ryo speaks, “How long have you known?” in a controlled, slower delivery. @RyoPhone remains at his left ear, and his free hand rests on his thigh. Keep the bed, nightstand and cold window visible to establish the unchanged location. One spoken question only; no standing, walking, new gesture, camera movement, or other caller’s reply.
What Fails and How to Inspect It
One failure is unclear geography: a viewer mistakes the callers for people sharing a room. Review the shots back to back without dialogue. Check the location backgrounds, phone position and gaze target. Change the confusing framing or reference, then inspect again. Similar eyelines alone do not prove an error; the question is whether the combined cues make each location readable.
The second failure is voice identity drift across cuts. Play the dialogue without the images. Does each caller still sound like the same person on their next line? Recheck the selected character voice and revise or replace the line that breaks continuity. Keep emotional changes motivated by the conversation, and audition the replacement in context.
The third failure is hiding a necessary reaction. If a reply is meant to conceal surprise but the audience never sees that surprise, add coverage for the response before the line. Compare durations in Edit; the pause should reveal something, rather than follow a fixed two-second rule.
Assembling Alternating Coverage in Edit
In Edit, arrange coverage according to who provides the next useful information. The example uses A for Nadia’s line, B for Ryo’s silent action, then B again for his reply. Strict A/B alternation would interrupt that progression unnecessarily.
Check three things in the assembled sequence:
- Speaker recognition. Can the audience tell instantly which location they are in on each cut? If the scenes look similar, the first frame of each shot needs a stronger visual anchor.
- Response causality. Does each reply follow information the caller actually received? Use a silent reaction when it changes the meaning of the reply; a direct verbal response can also be clear.
- Continuity within each location. Keep the receiver hand, furniture and prop states consistent. If someone moves during time omitted by the cut, establish the new position clearly; you do not need a walking shot for every plausible move.
Use Generate Voiceover for the chosen lines and review the audio with the cut. A silent listener may still hear the other caller, so distinguish “this character is not speaking” from “the entire soundtrack is silent.” Do not require an unverified phone-filter effect to identify the speaker.
For shared-space exchanges, see the dialogue scene guide. For voice planning across a cast, use the multi-character voice guide. Open your ArcLoop project, prepare the two locations, and test the line, response and reply together.
FAQ
Do I need two separate episodes for each location? No. Both locations live inside the same episode and storyboard. The separation is handled by your scene assets and shot card descriptions, not by the episode structure.
Can I use the same character asset for both the speaking and listening versions of the same character? Yes. One character asset covers all coverage of that character. Write the posture and emotional state in the shot description — the asset handles identity, the description handles what is new in each shot.
What if the silent reaction beat generates with the character's mouth open? Revise the shot description to explicitly state that the character is not speaking — "silent," "does not reply," or "holds the phone without speaking." A clear one-action-per-shot description reduces ambiguous framing.
Does the off-screen voice need a phone effect? A distant or compressed sound is optional. First make the speaker and location clear through the image, line order and reaction. Listen to the audio you actually have in Edit, and avoid making the story depend on an effect that the generated result has not delivered.