Introduction
AI anime can look inexpensive from the outside. A short clip appears on a feed, the caption says it was made quickly, and the finished frame looks more expensive than the visible production setup. That surface impression hides the real accounting problem. The cost of an AI anime episode is not just the cost of one successful generation. It is the cost of reaching the successful generation after character tests, reference cleanup, seed previews, failed motion, rejected takes, local repairs, voice timing, edit decisions, and final polish.
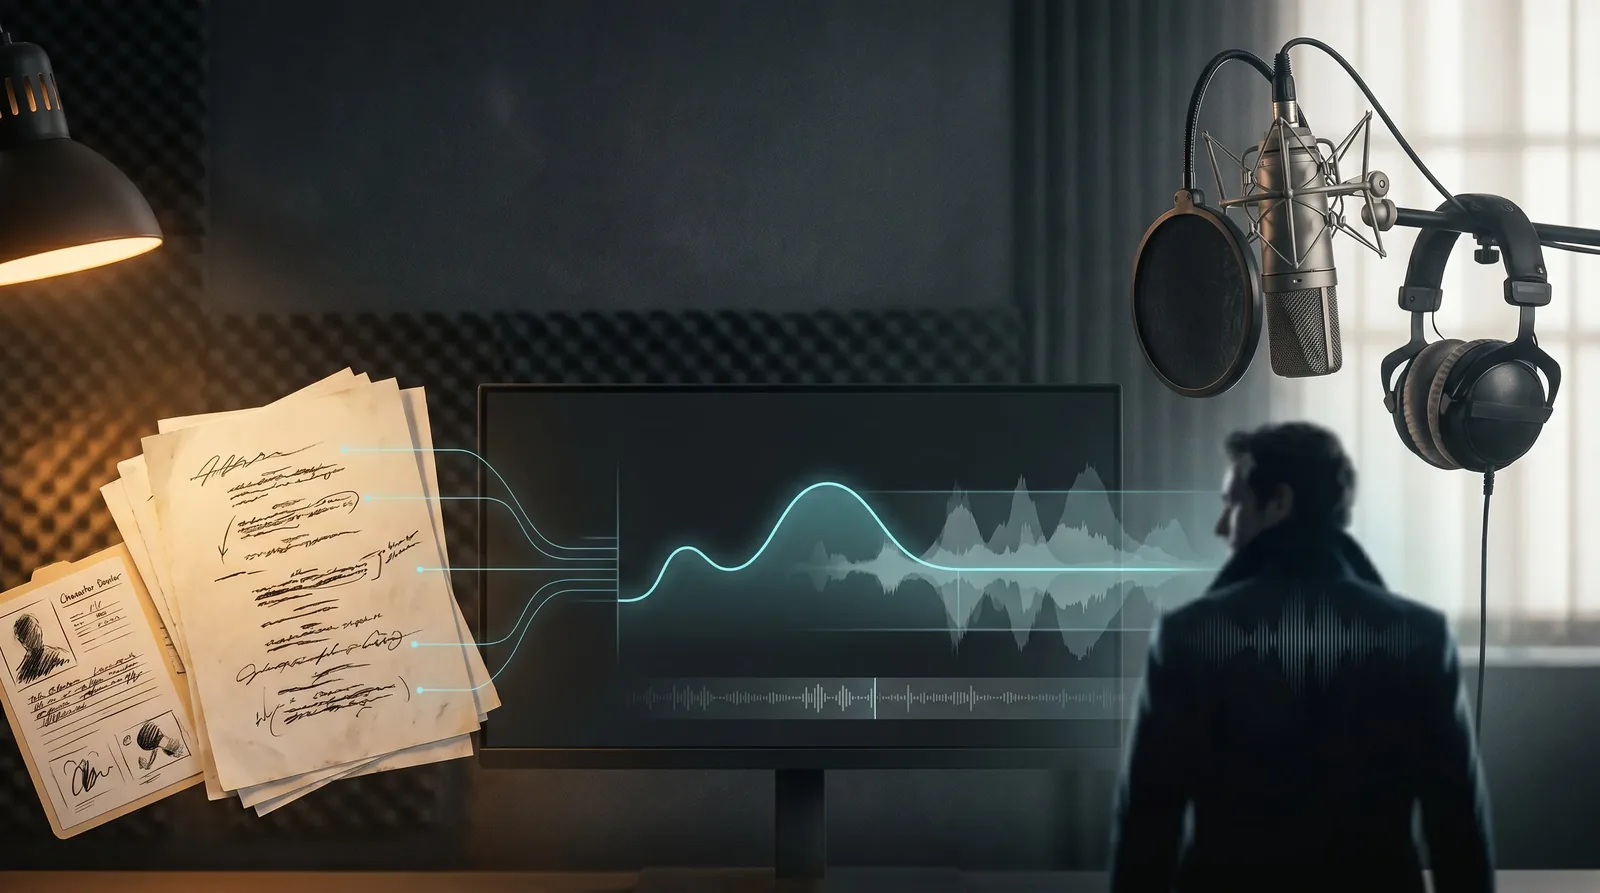
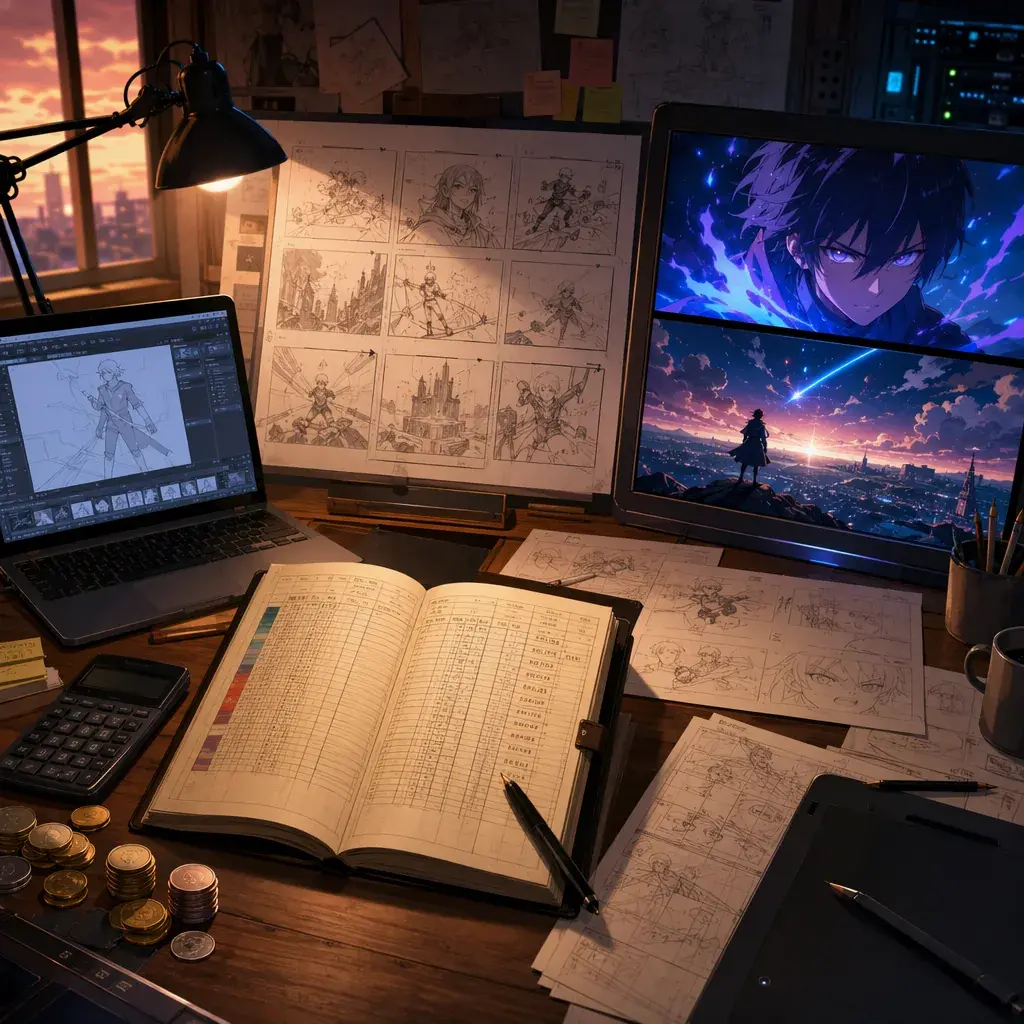
The mistake is treating an episode budget as one line item. A better method is to split the budget into three ledgers: tool cost, retry cost, and time cost. Tool cost is what you need to access the pipeline. Retry cost is what you spend proving and rejecting shots. Time cost is the human production work of planning, reviewing, naming, comparing, repairing, and publishing. The third ledger is easy to ignore because it does not always arrive as a receipt, but it often decides whether an AI anime series can continue.
For ArcLoop, the practical method is simple: use low-cost previews to control retries, then spend the real budget on the shots that matter. An episode does not need every frame generated at final quality. It needs stable characters, readable actions, clear camera choices, and a few polished moments that carry the story. The production goal is not to make every attempt expensive. The goal is to make every expensive attempt earned.
This guide gives you a cost comparison framework for a multi-tool pipeline versus an integrated workflow. It does not depend on specific vendor prices because those change, and because prices alone do not explain the true cost. The useful question is structural: how many places can the episode fail, how much does each failure cost, and how quickly can you decide what to keep?
Use this with Why AI Anime Should Control Cost Before Quality, The Take Selection Workflow, and Low-Cost Draft to Final when planning a short series or pilot episode.
The Three-Ledger Model
The first ledger is the tool ledger. A multi-tool workflow usually has separate places for script drafting, character images, reference organization, image-to-video, voice, music, editing, storage, and publishing. Even when each tool feels affordable in isolation, the stack creates coordination cost. You need accounts, exports, file formats, naming rules, usage limits, team access, and a way to remember which asset produced which shot.
The second ledger is the retry ledger. AI video production is not a straight line from prompt to final. A shot may fail because the face changes, the hand misses the prop, the camera reverses direction, the character performs two actions instead of one, the background breaks continuity, or the final frame is unusable for the edit. Each rerun costs something. Sometimes it costs credits. Sometimes it costs local GPU time. Sometimes it costs the reviewer another half hour of attention.
The third ledger is the time ledger. Time cost includes prompt rewriting, reference selection, take comparison, folder cleanup, quality review, local masking, audio timing, captions, and edit assembly. A workflow that appears lower-cost on generation can become expensive if every shot requires manual file chasing and repeated context rebuilding. The question is not only "what did the render cost?" The question is "how much production time did it take to find the render worth keeping?"
These three ledgers interact. A lower-cost tool can increase retry cost if it gives weak previews. A powerful final model can increase time cost if it encourages creators to skip planning. A unified workflow can reduce tool switching, but it still needs review gates. There is no magic pipeline that removes judgment. The best pipeline reduces the cost of exercising that judgment.
Multi-Tool Pipeline Cost Surface
A multi-tool pipeline often starts cleanly. One tool helps write the script. Another generates character frames. Another turns selected images into video. Another adds voice. Another handles music. Another assembles the final edit. This modular approach can work, especially for technical creators who already have strong file discipline. The cost problem appears when a shot needs to move backward.
If the video pass breaks the character, you may return to the image step. If the voice timing changes, you may return to storyboard timing. If a prop is missing, you may rerun the image, the video, or a local repair. If the final edit needs a two-second hold, you may need a new shot version. Every backward move crosses tool boundaries. That is where hidden cost grows.
The visible bill may be the generation cost, but the hidden bill is the coordination layer:
| Cost area | What usually expands |
|---|---|
| Tool access | Multiple subscriptions, usage tiers, export limits, storage rules |
| Asset transfer | Downloading, renaming, uploading, format conversion, version confusion |
| Context loss | Re-explaining character identity, shot goal, reference role, and edit needs |
| Retry loops | Rerunning whole clips when only one part failed |
| Review time | Comparing outputs without a shared place to track and compare shots and takes |
The multi-tool approach is not wrong. It becomes expensive when there is no shared production memory. If the script, character asset, shot card, reference roles, take labels, and final edit notes live in disconnected places, the creator becomes the integration layer. That may be acceptable for a one-off test. It is fragile for a series.
Integrated Workflow Cost Surface
An integrated workflow changes the cost surface by keeping the episode plan, character assets, shot cards, rough takes, and final choices closer together. The gain is not that every generation becomes free. The gain is that fewer retries are blind. The system can preserve the character asset, remember the reference role, keep takes attached to shots, and make it easier to compare draft outputs before committing to final quality.
The useful integrated workflow has four gates:
- Character gate: does the character asset pass before animation starts?
- Shot gate: does the shot card define one action, one camera idea, and one review goal?
- Take gate: do rough previews produce at least one candidate worth polishing?
- Final gate: does the final pass improve detail without changing the approved shot?
These gates reduce the retry ledger. They also reduce the time ledger because the review question is visible at each stage. A rough take does not need to be gorgeous. It needs to answer whether identity, action, camera, and final pose are usable. A final pass does not need to invent a new story beat. It needs to polish the selected take.
This is where low-cost previews matter. A creator should be able to test composition, motion, and identity before spending the episode budget on hero frames. If a low-cost preview reveals that the character turns the wrong way, that is a good result. It prevented a more expensive failure later.
Spend Where the Viewer Notices
Not every shot deserves the same budget. A series episode usually contains a mix of setup shots, reaction shots, action beats, inserts, transitions, and hero moments. The viewer notices character continuity, emotional close-ups, clean action, and memorable final frames more than equal polish across every second. Cost control means matching budget to narrative weight.
A simple tiering model works:
| Shot tier | Purpose | Budget behavior |
|---|---|---|
| Planning shot | Tests story order, screen direction, and edit rhythm | Use storyboard or still previews |
| Continuity shot | Keeps the same character, prop, or location readable | Use character asset and rough motion |
| Utility shot | Bridges action or timing between stronger moments | Keep it short and controlled |
| Hero shot | Carries emotion, action, reveal, or trailer value | Spend final-quality passes only after preview approval |
This approach avoids the common trap of making every shot a hero shot. A two-minute episode may need only a few moments that receive the highest polish. The rest need to be consistent, readable, and editable. That is not lowering quality. That is directing the budget.
The Preview-First Method
The preview-first method has one rule: prove the shot before polishing it. Start with the lowest-cost artifact that answers the current question. If the question is story order, use a written shot list. If the question is character identity, use a character asset still. If the question is camera direction, use rough image or storyboard frames. If the question is motion, use a short rough video take. If the question is texture, lighting, or final emotion, then move to final polish.
The method can look like this:
- Write the episode beat sheet.
- Convert the beat sheet into a short shot list.
- Create or reuse character assets, prop references, and location anchors.
- Make low-cost previews for high-risk shots.
- Select takes before repairing.
- Repair locally when one part fails.
- Finalize only the shots that pass the review gate.
- Assemble the edit and identify missing utility shots.
The key is not simply using low settings. Low settings are useful only when they answer the right question. A preview that is too rough to judge hand contact is not saving money. It is delaying the decision. Raise quality only enough to inspect the risk you are testing.
Put this into practice with a simple sequence. In My Assets, build the character once — set the main image, then bind two or three reference images for different angles or outfits. Open the episode, click Generate Shots, and let the shot cards come back as a first pass. Open the shot card for the moment you're testing and add only what's new: the action, the camera, the light — the identity already comes in through the @ reference, so don't re-describe the face or outfit.
Generate the image first. Check the composition, the framing, and whether the character reads correctly before you spend a video generation on it. Only once the still holds up do you move to video. For a handful of shots at once, use the AI Chat Panel and type something like Generate videos for Shots 4, 5, and 6. instead of clicking into each card one at a time.
Bring the rough takes straight into Edit and cut the sequence with them before anything is final. A weak cut usually shows up here — a shot runs too long, an action doesn't land, the pacing drags — and it's far cheaper to swap a draft take than to discover the problem after paying for a polished one. Only send the shots that survive the cut back for a final pass.
Example Prompt 1: Episode Cost Plan
Wide tracking shot of @Sera weaving through the storm-lit city skyline, the sealed message tube strapped tight across her chest. Camera follows low and fast alongside her, banking with each turn between rain-streaked towers. She dips under a collapsed cable, then straightens out toward the rooftop bridge ahead, jaw set with focus. Lightning flashes cold blue against the storm clouds; distant windows glow warm gold below. Wind roars past the mic, cutting out for one beat as she clears the last tower. Keep her ivory courier jacket, compass pendant, and teal bob hair readable through the motion.

This planning prompt makes the budget visible before any render starts.
Example Prompt 2: Low-Cost Preview Gate
Medium shot of @Sera sprinting across the rain-wet rooftop bridge, frame left to frame right, boots splashing through puddles. Camera: locked side angle, screen direction held consistent throughout. Action: she skids to a stop at the railing, pulls the bronze message tube from her jacket, cracks it open, and freezes wide-eyed at what's inside. Light: dusk backlight through drifting rain, damp highlights on her ivory jacket and copper hair rings. Sound: rain patter, her boots on wet metal, breath catching on the final beat. Hold on her surprised expression for the last half-second.

The preview gate protects the final budget by rejecting weak shots while they are still low-cost to reject.
Example Prompt 3: Final Spend Gate
Close three-quarter shot of @Sera at the rooftop railing, dusk rain falling around her. Camera: slow push-in ending tight on her face. Action: she opens the bronze message tube, sees the blue signal glow inside, and her surprised expression settles into focus — no new gesture added, just the reveal. Light: warm distant airship lights blur behind her, rain catching a faint shimmer, the compass pendant reflecting a thin glint against her fingers. Motion: jacket hem and loose strands of teal hair drift in the wind. Sound: rain easing, her breath slowing as she reads the signal. Keep her outfit, pendant, and pose exactly as approved — this pass only adds polish.

This prompt spends quality on the shot that already passed instead of asking final polish to solve draft problems.
Common Mistakes
The biggest mistake is counting only successful outputs. The real episode cost includes rejected takes, prompt rewrites, local repairs, and review time.
Another mistake is comparing workflows only by subscription price. A lower-cost tool stack can become expensive if it increases exports, context loss, and manual sorting.
Creators also run final-quality clips too early. If the character, action, and camera are not approved, polish only makes the wrong result more expensive.
A fourth mistake is rerunning whole shots for local failures. If only the prop, hand, face, or background edge fails, a targeted repair is usually lower-cost than restarting the full clip.
Finally, do not build the episode around a promise that every shot will be perfect. Build it around a selection process that expects misses and contains them.
FAQ
Is an integrated workflow always lower-cost than a multi-tool workflow?
Not automatically. It becomes lower-cost when it reduces blind retries, duplicated setup, file transfer, and review confusion. The real comparison is total episode friction, not one visible generation price.
How many rough takes should I plan for?
Use a small batch of variants for simple shots and a larger slate for high-risk shots. A close-up with a stable character may need only a few previews. A hero action shot with identity, prop contact, camera movement, and emotion needs more selection room.
Where should the final-quality budget go first?
Spend it on shots that carry story value: opening hook, emotional close-up, action payoff, reveal, and ending frame. Utility shots need consistency and editability before they need maximum polish.