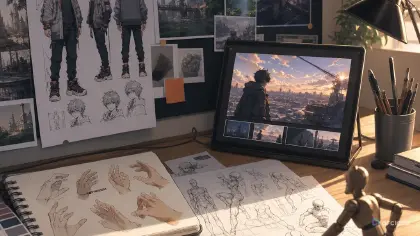
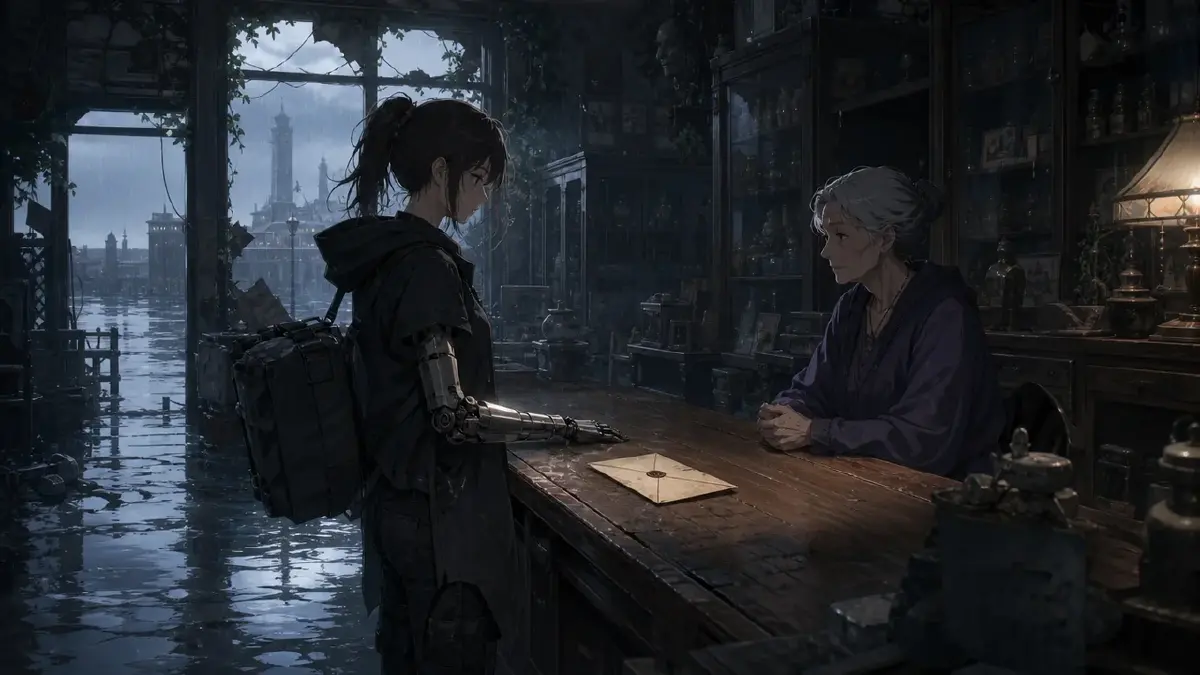
A comic panel can compress several moments: a punch and a wince share the frame, a speech bubble interrupts the action, and a background shadow suggests someone who has not spoken yet. When you animate only the central pose, the movement may look convincing while the panel’s other information disappears.
Start by separating what the artist put together: pose, gaze target, prop state, and the order events would play out in time. Once you have that sequence clear, here is how to take it from panel to scene in ArcLoop.
Read the Panel Before You Upload Anything
Look at the panel and answer four questions:
- Pose and weight. Where is the character's weight? What are the hands doing? Write it in plain language: "left shoulder dropped, chin turned toward the door, right hand still on the cup."
- Gaze target. Where are the eyes going—inside the panel or offscreen? An offscreen gaze implies a reaction shot you will need to invent.
- Prop state. Is the prop mid-motion (cup half-raised) or at rest (cup on the table)? Mid-motion props tell you which shot is the action and which is the result.
- Speech order. Follow the source comic’s intended reading direction and balloon connections; manga and other layouts may read right-to-left. The character drawn first is not necessarily the first speaker. Decide who speaks when before you write a single shot description.
What is merely implied—the offscreen character, the room behind the door—you will need to decide whether to invent or skip. Write that decision down. Animating implied content is fine; pretending the panel showed it is where continuity breaks.
Upload the Panel and Bind Your Assets
Upload the comic panel image to your project's Library. This makes it available as a reference without turning it into an asset. The distinction matters: Library holds files; My Assets hold the creative objects your agent will remember and reuse across shots.
Now bind the relevant identity references:
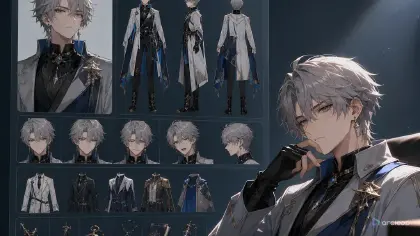
- Character asset: Upload a clean front-facing reference image and bind it as the Main image. The panel itself can become a Reference image on the same asset to anchor this specific outfit and scene context. A useful crop of an important costume detail can become another Reference image. Give a recurring independent prop its own prop asset.
- Scene asset: If the panel's background recurs, upload an environmental image and bind it as a scene asset. For a one-off interior, describe it in the shot instead.
- The panel as Visual reference: Bind the full panel as a Visual reference asset named for the scene—"rooftop confrontation panel," for instance. This gives the agent a compositional anchor without implying the panel is the final output.
Do not expect ArcLoop to automatically separate the character from the background or detect speech bubbles. The panel is a reference, not a source file to be decomposed. Your reading from the previous step is what does the separation.
How to Split One Panel Into Three Shots
For a panel depicting an exchange, try three beats: establish where the participants are, show the exchange, and show a response. A landscape panel or a single visual gag may need fewer shots; do not invent an unnecessary reaction just to reach three.
Shot 1 — Establishing. Wide or medium-wide. Establish the space before the exchange, with a simple arrival or held pose. Keep the camera still. In this example no dialogue is needed yet; the shot answers the geography question.
Shot 2 — Action. Medium or close. This is where the panel's pose lives. The character with the mid-motion prop completes the motion. If there is dialogue, the speaker delivers it here. Keep camera movement subordinate—a slow push is enough. Do not layer a pan, zoom, and rack focus into one shot.
Shot 3 — Reaction. Cut to the listener or the offscreen gaze target. This shot often does not exist in the original panel; you are inventing it from implied space. A held expression or small motion works. The camera can be still.
Write the Shot Descriptions
The @asset references below point to fictional assets that need to be created and have their reference images bound in My Assets before generation. The character, scene, and prop names are part of an invented example—adjust the asset names to match your own project.
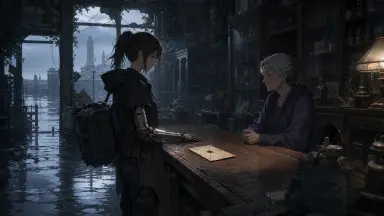
The story: Mara, a courier with a mechanical arm, slides a sealed letter across a counter toward a shopkeeper who has not yet looked up from her ledger. The letter is mid-slide, Mara's hand still on it.
Shot 1 — Establishing
Wide locked view from the doorway of @flooded-shop-interior. @mara takes one step across the threshold, keeping the sealed @letter at her side. @shopkeeper remains seated behind the counter, head down over the open ledger. Keep the counter and the clear path between them visible. The arrival is the only action; no greeting or reaction yet. Morning grey light enters through the single high window, with quiet rain outside. No camera movement or new object reveal.
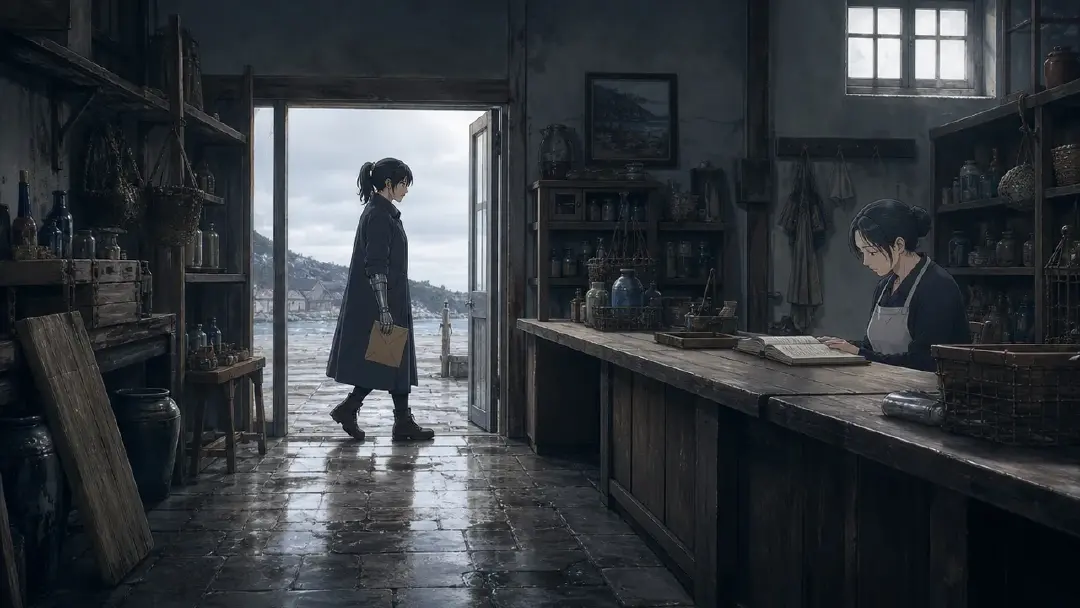
This shot establishes spatial relationships before any action. It answers where everyone is and sets the stakes of the next beat without rushing to the confrontation the panel implies.
Shot 2 — Action (the panel's key pose)
Medium shot from the shopkeeper's side of the counter in @flooded-shop-interior, looking toward @mara. @mara slides the sealed @letter across the clear counter, keeping her fingertips on its near edge. Her expression remains restrained and practiced. Use a small slow camera push that keeps the entire envelope visible. Grey sidelight from the existing high window separates her hand from the wood. One sliding action only, with no release, pointing gesture, second object, or cut.
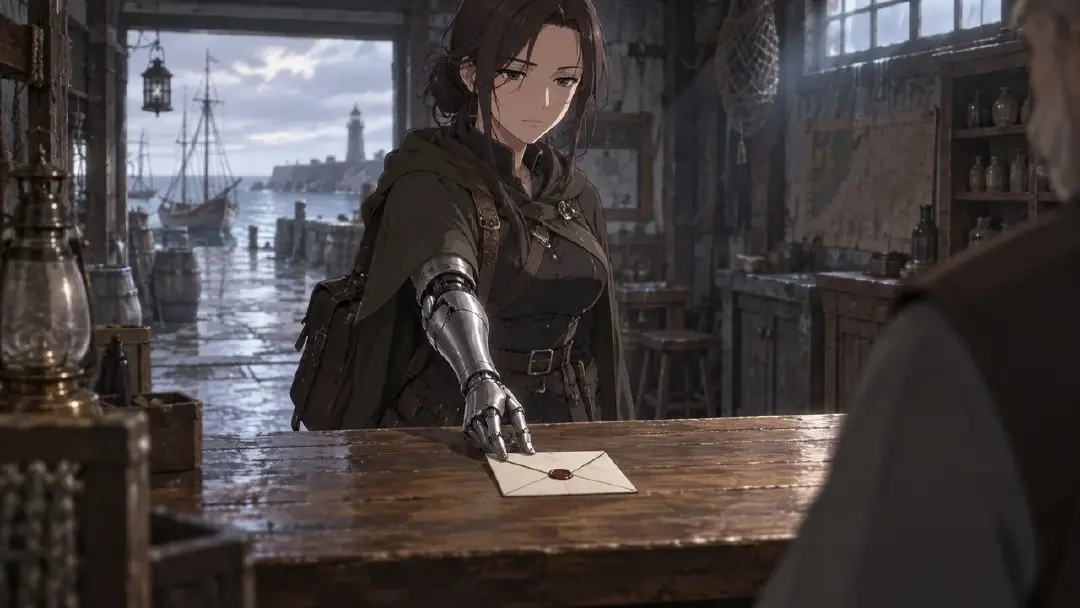
This is the panel's pose translated into time. The action verb is "slides"; the camera push is subordinate. One clear thing happens.
Shot 3 — Reaction
Locked close view of @shopkeeper in @flooded-shop-interior. She lifts her gaze from the ledger toward @mara at the established position across the counter. Keep her hands outside the frame and leave the sealed @letter on the counter below. Her expression holds a guarded recognition; no smile or exaggerated alarm. Soft light from the existing high window reaches her face. The upward glance is the only action. No reaching, head turn, camera move, or cut.
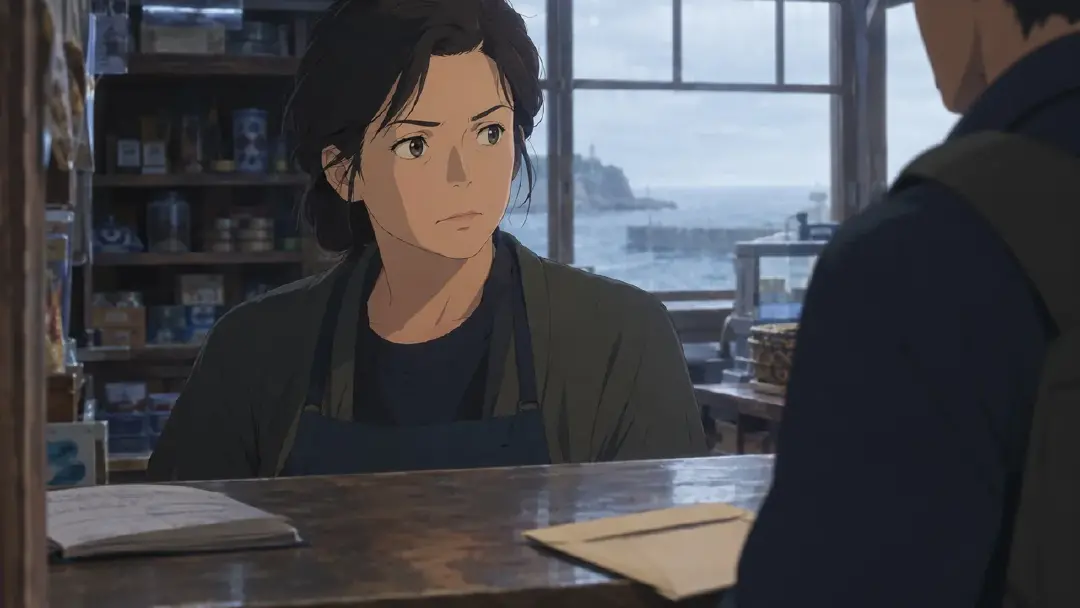
The imagined panel does not show this reaction. Guarded recognition is an adaptation choice, so check that it fits the surrounding story. Mara’s gaze identifies a possible listener; it does not prove what that listener feels.
Review Before You Generate Video
Generate stills for all three shots first. Compare them against the original panel:
- Pose check. Does Shot 2's still match the hand and arm position from the panel? If not, check whether the character asset's Reference image is clear enough at that angle, or whether the shot description is pulling in a different direction.
- Space continuity. Do Shots 1 and 2 agree on where the counter is relative to the door? Spatial contradictions are easier to fix at the still stage.
- Invented content. Shot 3 is invention. Does the shopkeeper's reaction contradict anything visible in the original panel? If the panel showed her already looking up, your Shot 3 should not show her looking down first.
Once the stills hold together, use the AI Chat Panel to generate video: Generate video for Shot 1., then Shot 2, then Shot 3. Review each clip before requesting the next. If Shot 2’s slide is unclear, specify its endpoint: the envelope rests near the middle of the counter, with Mara’s fingertips still on its near edge. Keep release or withdrawal for another shot if the story needs it.
In Edit, arrange the clips and use Generate Voiceover for the panel’s chosen line, such as “This is for you.” Keep the voice associated with the speaking character. Place the line with the slide, then check that the listener’s glance follows its cause. Do not add dialogue merely because the original panel has space for another balloon.
For more on using still images to anchor character poses before video generation, see the pose reference workflow.
After assembly, watch the three clips beside the original panel. Ask: does the scene preserve the emotional meaning, or did it introduce a contradiction—a wrong expression, a gesture that changes the character's intent? The goal is not to recreate the panel pixel by pixel. It is to carry its meaning into time.
FAQ
Which panel makes a useful first exercise? Start with a panel you drew or have permission to adapt. Choose one readable interaction with a clear prop and identifiable speaker order. Keep crowded fights or complicated page layouts for a later exercise.
What if the panel has three or four characters? Decide which character is the focus of each shot. Characters who are in the panel but not driving the action can appear in the establishing shot and be cut from the action and reaction beats.
My Shot 2 keeps losing the mechanical arm detail.
Bind a close-up crop of the arm as a Reference image on the character asset. Then in the shot description, name it directly: @mara's mechanical arm, silver forearm joints visible. The asset reference and the description reinforce each other.
How many reference images should I bind before generating? Begin with a clear Main image and add a Reference image only when it supplies a needed angle or detail. Check what each reference contributes; remove conflicting or redundant material instead of assuming that more images will solve the problem.
Open your ArcLoop project, bind your panel and character references in My Assets, and start with the establishing shot.