A prop handoff looks simple on a storyboard: character A gives object to character B. In AI video generation it is one of the more reliable ways to lose track of who owns what. The moment two sets of hands appear in the same frame, the model has to decide whose fingers are supporting the object, which hand is letting go, and which grip is tightening — and if your shot description leaves any of that open, it will decide for you.
Anatomy errors are one possible failure. Another is unclear support during the transfer: offer, shared contact and release are different states, but a description may treat them as one pose. This guide shows how to break the action into clear decision points, anchor the prop as a reusable asset, and review each state before moving on.
Define Ownership Before You Write the First Shot
Before opening a shot card, note four things:
- Who is giving and which hand they hold the prop with.
- How the prop is oriented when offered — label facing the receiver, handle toward them, flat side up.
- Who is receiving and which hand they extend.
- What ownership looks like at the end — giver's hand fully clear, receiver holding the object at a specific position.
Keep the start and end conditions in Story Outline, then put the relevant hand and prop positions in each shot card description. Check those conditions when a result fails. Even a clear description can generate incorrect contact; revise the failing action without changing the intended transfer.
For the fictional story used in the examples below: detective Sable Orin passes a sealed evidence envelope to her junior partner Fen Kassi inside a rain-soaked transit archive room. Sable stands frame left and holds the envelope at its left short edge with her right hand. Fen stands frame right and receives its free right edge with his left hand. Its blank front and small seal face the camera throughout. The final state shows Fen supporting it alone.
Decide: One Shot or Three?
Not every handoff needs a separate shot for each state. The rule is visual legibility.
Try one shot when the framing makes support, contact and release easy to inspect. Size helps, but a large tray can still create awkward overlapping hands. Judge the actual transfer rather than assuming a prop category guarantees success.
Split into offer, grasp, and release shots when the prop is small and the grip change would blur together, when the emotional weight of the exchange needs the receiver's face after contact, or when the giver's withdrawal is part of the story.
For Sable and Fen, the envelope is thin and both the offer and the release carry emotional weight — Sable is handing over a case she was removed from. Three shots are justified.
For this exercise, keep the camera on the same side and keep Sable frame left, Fen frame right. The envelope travels toward Fen during the offer; Sable’s empty hand naturally withdraws the other way during release. Do not confuse consistent geography with every movement going in the same direction.
How to Set Up the Prop Asset and Stage the Three Shots
Create the recurring prop in My Assets before selecting it through @. The same asset will be referenced through all three stages; its presence does not guarantee that every generation preserves the grip or orientation.
- Open your IP project and go to My Assets. Create a new prop asset named
EvidenceEnvelope. - Upload a reference image to Library and Bind it to the prop asset as its Main image. Add a Reference image when a needed side or seal detail is not clear in that view.
- Create character assets for
@SableOrinand@FenKassiif they are not already in My Assets. Bind a reference image for each. You do not need to describe their faces or clothes in the shot card — the asset carries that. - In your episode, click Generate Shots, then open the offer, grasp, and release shot cards and write the specific action for each.
Using @EvidenceEnvelope in each shot card is more reliable than re-describing the prop from scratch. Use its reference to check the silhouette and seal placement while varying the hand action. Inspect consistency rather than assuming it is automatic.
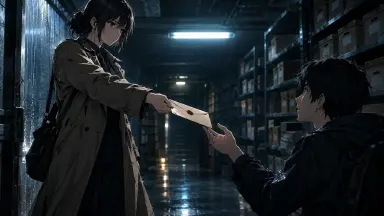
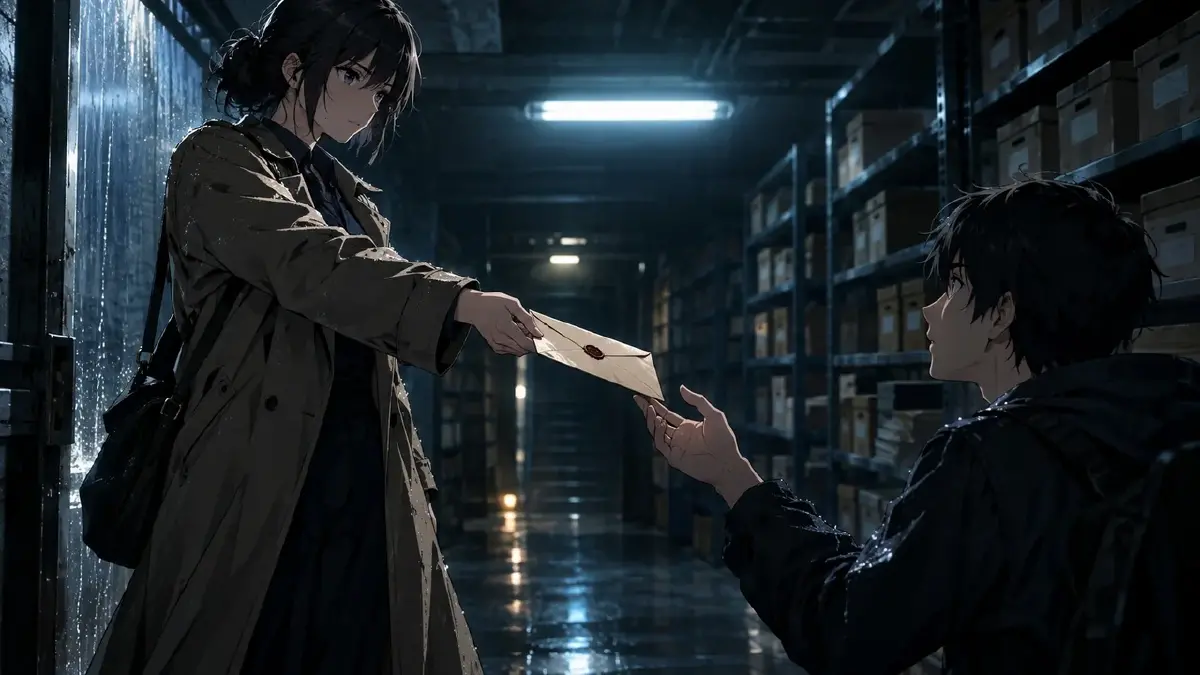
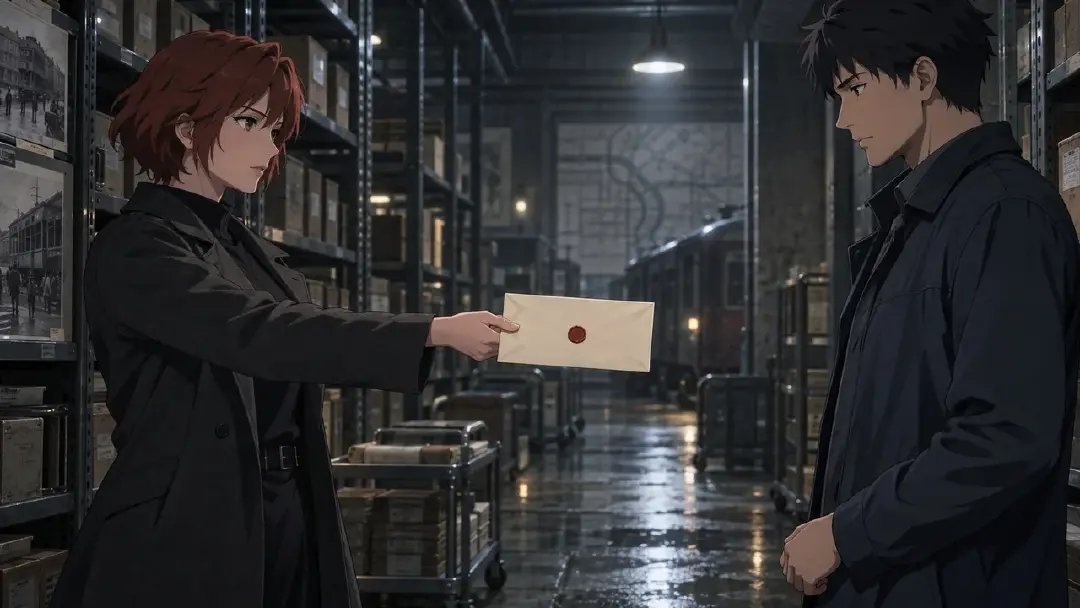
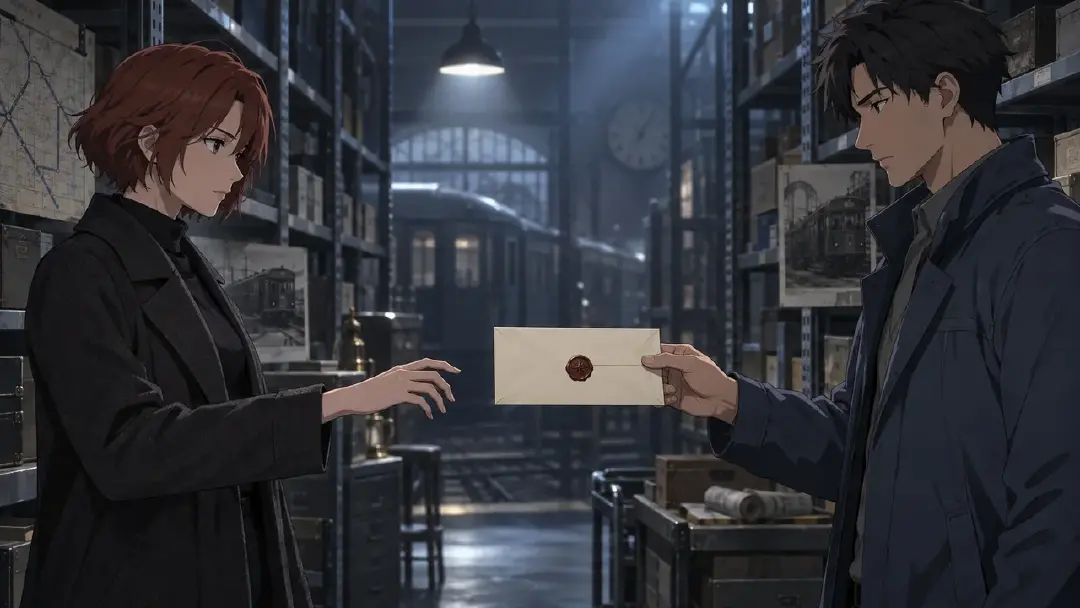
Create and Bind the fictional assets SableOrin, FenKassi, EvidenceEnvelope and the scene TransitArchive before selecting them through @. The following images illustrate the intended contact states; they are not tested video results.
Shot 1 — The Offer establishes who is giving, how the prop is oriented, and that the receiver's hand has not yet closed.
Medium locked view of @SableOrin at frame left and @FenKassi at frame right in @TransitArchive. @SableOrin extends @EvidenceEnvelope toward Fen with her right hand gripping its left short edge, thumb on the blank front and fingers behind. The small seal and front face remain visible to the camera. Fen’s left hand stays still near his body, without contact. Cold overhead light makes the free edge readable. One offering action only, no receiver reach, release, camera move, or cut.
Shot 2 — The Grasp shows shared contact, the moment of maximum ambiguity. Describe both support points, then inspect the output for merged fingers or an unsupported object.
Locked close view from the same side of @TransitArchive, showing @EvidenceEnvelope between @SableOrin on frame left and @FenKassi on frame right. @FenKassi closes his left hand around the free right short edge, thumb on the front and fingers behind. Sable’s right hand keeps its existing grip at the left short edge. Keep visible paper between the palms and the seal facing camera. One grasp only; no envelope tilt, giver release, other hand entering, camera move, or cut.
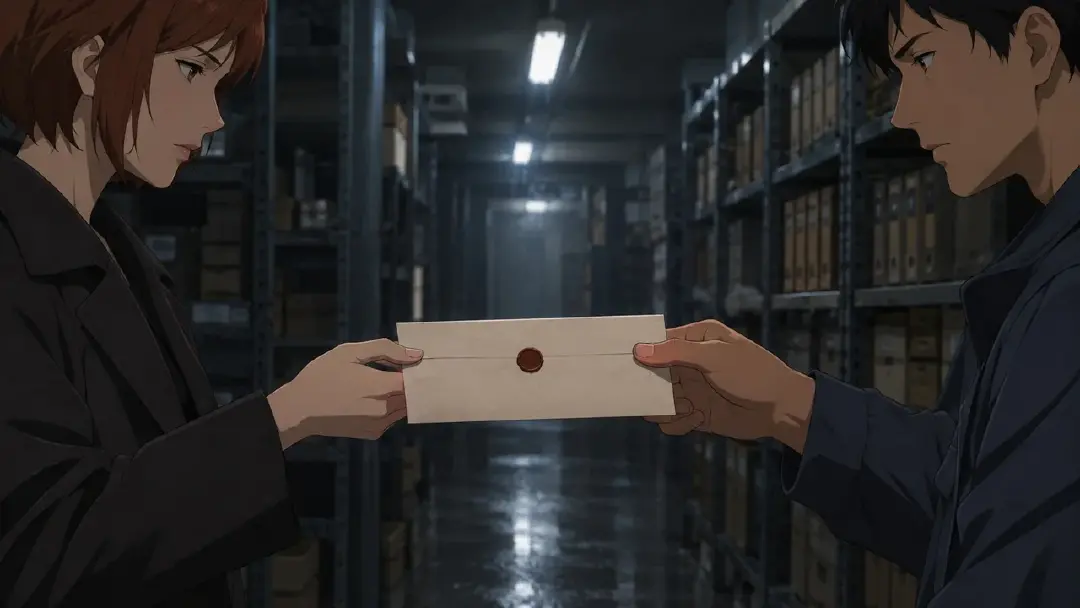
Shot 3 — The Release completes the transaction. Sable's hand must be visibly clear of the object.
Medium locked view in @TransitArchive, with @SableOrin frame left and @FenKassi frame right. @SableOrin withdraws her right hand toward frame left from @EvidenceEnvelope. Fen’s left hand already supports the envelope at its right short edge and keeps it still at the established height. Preserve the blank front and seal facing camera. End with a clearly visible gap between Sable’s hand and the paper. Cold overhead light stays unchanged. One withdrawal only, no lifting, pocketing, gaze shift, or camera move.
Review Each Still Before Generating Video
Generate a still image for each shot card before requesting video. This lets you inspect the contact states before requesting their motion.
For the offer shot: giver's grip is at the stated edge, receiver's hand is visible but not touching, camera side matches your anchor.
For the grasp shot: both hands are visible and distinguishable, neither merges into the prop, prop orientation matches the offer shot.
For the release shot: giver's hand is clearly away from the prop, receiver holds it in the correct hand at the stated position, prop silhouette matches across all three stills.
If a still fails, keep the approved character, camera, and setting and rewrite only the hand description that is wrong:
- Merged hands at grasp: Separate the support points: Sable at the envelope’s left short edge, Fen at its right short edge, with visible paper between their palms.
- Giver still touching prop in release: Specify Sable’s right hand withdrawing to frame left while Fen keeps the envelope still; the ending needs a visible gap.
- Prop orientation flipped: Keep the same camera side and explicitly name the visible face and seal position. Camera position alone does not define object orientation.
Once all three stills look right, open AI Chat Panel and send: Generate videos for Shots 1, 2, and 3. Review the video at the contact frame in Shot 2 and the release frame in Shot 3 — those two moments carry the most failure risk in motion. If the grasp shot creates a merge that the still did not, try switching to a medium shot for that card and restating the hand positions with the wider framing.
Next Step
Once the three-shot sequence is approved, bring the clips into Edit and lay them on the timeline in order. Check continuity at both cuts: do not remove the moment Fen establishes support or repeat the grasp twice. Trim only redundant motion. Keep enough of the release to show a clear gap between Sable’s hand and the envelope.
For asset creation and binding steps in more detail, Designing a Prop From Three Angles covers the full workflow. For hand anatomy failures unrelated to the handoff sequence, When the Hands Come Out Wrong has targeted repair patterns.
Open your ArcLoop project, create the prop asset, and write the offer shot card first. Once that still reads clearly, the grasp and release are one card each.
FAQ
Can I do a handoff in a single shot? Try one continuous handoff with clear starting and ending ownership if its contact remains readable. Inspect where the receiver gains support and the giver releases. If either moment fails repeatedly, split the transfer rather than adding more actions to the same description.
What if the prop orientation flips between shots? Check both camera side and which face of the prop should remain visible. Restore those two conditions in the failing description, then compare its still with the neighboring shots before generating another video.
Does the prop asset need a separate reference image for every shot? No. One clear front-view Main image is usually enough. Add a Reference image only if a specific face of the prop — an open flap, a reverse label — needs to appear in a particular shot.
How many reference images should I bind to a character asset for a handoff scene? Choose references that clearly show the appearance and angle this scene needs. A clean upper-body view may help for the framing used here. Add another image only for a missing useful view; do not rely on an arbitrary count.