Introduction
You have watched enough vertical dramas to know the shape — a discovery, a confrontation, a cliffhanger, sixty seconds — and you have an idea of your own. What you do not have is a 3D pipeline, an editor, or a week. You have an idea and an afternoon.
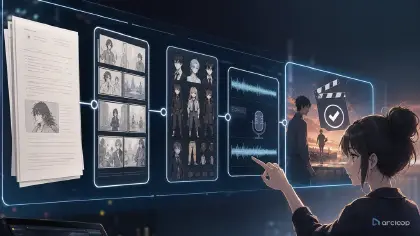
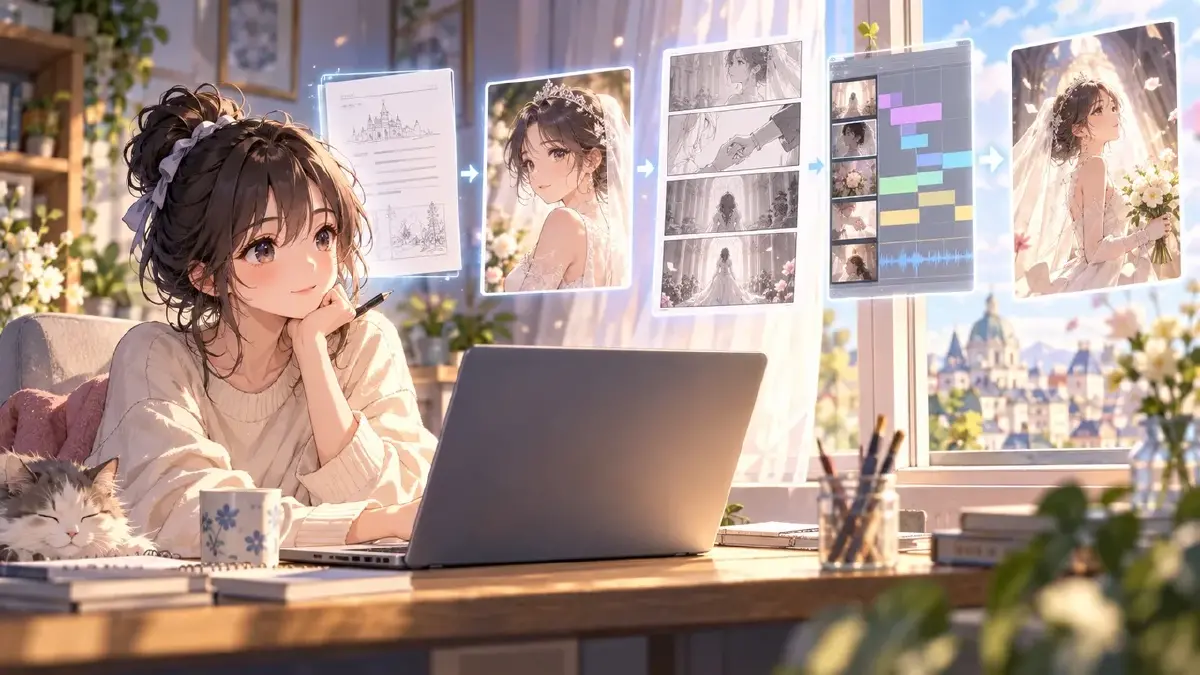
That is enough. This guide shows how to make an AI short drama in ArcLoop from a one-line idea to a published episode, screen by screen: what to type first, which settings decide the format, where the outline gets edited, how the cast becomes assets so the faces hold, how shots get generated and reviewed, and how the episode gets cut, voiced, captioned, and exported. Nothing here needs a prompt-engineering background; it needs a story with a problem in it.
Before you start: what the idea needs
One sentence with three things:
- A character with a want — the bride, the transfer student, the night courier.
- A discovery or a clock — the key card, the contract mark, the divorce papers.
- A format line — "vertical short drama, 60–90 seconds per episode."
"A bride finds a hotel key card in the groom's jacket an hour before the wedding. Vertical short drama, 12 episodes." That is the whole input. Everything else the Agent drafts and you edit.
Step 1: Start the project from the idea
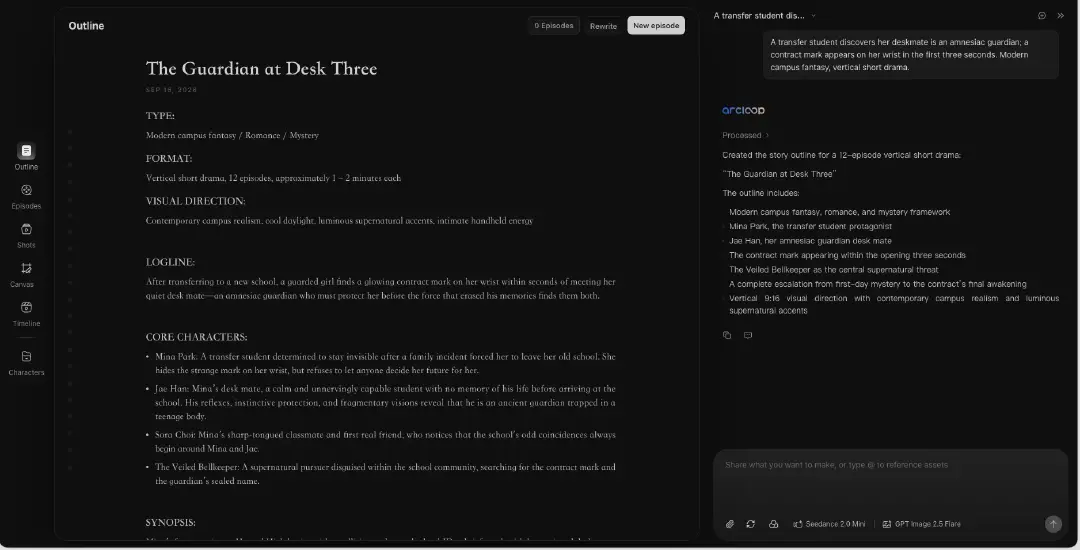
Open ArcLoop, start a new project, paste the sentence into the input box, and send. You do not need to write a prompt; the Agent uses the idea to draft the Story Outline, the cast, and the first episode. You will change all of it, so do not polish the input.
Step 2: Set Story Settings — this decides the format
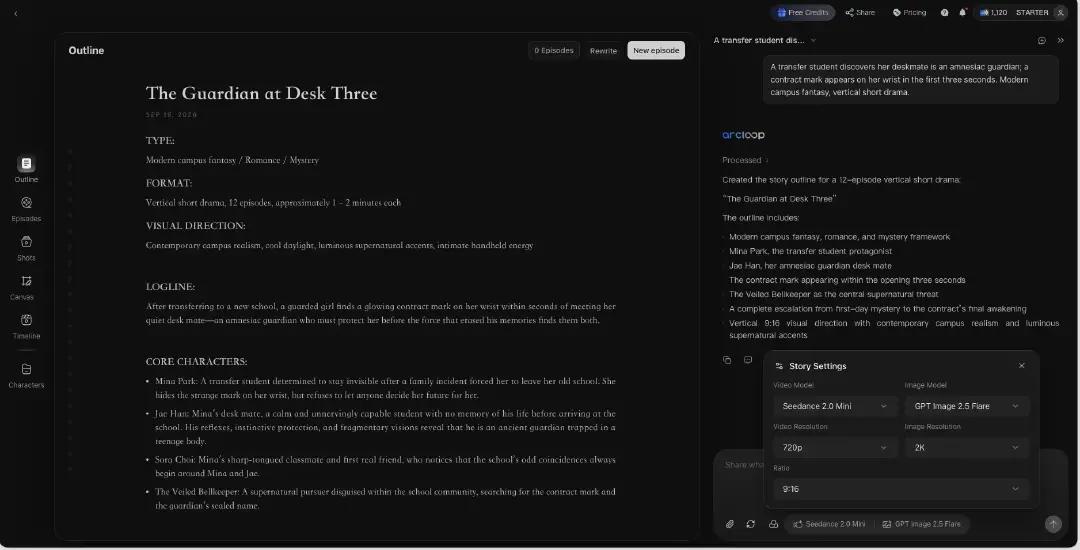
Open Story Settings from the model chips under the chat box and set:
- Ratio: 9:16. This is what makes every frame a phone frame. Set it now; cropping later loses the second character.
- Video model and image model. The defaults are fine for a first episode; the choice matters more for cost than for look.
- Resolutions. 720p video is enough to learn on and cheaper to iterate.
Step 3: Edit the outline to short-drama pacing
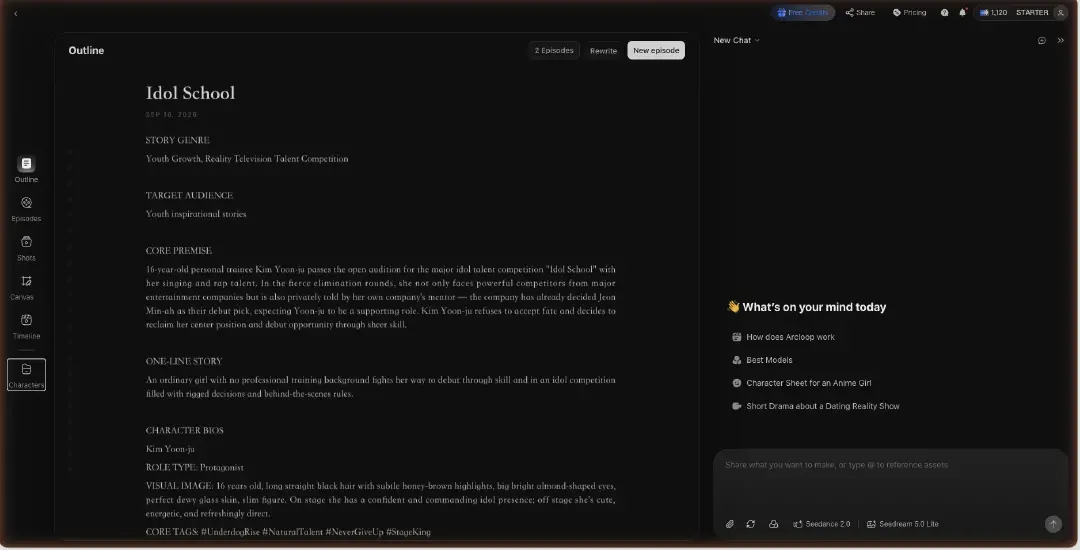
The Agent returns a Story Outline: type, format, visual direction, logline, core characters, synopsis. Read it for one thing — does episode 1 open on the discovery? If not, double-click the block and move it, or ask the Agent in the chat panel: "Put the key card in the first three seconds of episode 1." Cut any character who does not have a job in the season. Fix pacing here, once, not across twelve episodes later.
Step 4: Build the cast as character assets
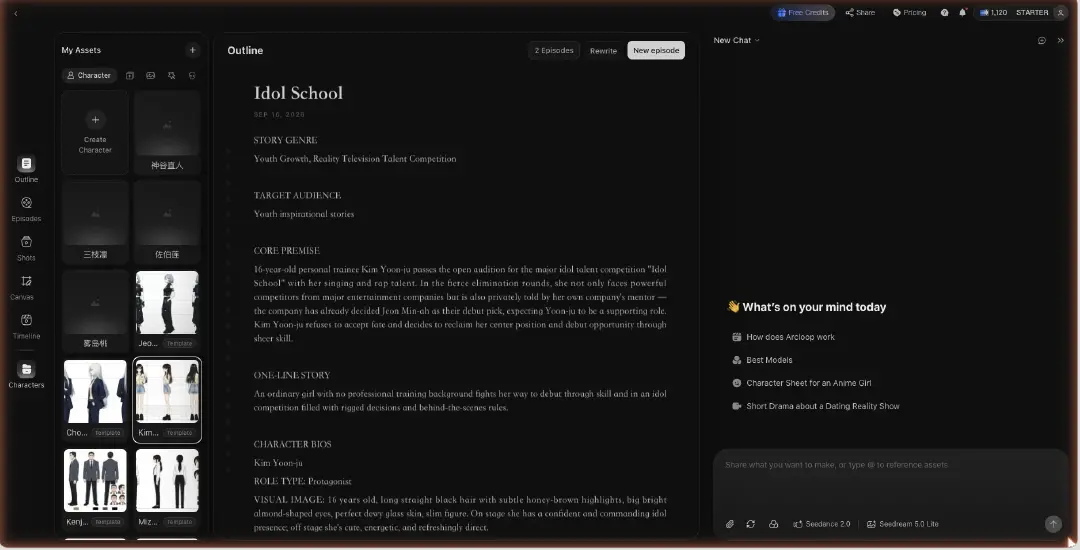
Open Characters. Every named character becomes a character asset with a Main image and, if she changes outfit, extra Reference images bound to the same asset. This is what keeps the face the same in shot 1 and shot 40: the shots will say @Bride and pull the asset, instead of describing her every time and getting a new face.
Generate the Main image from the outline's character bio, pick the version you like, bind it. Add a three-quarter view as a reference. Done for the lead; repeat for the opposition and the one supporting character who matters.
Step 5: Break the episode into shots
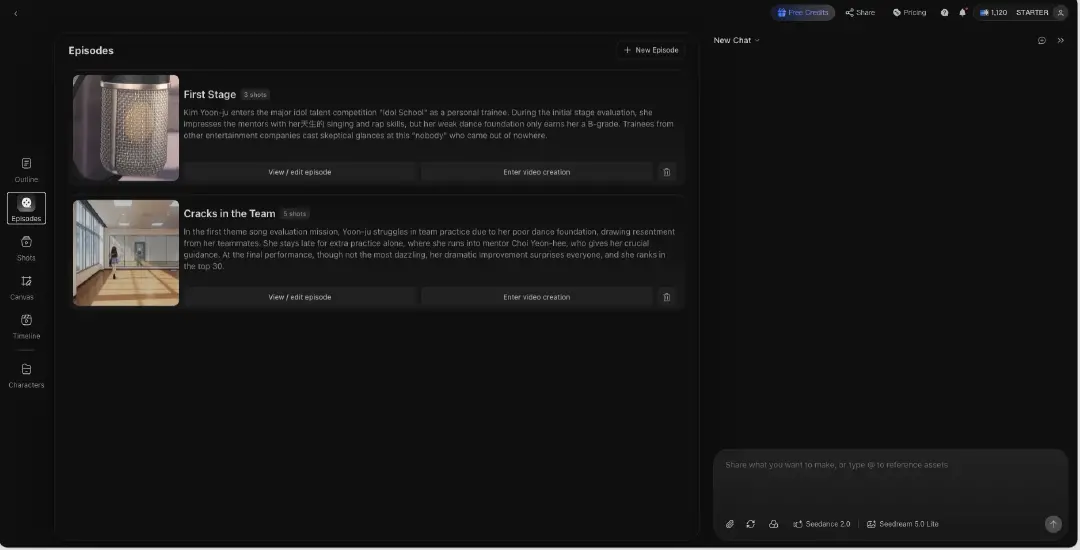
Open Episodes; episode 1 is there from the outline. Open it and click Generate Shots. ArcLoop splits it into shot cards, each with a description, a video prompt, and the characters referenced. Walk the cards and make each one do one thing: one action, one camera, the line that is spoken. Delete shots that only move someone across a room. A 60-second episode is usually 8–12 shots.
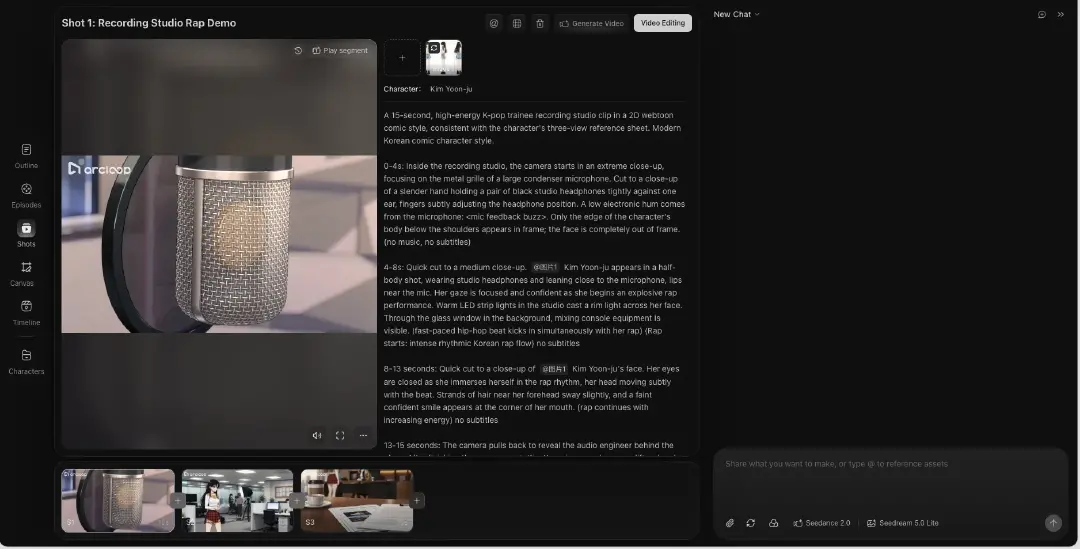
Step 6: Generate stills first, then video
Generate the image for every shot before any video. Read the stills in order like a comic: is the bride's face the same in all of them, is the key card visible in shot 1, is the camera where the card says? Fix the cards that are wrong and regenerate those stills. Only then generate video, for the cards that passed. This is the single habit that saves the most credits.
Step 7: Cut, voice, and caption in Edit
Open Timeline. The clips are on it in order. Trim each to its action, run Generate Voiceover for the lines (the voice is set on the character asset), add BGM under it, and put captions on every spoken line on the Captions tab — most viewers watch muted. Check the last shot ends on the question, not the answer.
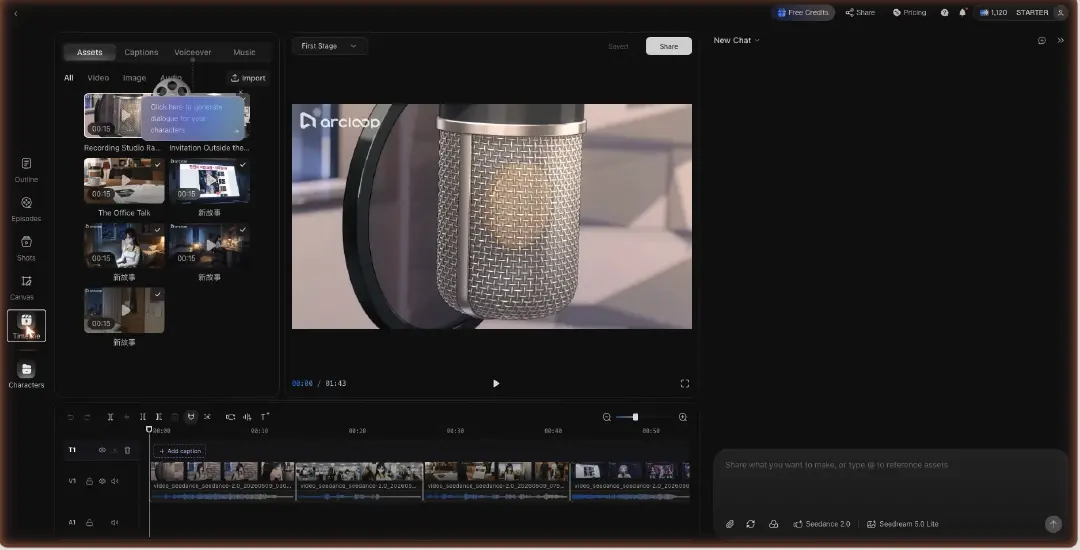
Step 8: Export and publish
Export the episode 9:16, and cut two Reels from it while it is fresh — the confrontation and the cliffhanger — following the Reels guide. Publish the episode where the series lives and the Reels where the audience is.
Example 1: The idea that goes in
A bride finds a hotel key card in the groom's jacket pocket an hour before the wedding — the room number is the one her sister checked into last night. She does not make a scene; she smiles and starts collecting evidence. Vertical short drama, 12 episodes, 60–90 seconds each, each episode ends on a new piece of proof. Lead: the bride, controlled. Opposition: the groom, warm and evasive.
Example 2: The first shot card after editing
EP1 Shot 1 — Close-up, 9:16, static camera at hand height. @Bride's hand slides a hotel key card out of @Groom's jacket pocket in the dressing room; the room number faces camera for one beat. No dialogue. Warm afternoon light from the window on the left, the wedding dress out of focus behind. Ends on her fingers closing around the card. This is the first frame of the series — the problem must be visible before anything else.
Example 3: The last shot card, the cliffhanger
EP1 Shot 10 — Medium shot, 9:16, camera static at eye level in the corridor outside the ceremony. @Bride, veil down, turns as @Sister arrives behind her in the mirror; Sister is holding the same key card. Line (Sister, smiling): "You look perfect." Bride smiles back. Hold two beats on the two smiles, cut to black. Captions on the line. Same light as Shot 1's corridor.
The mistakes that cost credits on a first episode
- Generating video before stills. Ten clips with the wrong face. Stills first, always.
- Describing the character in every shot. New face each time. Build the asset, reference it with
@. - 16:9 by default. A vertical drama cropped from landscape loses half the frame. Set 9:16 in Story Settings before anything generates.
- Opening on the walk-in. Four seconds of hallway. Open on the discovery.
- No captions. Muted autoplay, silent argument, scroll.
- Twenty shots for sixty seconds. Three-second clips that never land. Eight to twelve.
FAQ
How long does the first episode take? An afternoon for the first one, most of it in editing the outline and reviewing stills. The second is faster because the cast already exists.
Do I need to write prompts? No. You paste an idea, edit an outline, and adjust shot cards in plain sentences. The assets and references do the work prompts used to do.
Can I make it in my language? Yes; the story language is set in the project and the lines are generated in it. Keep the character assets the same across languages.
What if the character's face changes between shots? The shot is describing the face instead of referencing the asset, or the asset has no references. Fix the asset, regenerate the still.
Next step
Write the one sentence — character, discovery, format — and paste it into a new project in ArcLoop. Set 9:16 before you do anything else, edit the outline until episode 1 opens on the discovery, and stop after the stills of the first episode to read them as a comic. If the story reads in stills, the rest is generation and a cut.