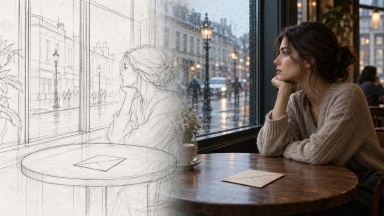
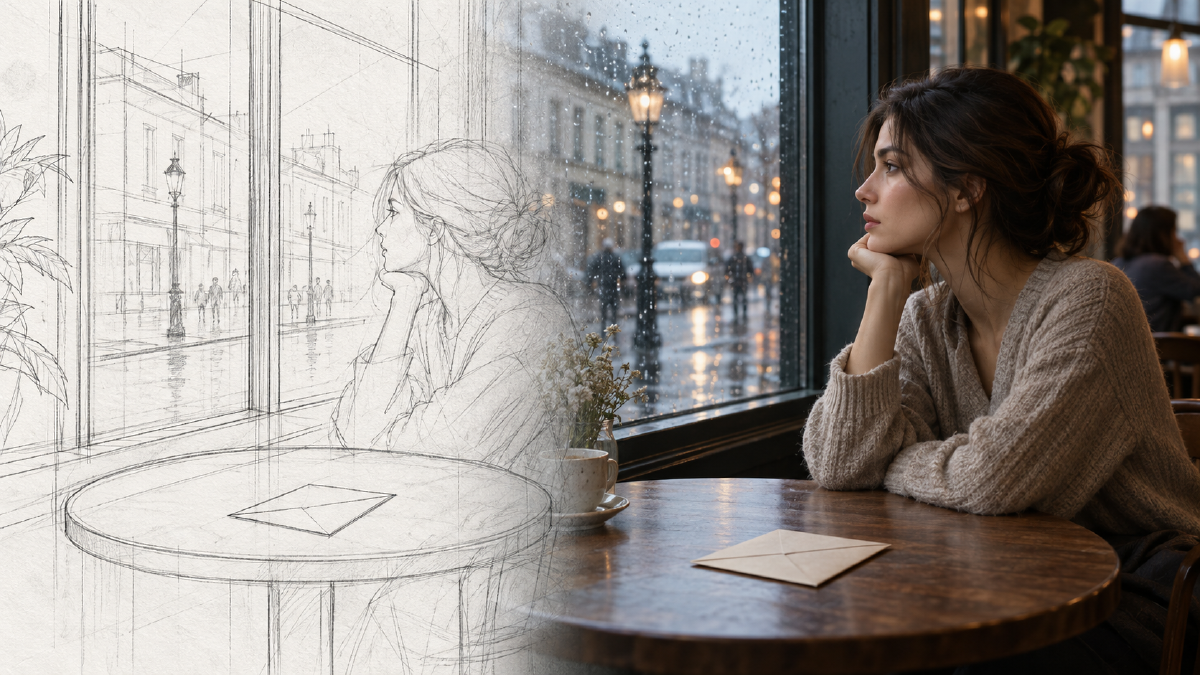
GPT Image 2.5 concept: turning sketch intent into a complete image A sketch is a compact description of spatial relationships. Lock people, objects, and camera placement first; let GPT Image 2.5 complete materials, light, and atmosphere afterward.
“Move the person right, make the window smaller, keep the table in front” is often clearer in five pencil strokes than in a long paragraph. The sketch controls position and proportion; the Prompt controls material, lighting, character, and style. Clear roles make the output easier to review.
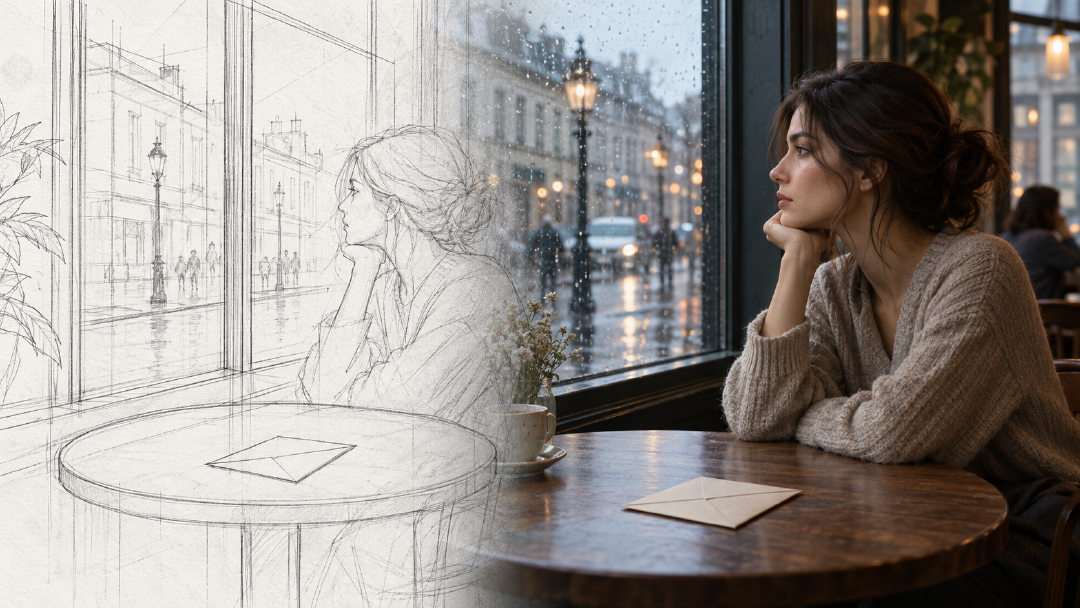
A sketch only needs to answer four questions
Who is the subject? Where are they? How do foreground and background relate? Where must the image stay open? Rectangles for windows, a circle for the table, and a simple figure are enough.
Our original café scene places an adult woman beside a window with one envelope on the table. After reading the signature, she looks up. The first sketch contains only the window, person, table, and envelope.
Arcloop can use a sketch as a reference. Upload a paper sketch or a marked layout from Canvas. When using multiple references, state that the character sheet controls identity and the sketch controls layout.
Use the attached image for spatial relationships and create a dramatic café shot.
Place a large window on the left, one adult woman on the right, and a round table in the lower middle.
Put one pale-beige envelope at the center of the table; preserve the positions from the sketch.
Use a modern small café, soft overcast window light after rain, realistic cinematic style, eye-level medium shot.
Arrows and notes in the sketch explain placement and must not appear in the final image.
Do not reverse the left-right relationship or add a second lead character.
Confirm layout before adding detail
In the first result, check whether the window changed sides, the envelope became a stack, or the character is blocked. If layout fails, fix the reference and instruction first. More texture and color cannot repair an incorrect spatial relationship.
A sketch cannot carry a complete face identity. Keep the character reference attached for continuity, and assign each input a single role.
Split one event into nine shots
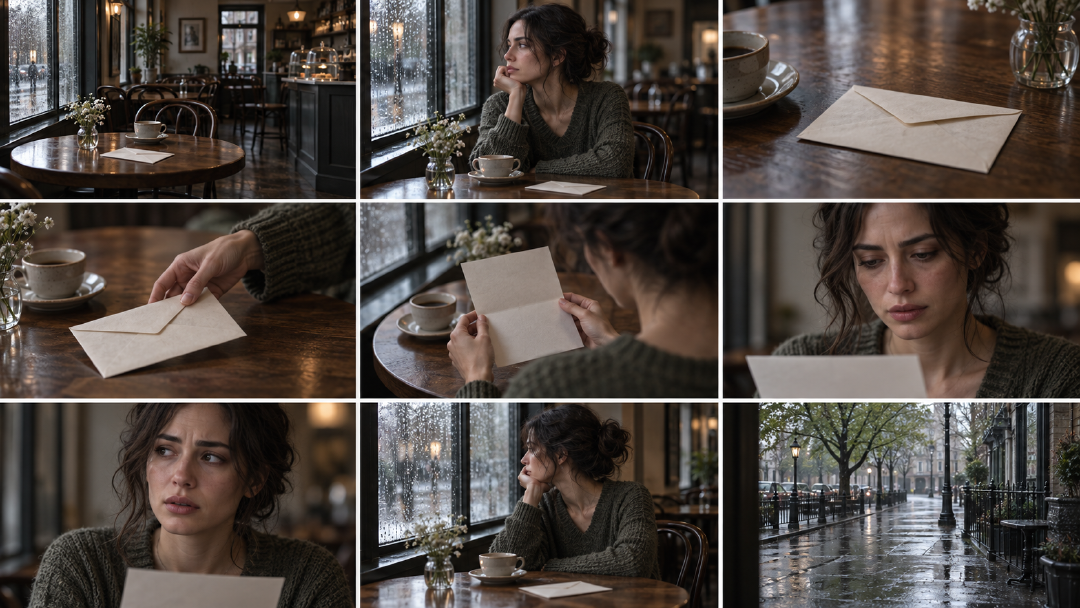
Arcloop includes a 3×3 continuous-story workflow. Nine cells should show story progression rather than nine filters applied to one frame. Write the shot table first and keep character, room, time, and key light consistent.
| Cells | Story job | Visual change |
|---|---|---|
| 1–3 | Establish place, person, and envelope | Wide, medium, tabletop close-up |
| 4–6 | Discover, pick up, read | Hand, over-shoulder, face close-up |
| 7–9 | React, look up, leave suspense | Expression, eyeline, empty exterior |
Create one 3×3 continuous-story storyboard on a wide 16:9 canvas.
All shots take place in the same small café after rain and use the attached character master and spatial sketch.
Read left to right, top to bottom; use nine equal cells with clear, even gutters.
Row 1: café establishing shot; woman by the window in a medium shot; envelope close-up.
Row 2: hand picks up the envelope; over-shoulder reading; face close-up.
Row 3: hesitant expression; woman looks out the window; empty wet street outside.
Preserve character identity, costume, window position, and key-light direction.
The envelope and letter need no readable writing. Add no subtitles, speech bubbles, or panel numbers.
Select and rebuild individual cells
Choose 3×3 in Canvas “Split image” to extract the cells. Splitting only follows pixel boundaries; it does not repair content or increase detail. Residual gutters may require a small crop.
Use the grid for planning. Recreate approved cells individually for final resolution rather than treating a tiny face close-up as delivery art. Place selected frames back into the story project and add only motion and camera instructions for the next video stage.
Delivery standard
Deliver one layout sketch, one 3×3 sheet, and the approved individual frames. Check left-right relationships, costume, envelope design, and light direction. If the screen direction jumps, revise the shot plan before polishing.
This workflow supports drama, product demonstrations, and advertising preproduction. For loops and pose sequences, continue with sprite sheets and frame splitting.