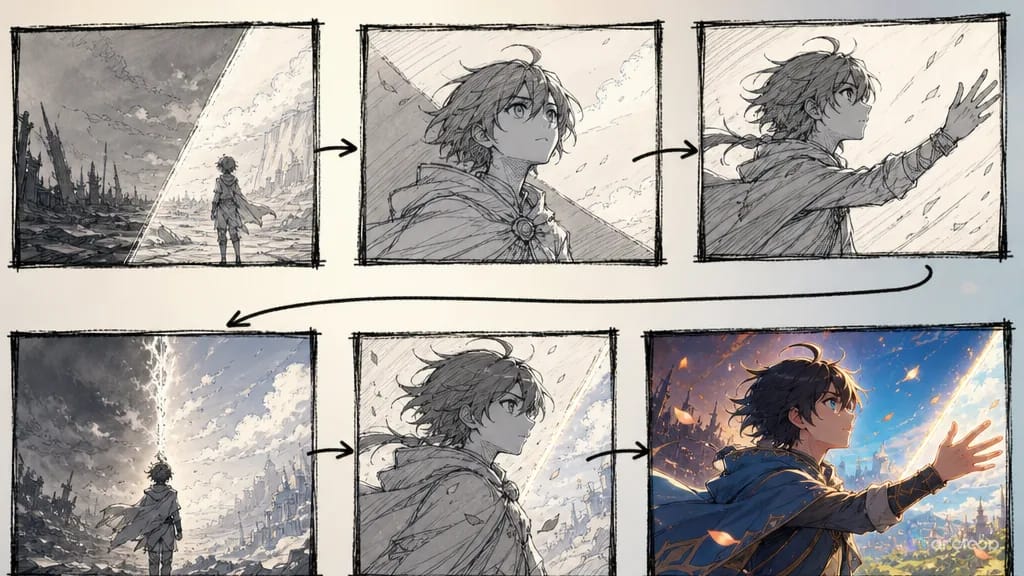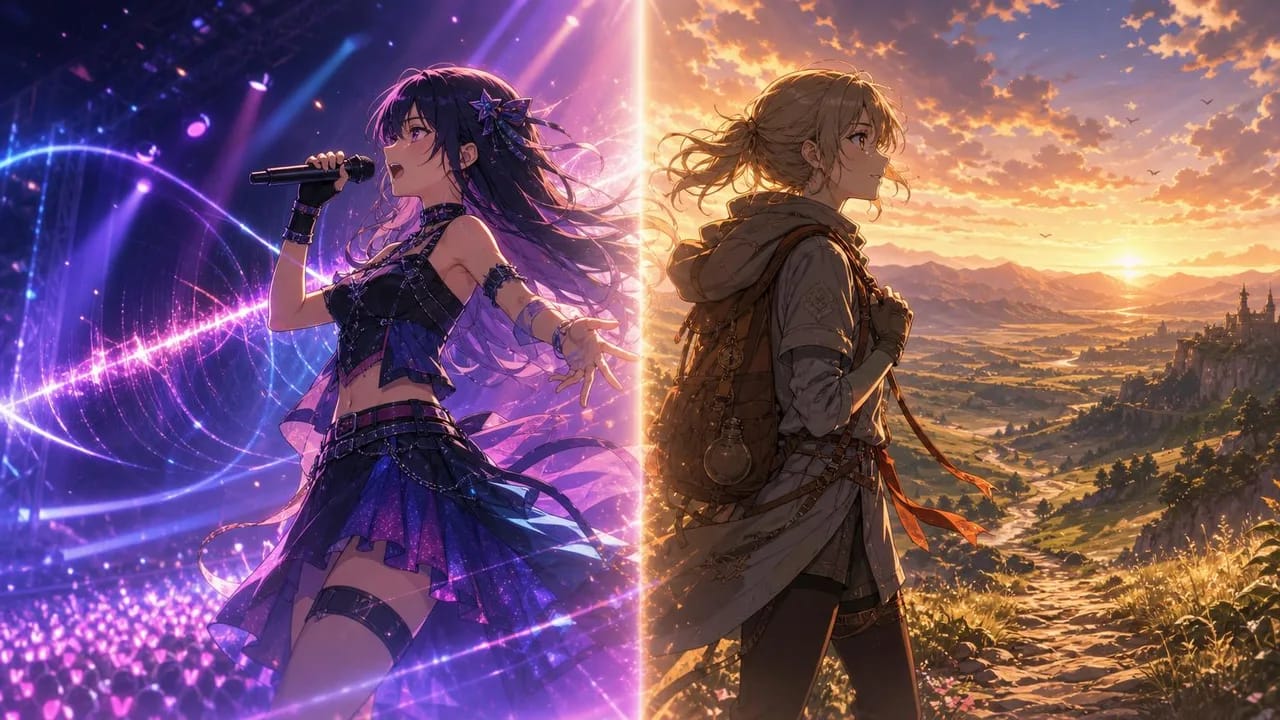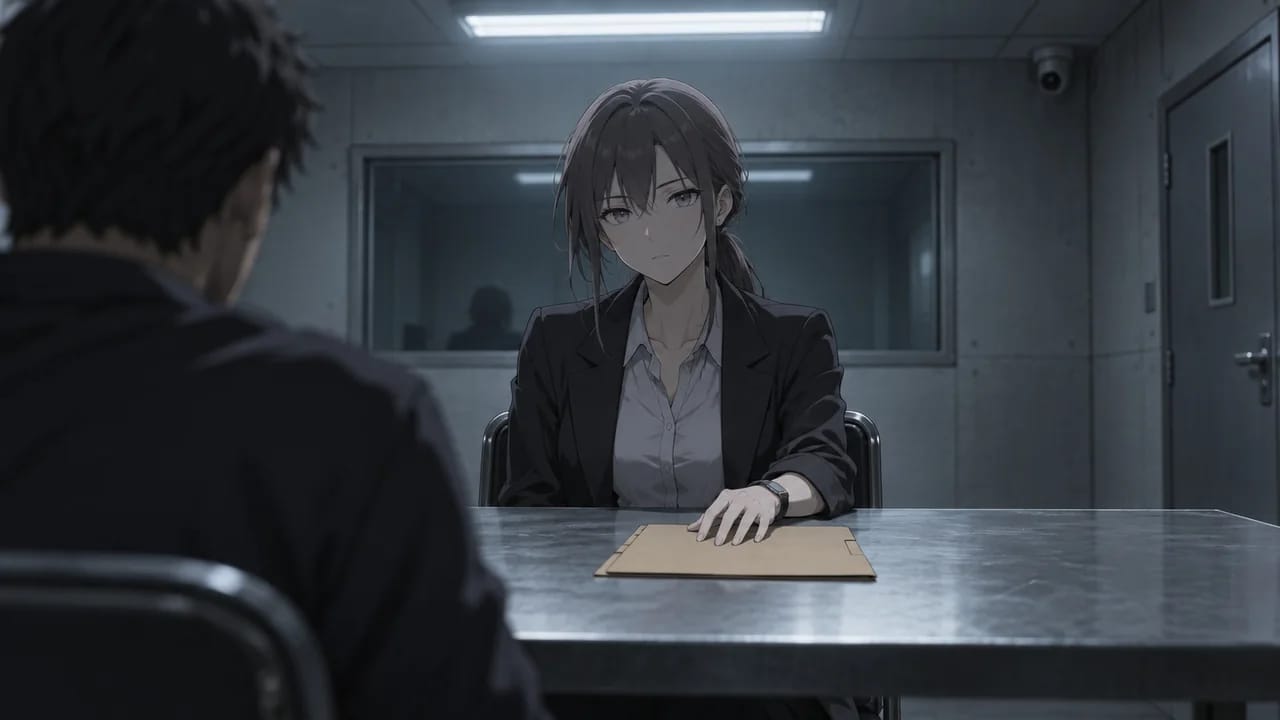
An anime prompt should describe the drawing style and how the scene moves. Specify the line weight, shading, and palette, then describe what happens in plain language — which parts of the body move, and how the action ends.
MiniMax H3 accepts images, video, and audio alongside text. For a consistent 2D look, choose references that show the style you want and describe the linework and shading clearly. If a result looks too photographic, review both the references and the visual instructions.
This guide covers which mode to use, how to prepare references, four prompt examples, and how to diagnose the two failures anime creators hit most: right drawing style with wrong motion, and a face that drifts from shot to shot.
Start with a short scene you can review quickly — a character turning toward someone, a hand reaching for a letter, a quiet reaction after a line of dialogue. Once the face, the drawing style, and the movement hold together, reuse the same references and the same visual direction for the next shot.
Choose text-to-video, image-to-video, or reference-to-video
Your starting material decides the mode. Check which options your MiniMax H3 generator offers before you write anything.
| Your starting point | Mode to consider | What to prepare |
|---|---|---|
| An idea for a new scene or visual style | Text-to-video | A description of the character, setting, drawing style, and action |
| A finished illustration with the composition you want | Image-to-video | The opening image and a description of how the scene moves |
| A transition with a specific beginning and ending | First-and-last-frame generation | Two finished scene images with compatible framing |
| An original character appearing in a new scene | Reference-to-video, also called Ref2VA | Character references and a description of the new shot |
These modes solve different problems, and mixing them up is a common cause of bad anime output. A character sheet is an identity reference: it tells the model who the character is. A scene illustration is a composition reference: it tells the model what the first frame looks like. Drop a multi-view sheet into the first-frame slot and the sheet's own layout tends to come with it, panels and all.
Mode names and supported inputs vary by provider, and some interfaces offer extra combinations. Confirm how each uploaded image will be used before you generate.
Describe the 2D look and the movement separately
"Anime style" leaves many visual choices open. Specify the details that matter to your scene:
- Linework: clean dark outlines, fine pencil lines, or rough ink strokes.
- Shading: flat cel shading, two-tone shadows, or softly painted shadows.
- Color: a limited pastel palette, muted evening colors, or bright saturated colors.
- Lighting: a hard-edged shadow across the face, warm side light, or an evenly lit interior.
A phrase like "2D cel animation, consistent dark outlines, flat colors, hard-edged shadows" gives the model more to work with than a string of quality adjectives. Terms such as "volumetric god rays" and "shallow depth of field" can introduce a photographic look. For flat cel shading, describe the light direction and shadow edges.
Describe the movement in plain language: what the character does, which parts move, and how the action ends. For a single continuous shot, that is usually enough — H3 reads the pacing from the description. Timestamped action lines add little here and may be followed unevenly; they are more useful when you are ordering several distinct beats or staging a cut, where the sequence itself is the information.
Check the still and the clip as two separate reviews. A still shows the face, the linework, and the shading. Playback shows timing, motion you did not ask for, and how the drawing changes between frames. Review the still before generating video, then check that the style holds during movement.
Prepare references for character consistency
Start with the smallest set that can do the job. A clear portrait and a full-body view are a useful starting point for a first test. Add a side or back view once an action reveals details those two images cannot cover.
Give every reference a specific role:
| Reference | Details it should guide |
|---|---|
| Character portrait | Facial proportions, hairstyle, and distinctive features |
| Full-body or turnaround image | Body proportions, outfit, footwear, and accessories |
| Style image | Linework, shading, and color treatment |
| Environment image | Location, layout, and recurring objects |
| Motion clip | A particular movement or camera behavior |
Pick images that agree with each other. If one view has a different collar or a different hairstyle, resolve the difference before you generate, since conflicting designs can produce inconsistent details. For an asymmetrical accessory, name the character's own left or right.
A large reference sheet is useful for reviewing a design. Its effectiveness as a generation input depends on the shot and workflow. Keep clean crops of the face and the relevant body view alongside it, and compare the full sheet against those crops when small details go missing.
The official H3 Ref2VA specification allows up to nine images, three video clips, and three audio clips, with 12 files maximum across all types. The combined total must stay within that limit. Video and audio each have a combined duration limit of 15 seconds, and individual clips must run 2–15 seconds. Audio references also require an image or video input. Your provider may apply additional restrictions.
Add references one at a time and check whether each new one improves the result. Redundant or conflicting references use up the available slots and can reduce consistency.
How the prompt and the references divide the work
Use the references to establish the character's design. Keep written appearance details consistent with those images and repeat distinctive features when they help clarify the shot.
The text-to-video example below describes the character because there are no images to establish her appearance. The reference-to-video example assigns that role to the uploaded images. In both cases, check that the text agrees with the intended design.
What belongs in the prompt when references are doing the identity work: the shot size, the action, the camera, the light, the sound, and short reminders for a detail that keeps getting missed — a hairpin on the character's left side, a sleeve that should stay rolled.
MiniMax H3 anime prompt examples
The prompts below stay in English for direct copying. The classroom A/B prompts are the original submitted text; the other prompts are illustrative examples.
A working anime prompt covers six things: the subject or reference, the drawing style, the framing, the action sequence, the lighting, and the sound.
Replace the reference labels below with the labels or asset mentions your interface uses. In ArcLoop, pick a saved asset through the @ reference picker.
Text-to-video: a quiet anime scene
Use this to find a look before you commit to a recurring character. With no references, the appearance description is doing all the work.
A five-second 2D anime scene with flat cel shading, clean dark outlines,
and muted blue and amber colors. Medium shot of a young woman with short
black hair and a teal jacket at a school rooftop railing. She looks toward
the stairs, pauses, and gives a small smile. Static camera. Warm side light
creates a clear shadow across her jacket. Distant traffic and a brief gust
of wind. No dialogue or music.
If you want to reuse this character, prepare approved reference images before building further scenes to help reduce variation between shots.
Reference-to-video: the same character in a new shot
Upload a portrait and a full-body reference, then assign their roles in the prompt. Notice that the appearance description is gone.
Image 1 defines Rin's face and hairstyle. Image 2 defines her body
proportions and teal school uniform. Keep these details consistent.

Five-second medium shot of Rin standing beside a classroom window.
2D cel animation with the linework and shading shown in Image 1.
She hears someone at the door, turns her head, and pauses with an attentive
expression. Her body stays in place. Static camera, soft afternoon light.
Sound: quiet classroom ambience and one door knock. No music.
Reuse the reference descriptions across related shots. Adjust the action, framing, and light while keeping the character details consistent.
Image-to-video: a simple anime head turn
We used this original classroom illustration as the first frame for a five-second MiniMax H3 anime shot.
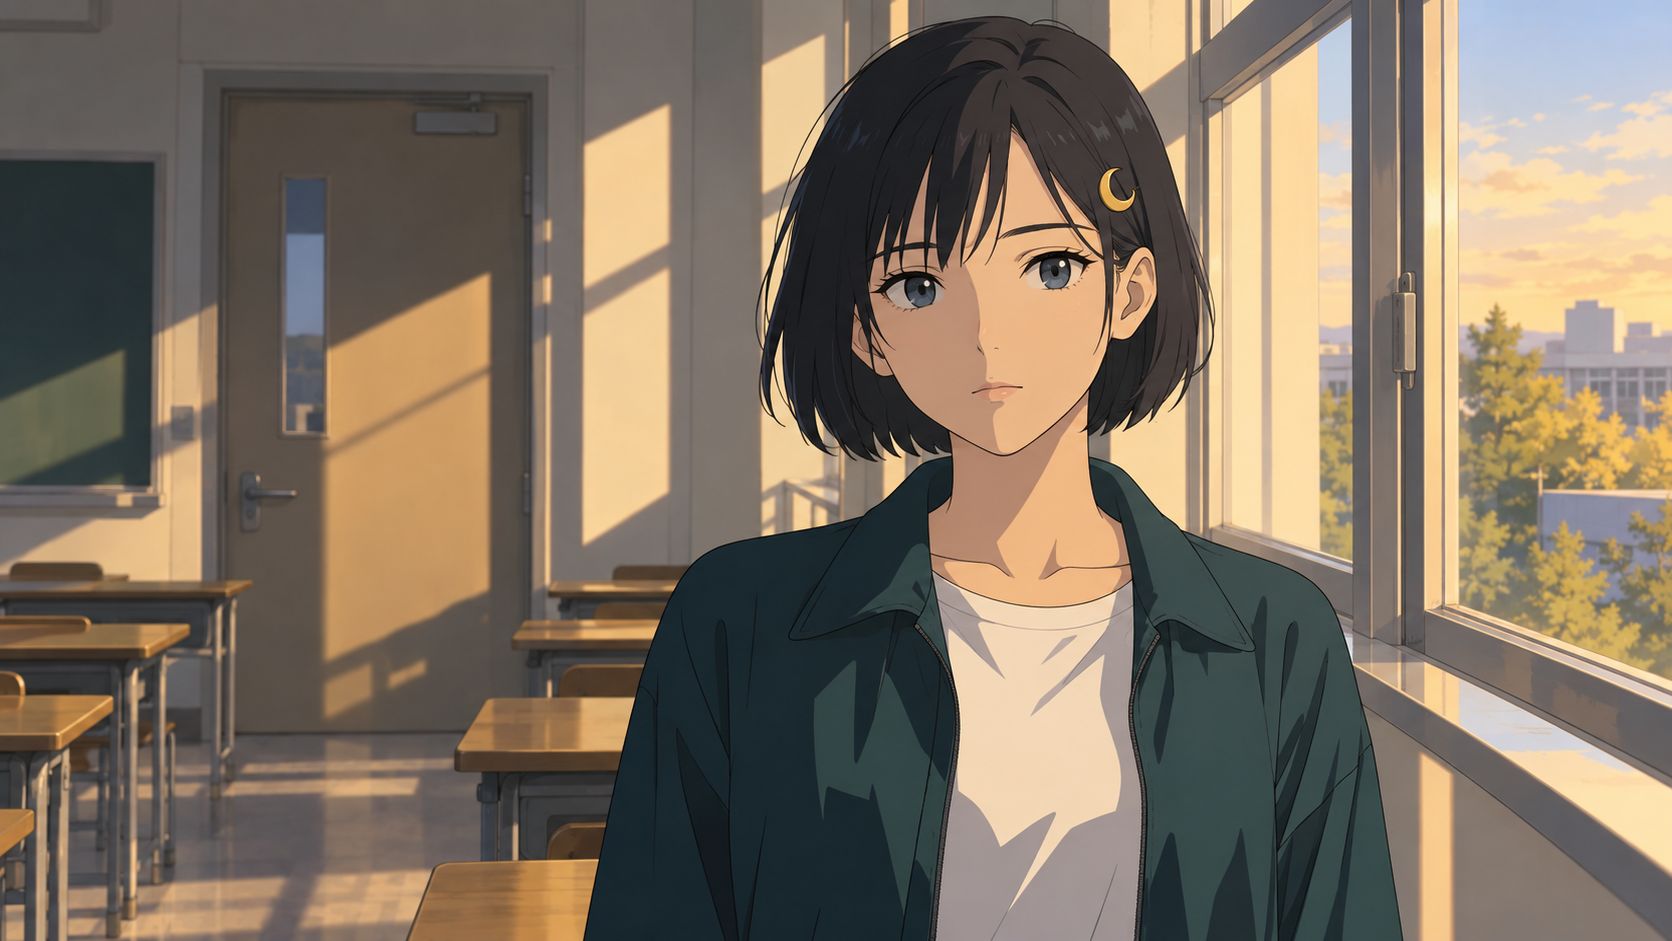
A — natural-language prompt:
Animate the supplied classroom illustration as a five-second 2D anime shot.
Preserve the character design, clean dark outlines, flat cel shading,
and afternoon lighting shown in the image.

Rin turns her head toward the doorway and stops with an attentive
expression. Keep her shoulders in place. Allow a small amount of movement
in the loose strands of her hair.

Static medium shot. Quiet classroom ambience. No dialogue or music.
B — the same shot with timestamped beats. The opening style instructions and the closing camera and sound instructions are unchanged; only the action paragraph differs:
Animate the supplied classroom illustration as a five-second 2D anime shot.
Preserve the character design, clean dark outlines, flat cel shading,
and afternoon lighting shown in the image.

0-2 seconds: Rin holds her starting pose.
2-4 seconds: She turns her head toward the doorway, keeping her shoulders
in place. The loose strands of her hair follow the turn.
4-5 seconds: She holds an attentive expression as her hair settles.

Static medium shot. Quiet classroom ambience. No dialogue or music.
Both clips retain the cel-shaded look, warm window light, and visible hair movement through the turn. A's natural-language description produces a usable single shot. B has already turned at the 1.5-second sample, before its requested two-second hold ends. Shoulder movement is also visible in B, despite the instruction to keep the shoulders in place.
For a single shot, describe the look, the action, and the camera, then check the result. The timestamps restated an order the plain description already implied, and the model did not follow them more closely. Where timing genuinely carries information — several beats in one clip, or a cut between shots — write the sequence out and review the returned clip for early movement and unwanted body rotation. This is the third of three runs per prompt; timing varied across the set.
Dialogue: a short reaction
Use the supplied character portrait for Rin's identity. Five-second
close-up in 2D anime style, with flat shading and consistent dark outlines.
She looks toward the person just off camera, takes a small breath, and says
quietly, "You came back." After the line, she lowers her eyes and pauses.
Static camera. Evening light from the window. Clear dialogue, faint cicadas
outside, no music, and no additional speech.
H3 can generate picture and sound together, including dialogue and room tone. Listen for the exact wording and check the mouth movement. For dialogue across several clips, reuse the same voice reference where the interface supports it, and compare the voice between generations rather than assuming it carried over.
Use the same character across multiple anime shots
Run a short test sequence before you commit to a whole scene:
- Approve the reference images. Check the face, the outfit, a side view, and any accessory that will appear on camera.
- Pick three angles that fail differently. A medium shot, a profile, and a close-up each expose a different consistency problem.
- Reuse the same design references and style description. Change only the action, framing, and lighting.
- Review the results together. Compare facial proportions, hair silhouette, clothing, and color, then check whether the movement feels like one performance.
- Fix the one thing that failed. If the profile is wrong, improve the side reference or simplify the turn — then regenerate that shot alone.
In ArcLoop, keep approved character images in My Assets and select them for related shots, and check what is attached to each generation before submitting. For new character art, the AI anime generator is a reasonable place to develop the look.
Short, separate shots let you regenerate a failed shot without rebuilding the whole scene. For a continuous conversation, test a single longer generation as well — splitting a conversation across clips can shift the voice or the delivery between them. Pick whichever gives you usable footage with a review workload you can sustain. The same discipline that keeps faces stable across shots applies here unchanged.
Fix common problems in MiniMax H3 anime videos
| Problem | What to check | What to try next |
|---|---|---|
| The image looks like a 3D render | The reference's shading, and any photographic lighting terms in the prompt | Use a clearly 2D reference; describe flat color areas and hard shadow edges instead of volumetric light |
| The drawing looks right, but the movement feels too smooth | How much moves at once, and whether the action has pauses | Hold the camera still, cut secondary movement, add a brief hold |
| The face changes during a turn | Whether the references show that angle | Add an approved side or three-quarter view; test a smaller turn |
| The sheet's panels appear in the video | Whether a character sheet was assigned as the opening frame | Move it to a reference mode, or build a separate scene image for the first frame |
| Several actions overlap or stay unfinished | The order and complexity of the action | Write a short sequence with a clear ending, or split it into shots |
| More references produce a less consistent result | Conflicting outfits, styles, or unclear reference roles | Remove redundant inputs; add new ones back one at a time |
Change one variable per comparison. Keep the model version, mode, duration, and reference set fixed unless one of them is what you are testing, and save the prompt with the result so you can tell later whether the revision actually helped.
FAQ
Do I need a negative prompt for MiniMax H3 anime?
Support for a separate negative-prompt field depends on the interface. Start with a positive description of the look — flat cel shading, hard-edged shadows, no photographic depth of field. If one specific unwanted feature keeps showing up, add a short instruction aimed at it and compare against the previous result.
Will asking for 12 fps create traditional anime timing?
A frame-rate phrase in the prompt does not reliably set the output file's frame rate. The official H3 specification lists 24 fps. Describe the movement you want in plain language and let the description carry the pacing, rather than expecting an fps value or second-by-second timestamps to control it. Then inspect the clip. When you need a specific delivery frame rate, handle it in the output controls or in editing.
What video length and resolution should I use for a test?
Start with a five-second clip at a resolution your chosen mode supports, and keep both settings fixed while you compare prompts. Once the style and motion are right, check the higher-resolution options and review the result again — particularly the face, hair, and hands, where small differences are easy to notice. The H3 duration and resolution guide covers what each tier allows.
Can I use the same seed to keep an anime character consistent?
A seed helps control comparisons while everything else stays fixed. Change the prompt, the framing, or the references and the character can still change. Reuse approved design references and check the character across several angles before expanding the sequence.
Do I need a LoRA for anime on MiniMax H3?
Community-trained style adapters exist for MiniMax H3, and some target specific looks such as looping sketch animation. If you try one, check which base model it expects, which generation mode it supports, and whether your local workflow or hosted service can run it — an adapter built for one workflow often needs different setup in another. Clear references are a useful starting point and can be updated as the design changes.
Review the look and the motion
Describe the action, camera, lighting, and sound in a clear order, with appearance details that agree with the references.
Check the drawing style on a still, then review the timing and character consistency in motion. Adjust the specific detail that failed and compare the next result.